Bringing up the past.
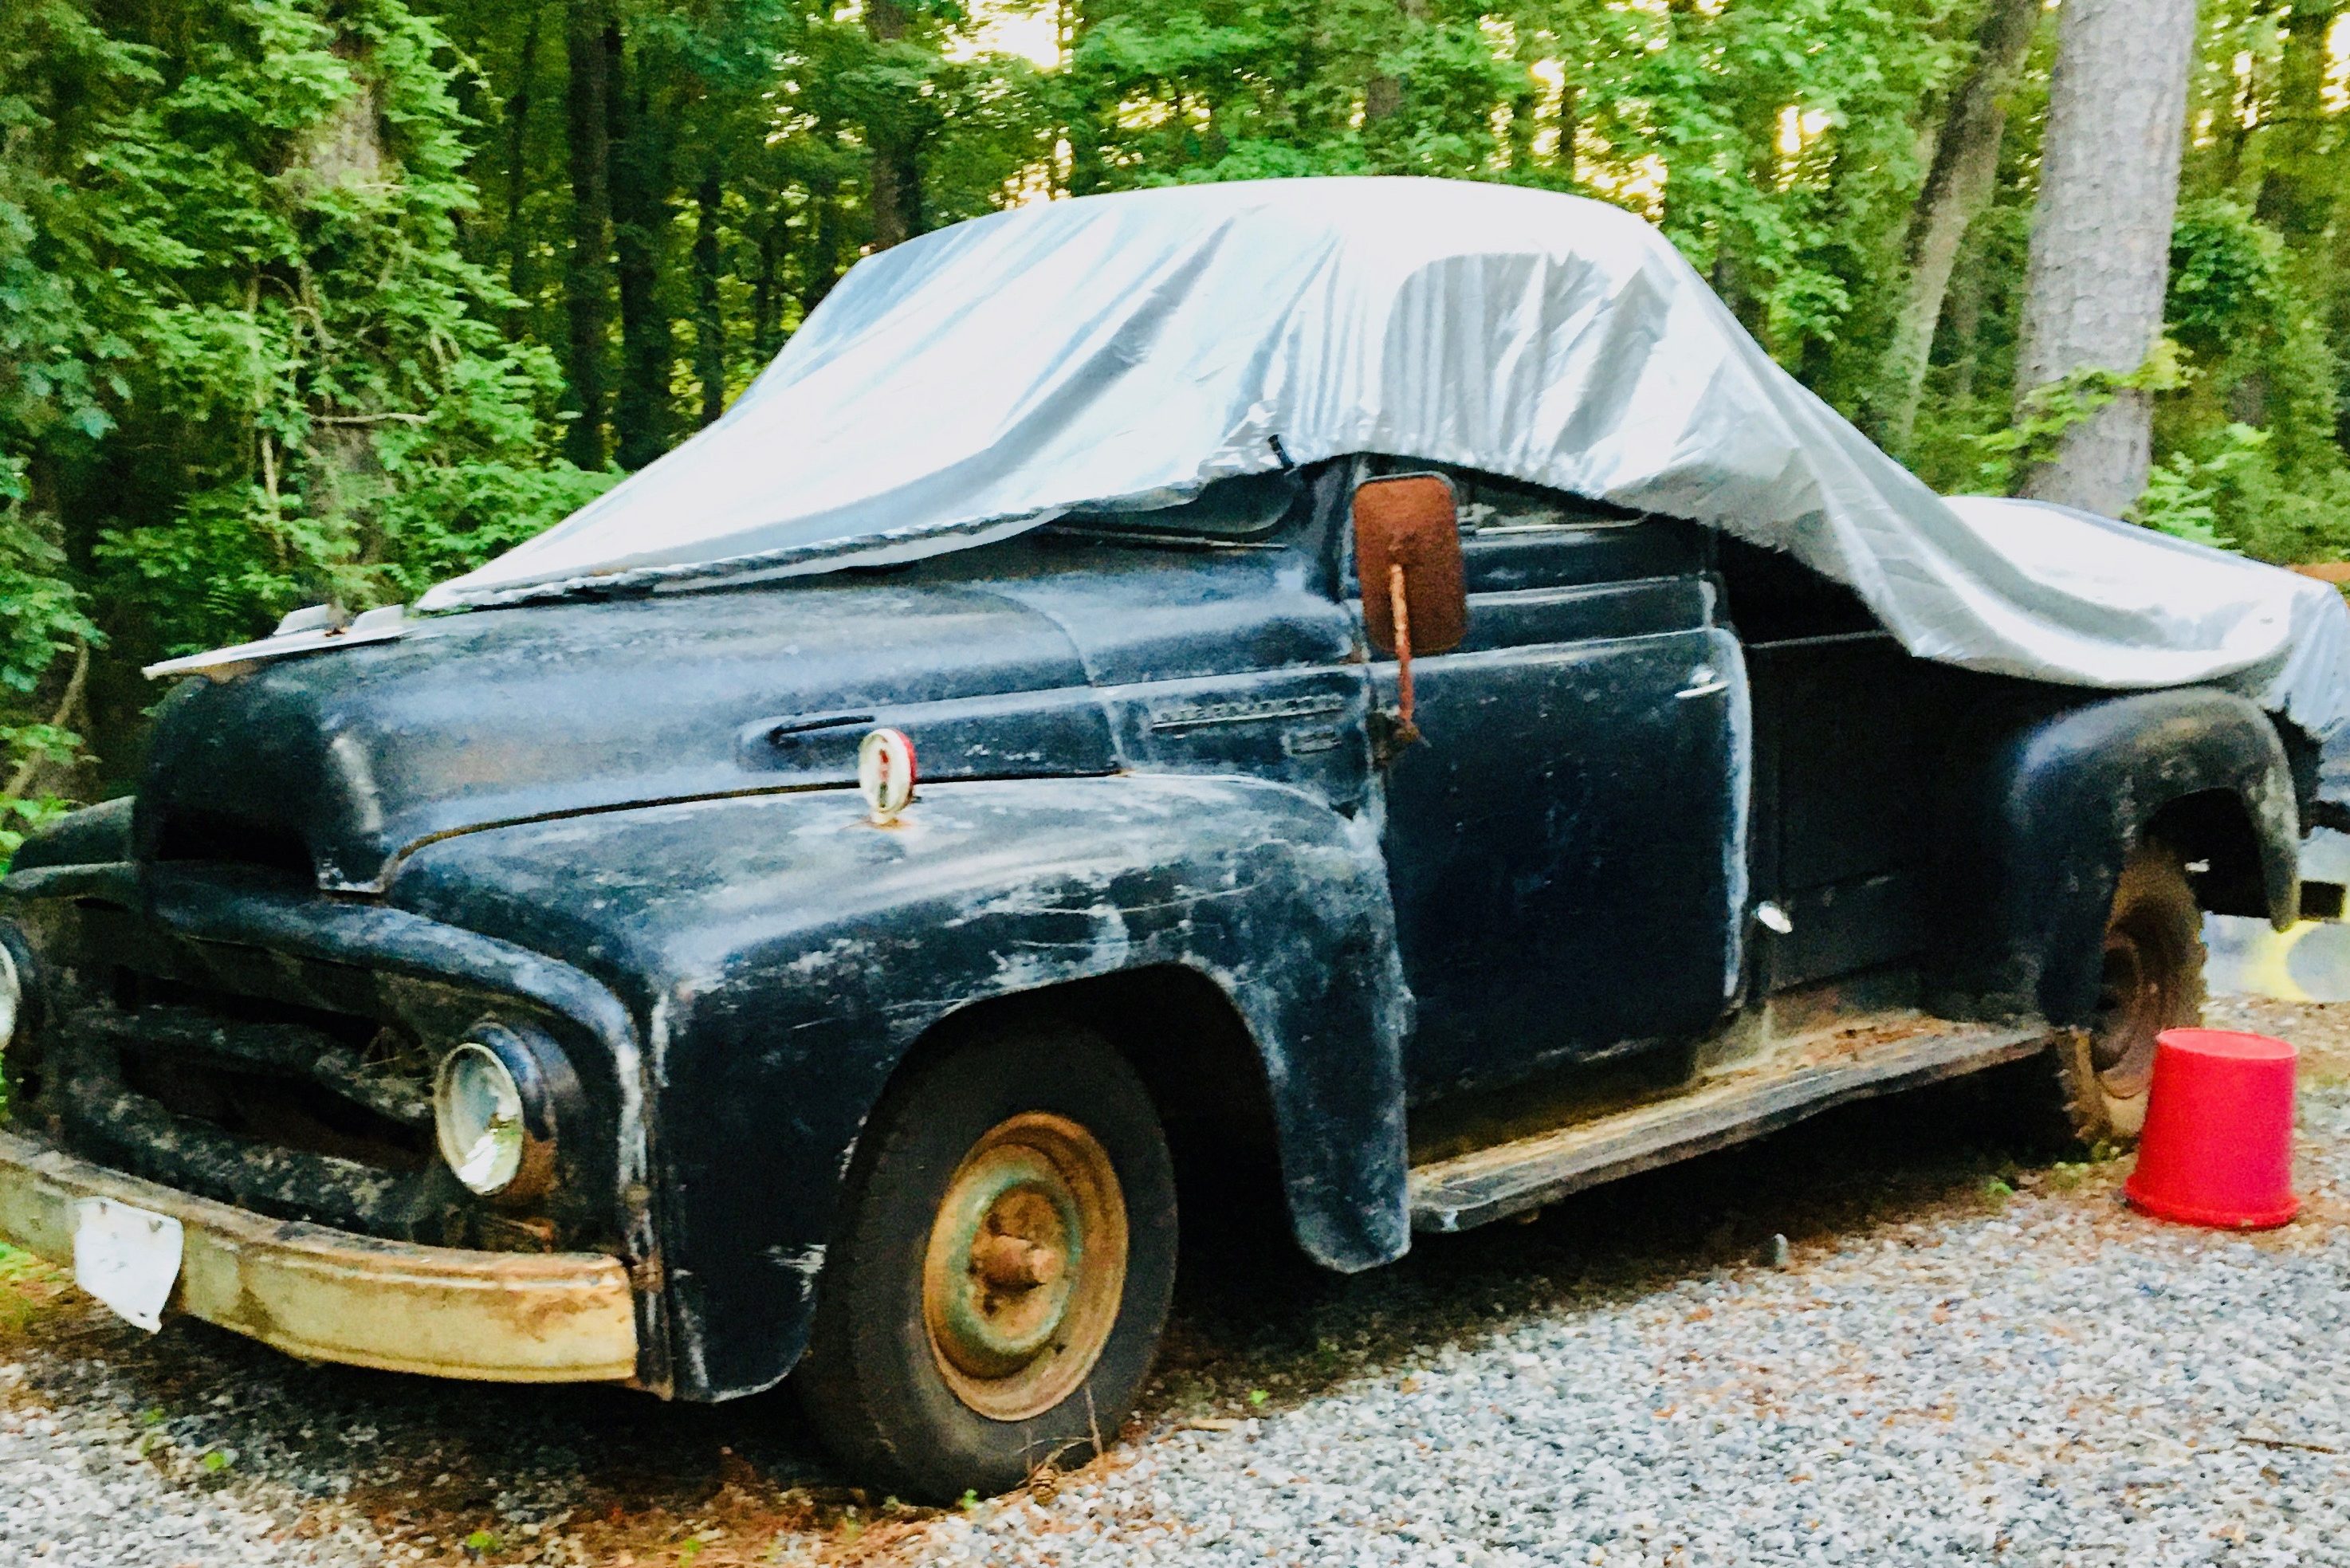
This frame-off restoration was designed to be a shop truck. We started with a straight, unmolested 1954 International with tons of patina.
Tearing it down
In many ways, a frame-off restoration is easier than a body-on fix. You’re able to get all of the parts separated from each other, open up easy access so there’s less crawling under it, and you can make a big impact by just paying attention to the small things like rubber replacement.
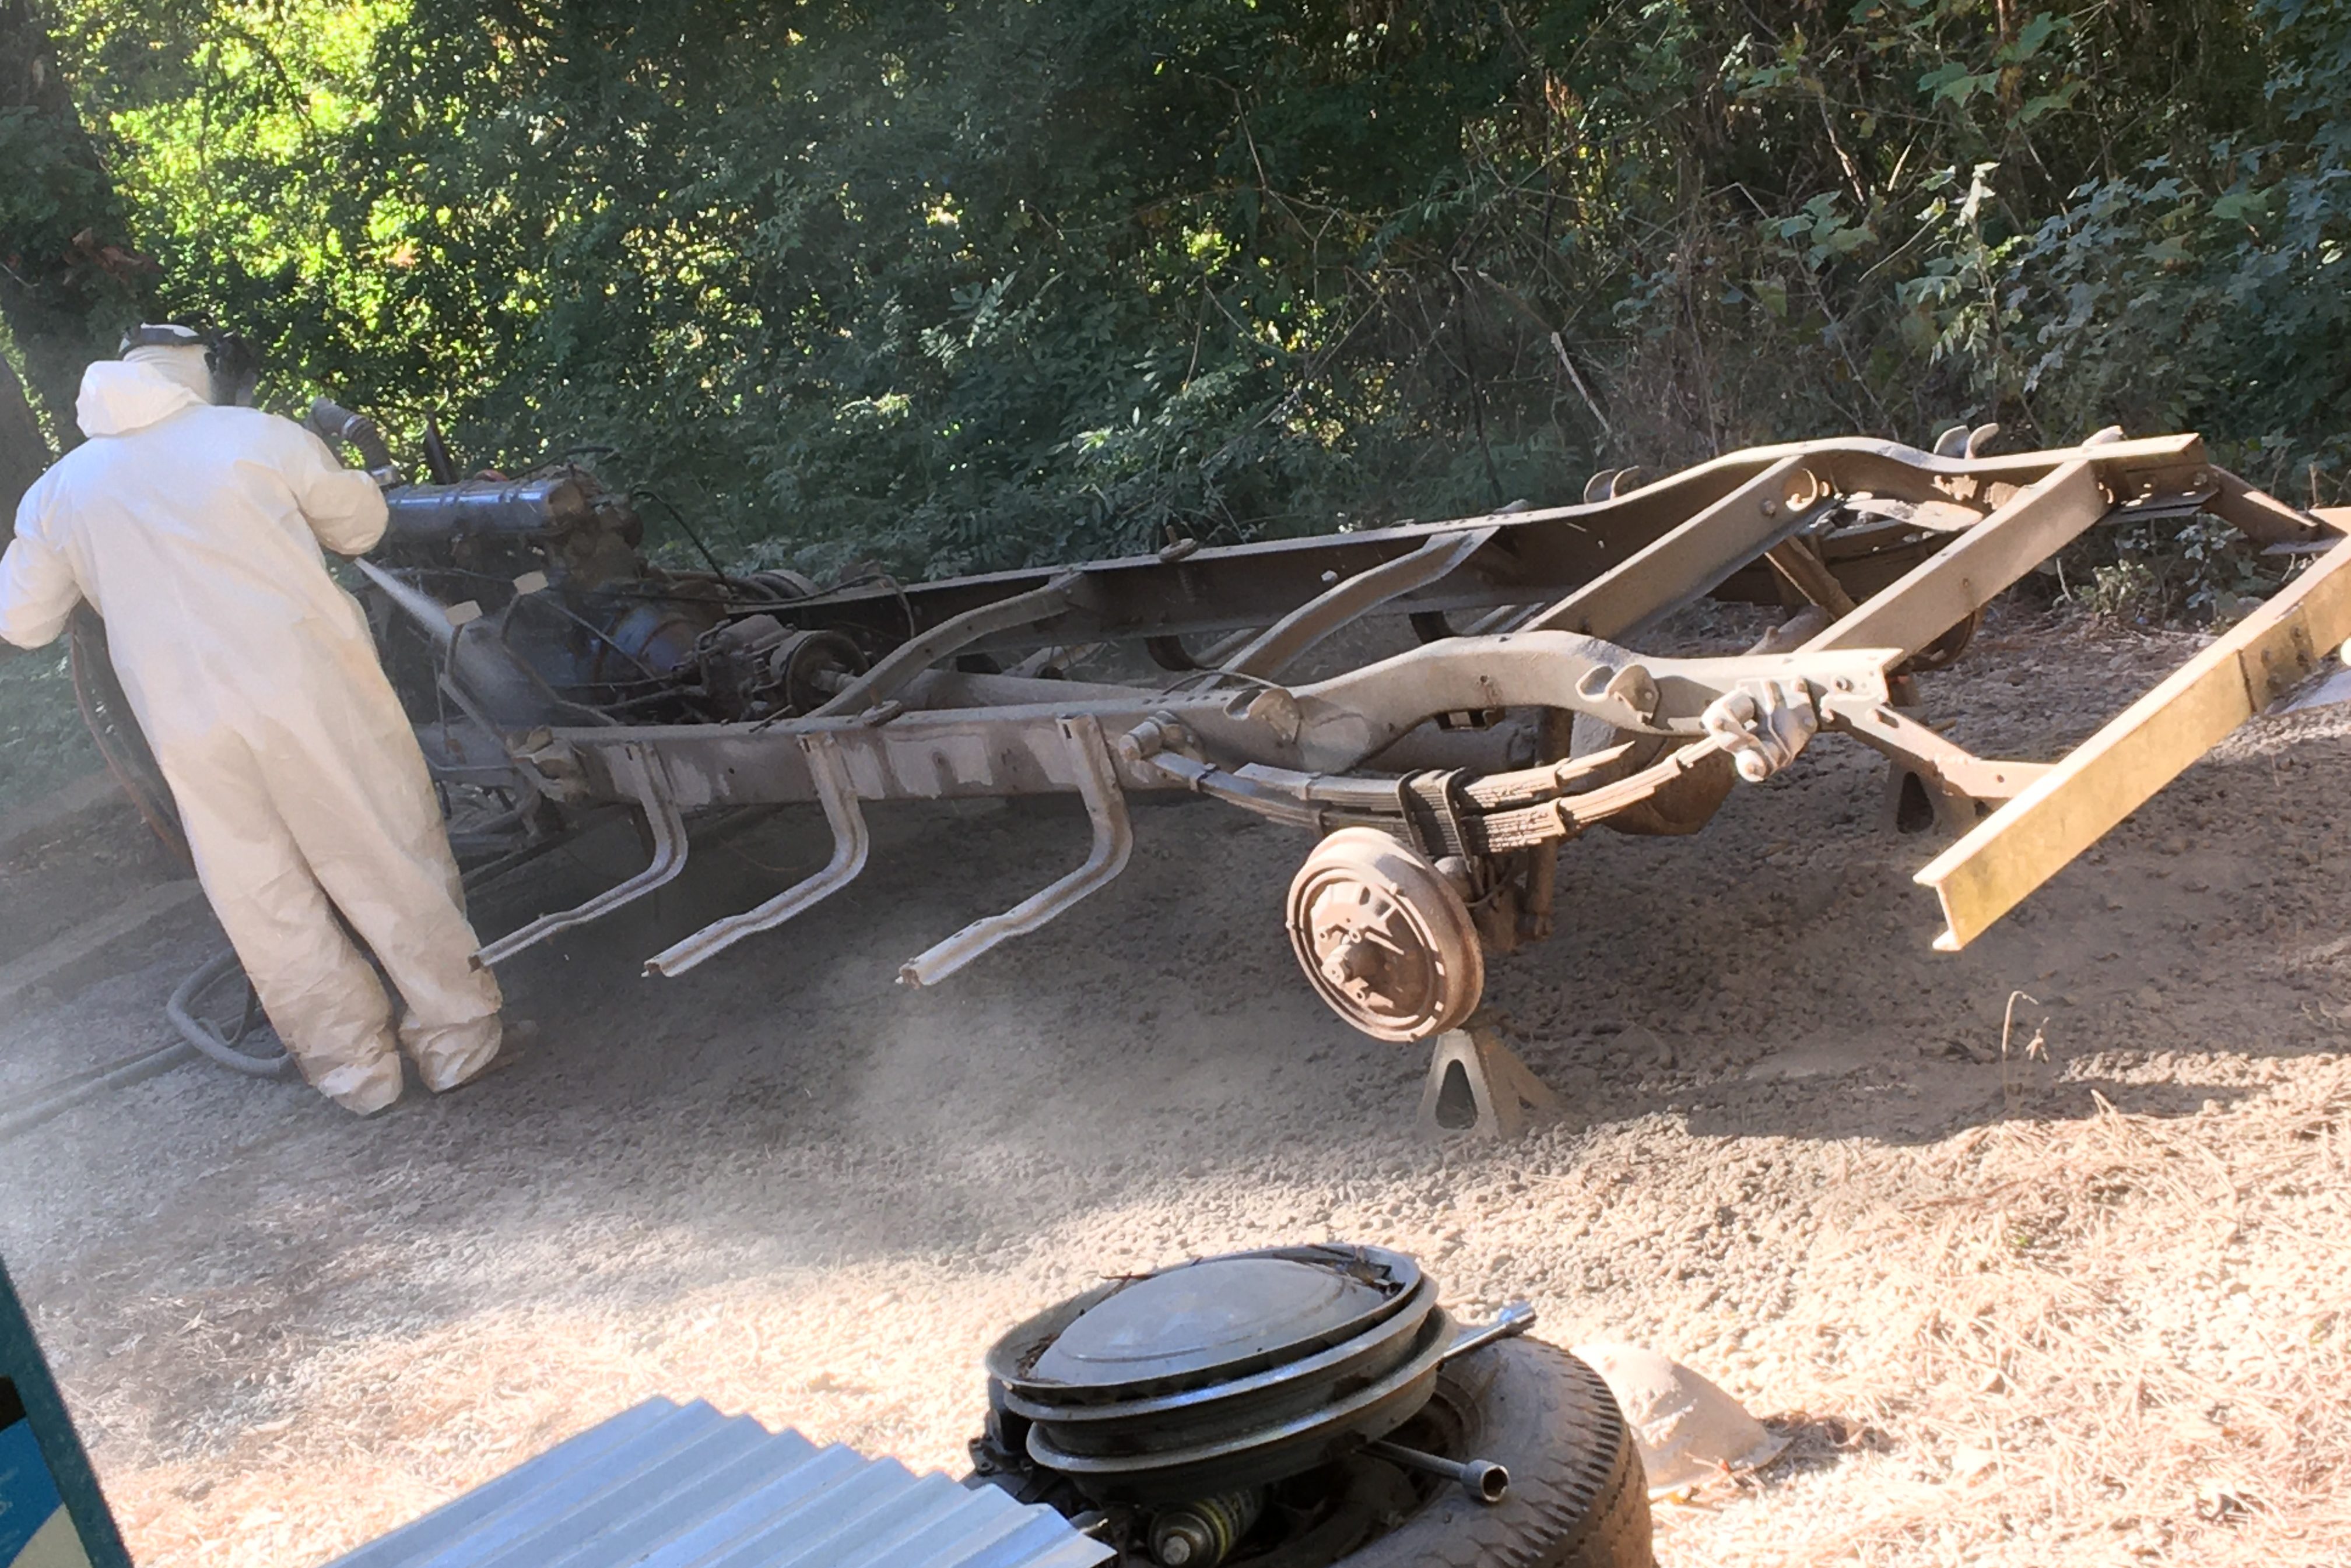
70 years of funk
Once the truck was torn apart we have a clean shot at media blasting. Once the media blasting is complete, you can see if any surprises you didn’t catch as you were disassembling. In our case, the truck was as clean as we thought it was when we purchased it.
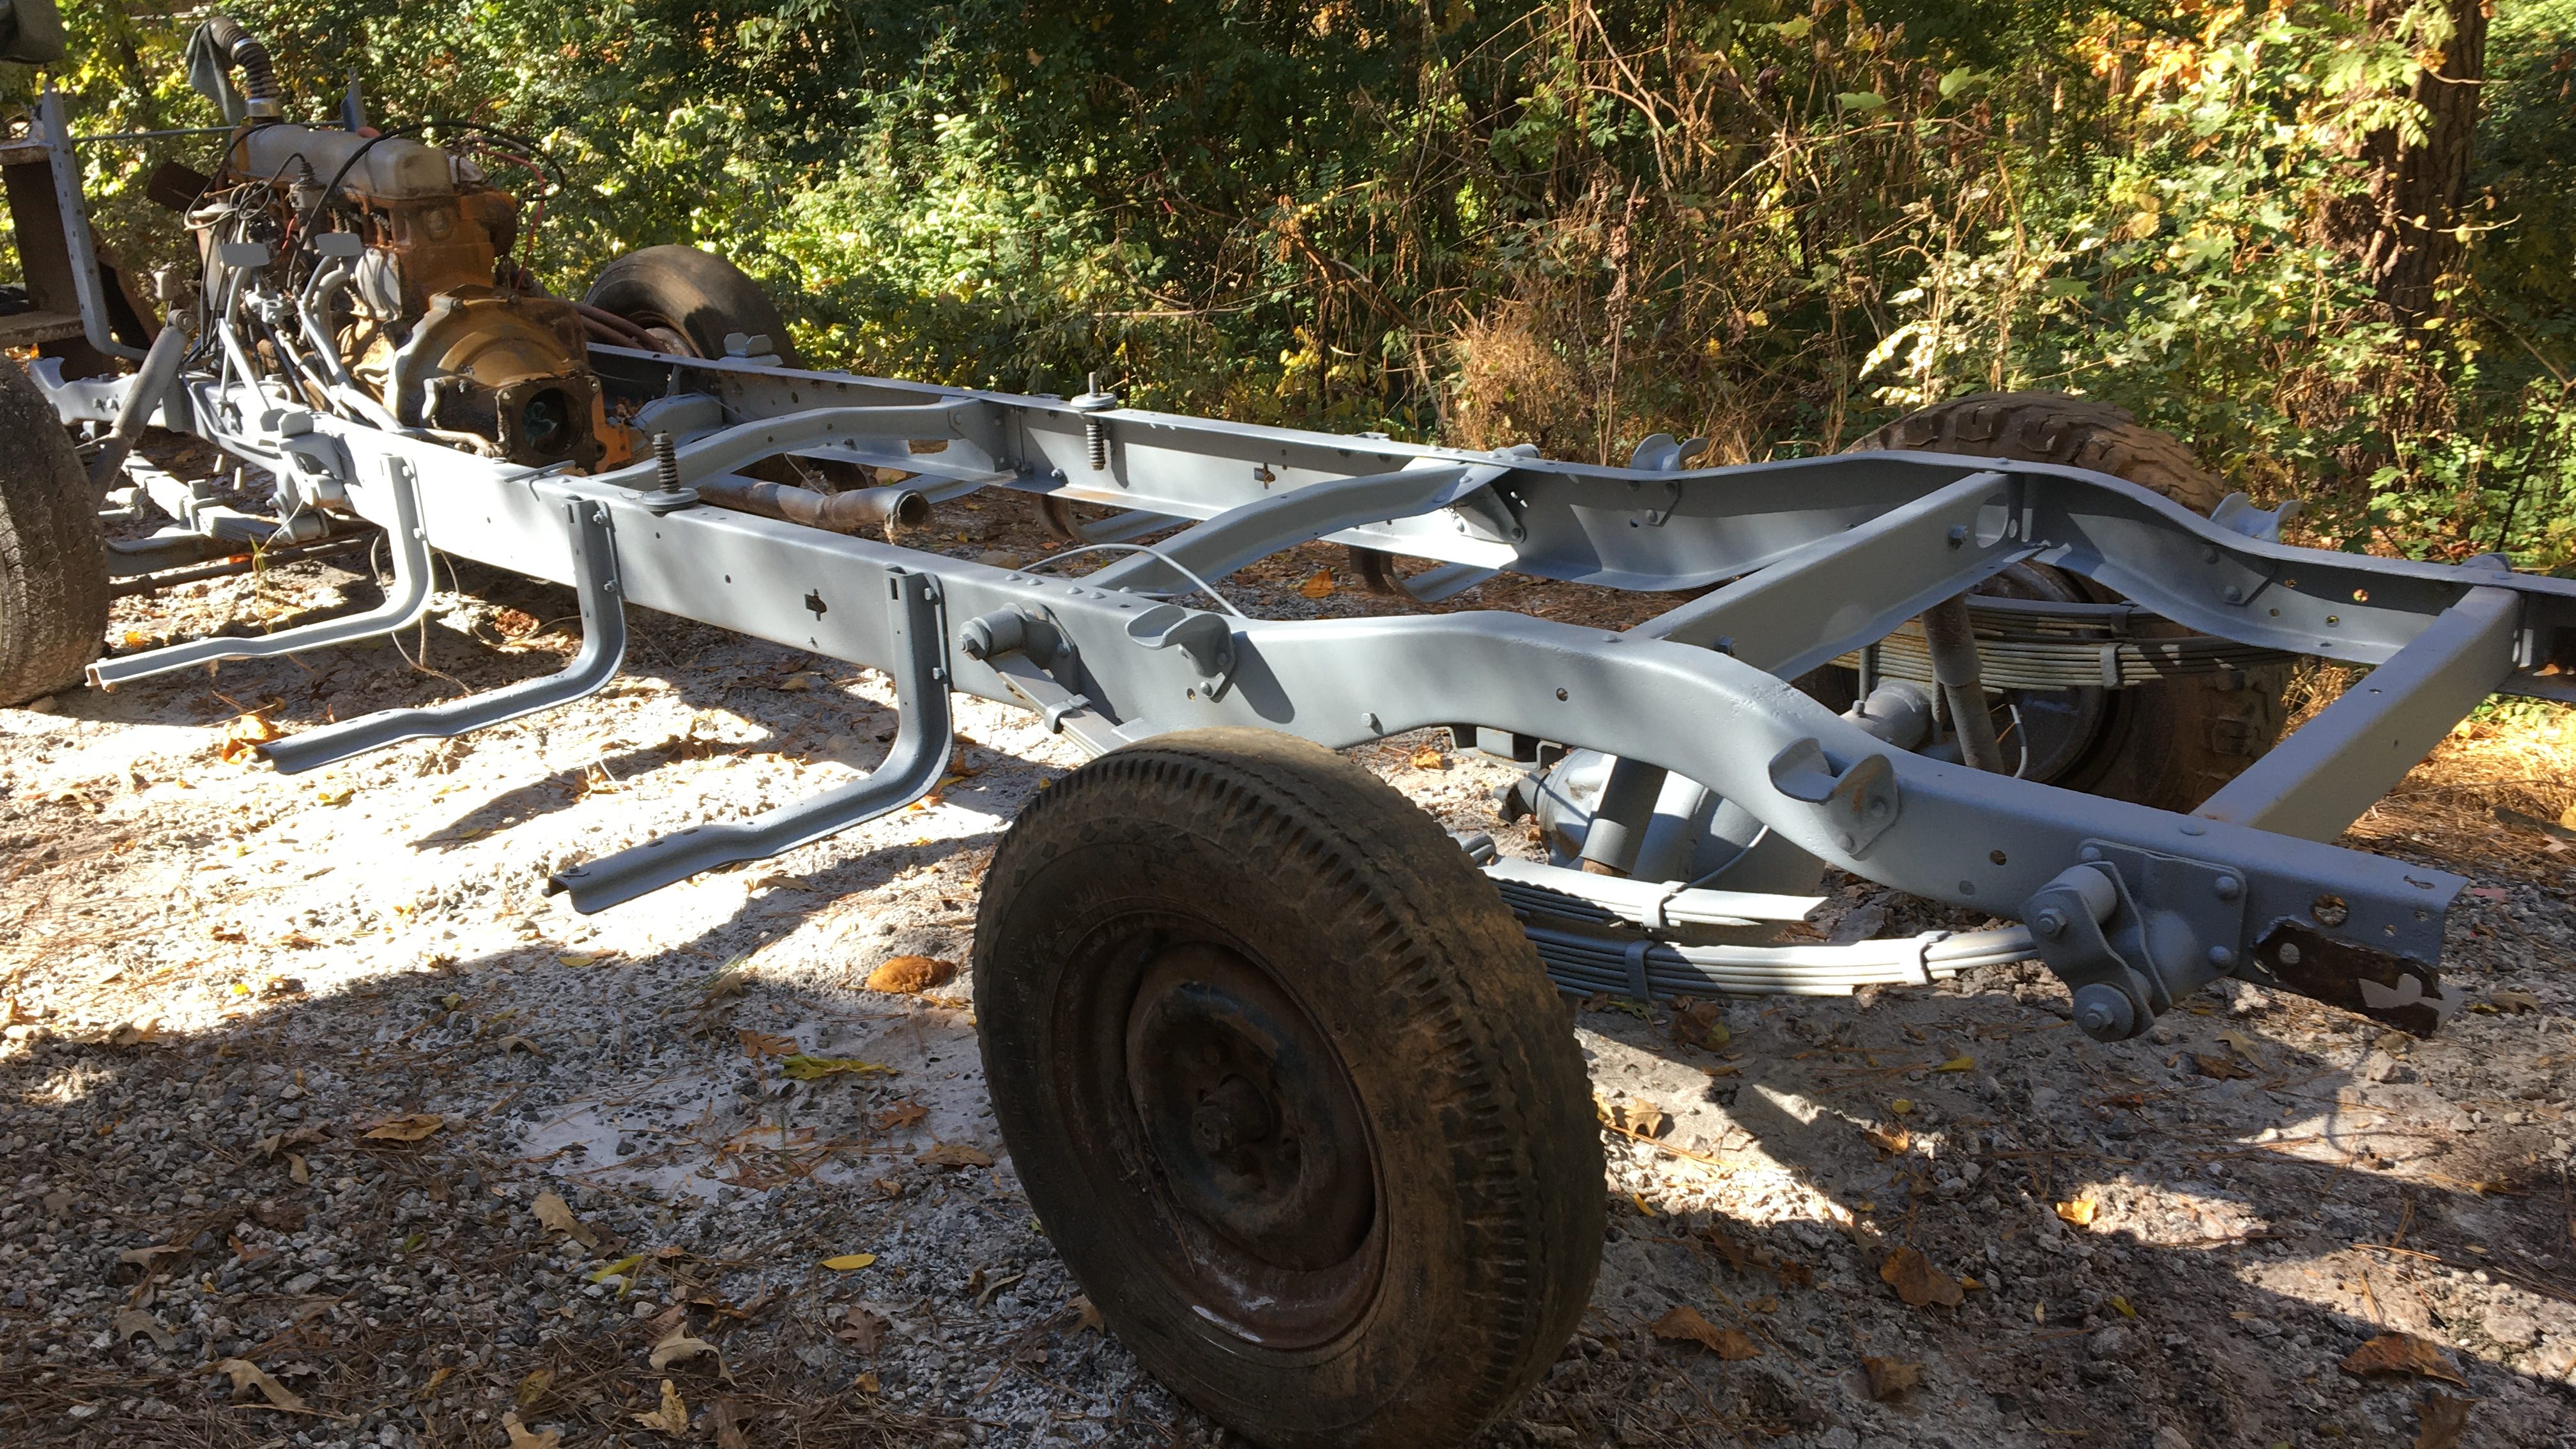
Cleaned up and ready to start!
The frame was in great shape with very little pitting and all original components in place making it much easier to document and photograph what we need for reassembly. Once it was media blasted, it was immediately sprayed with epoxy primer to help maintain protection throughout the build and prior to paint.
In the garage
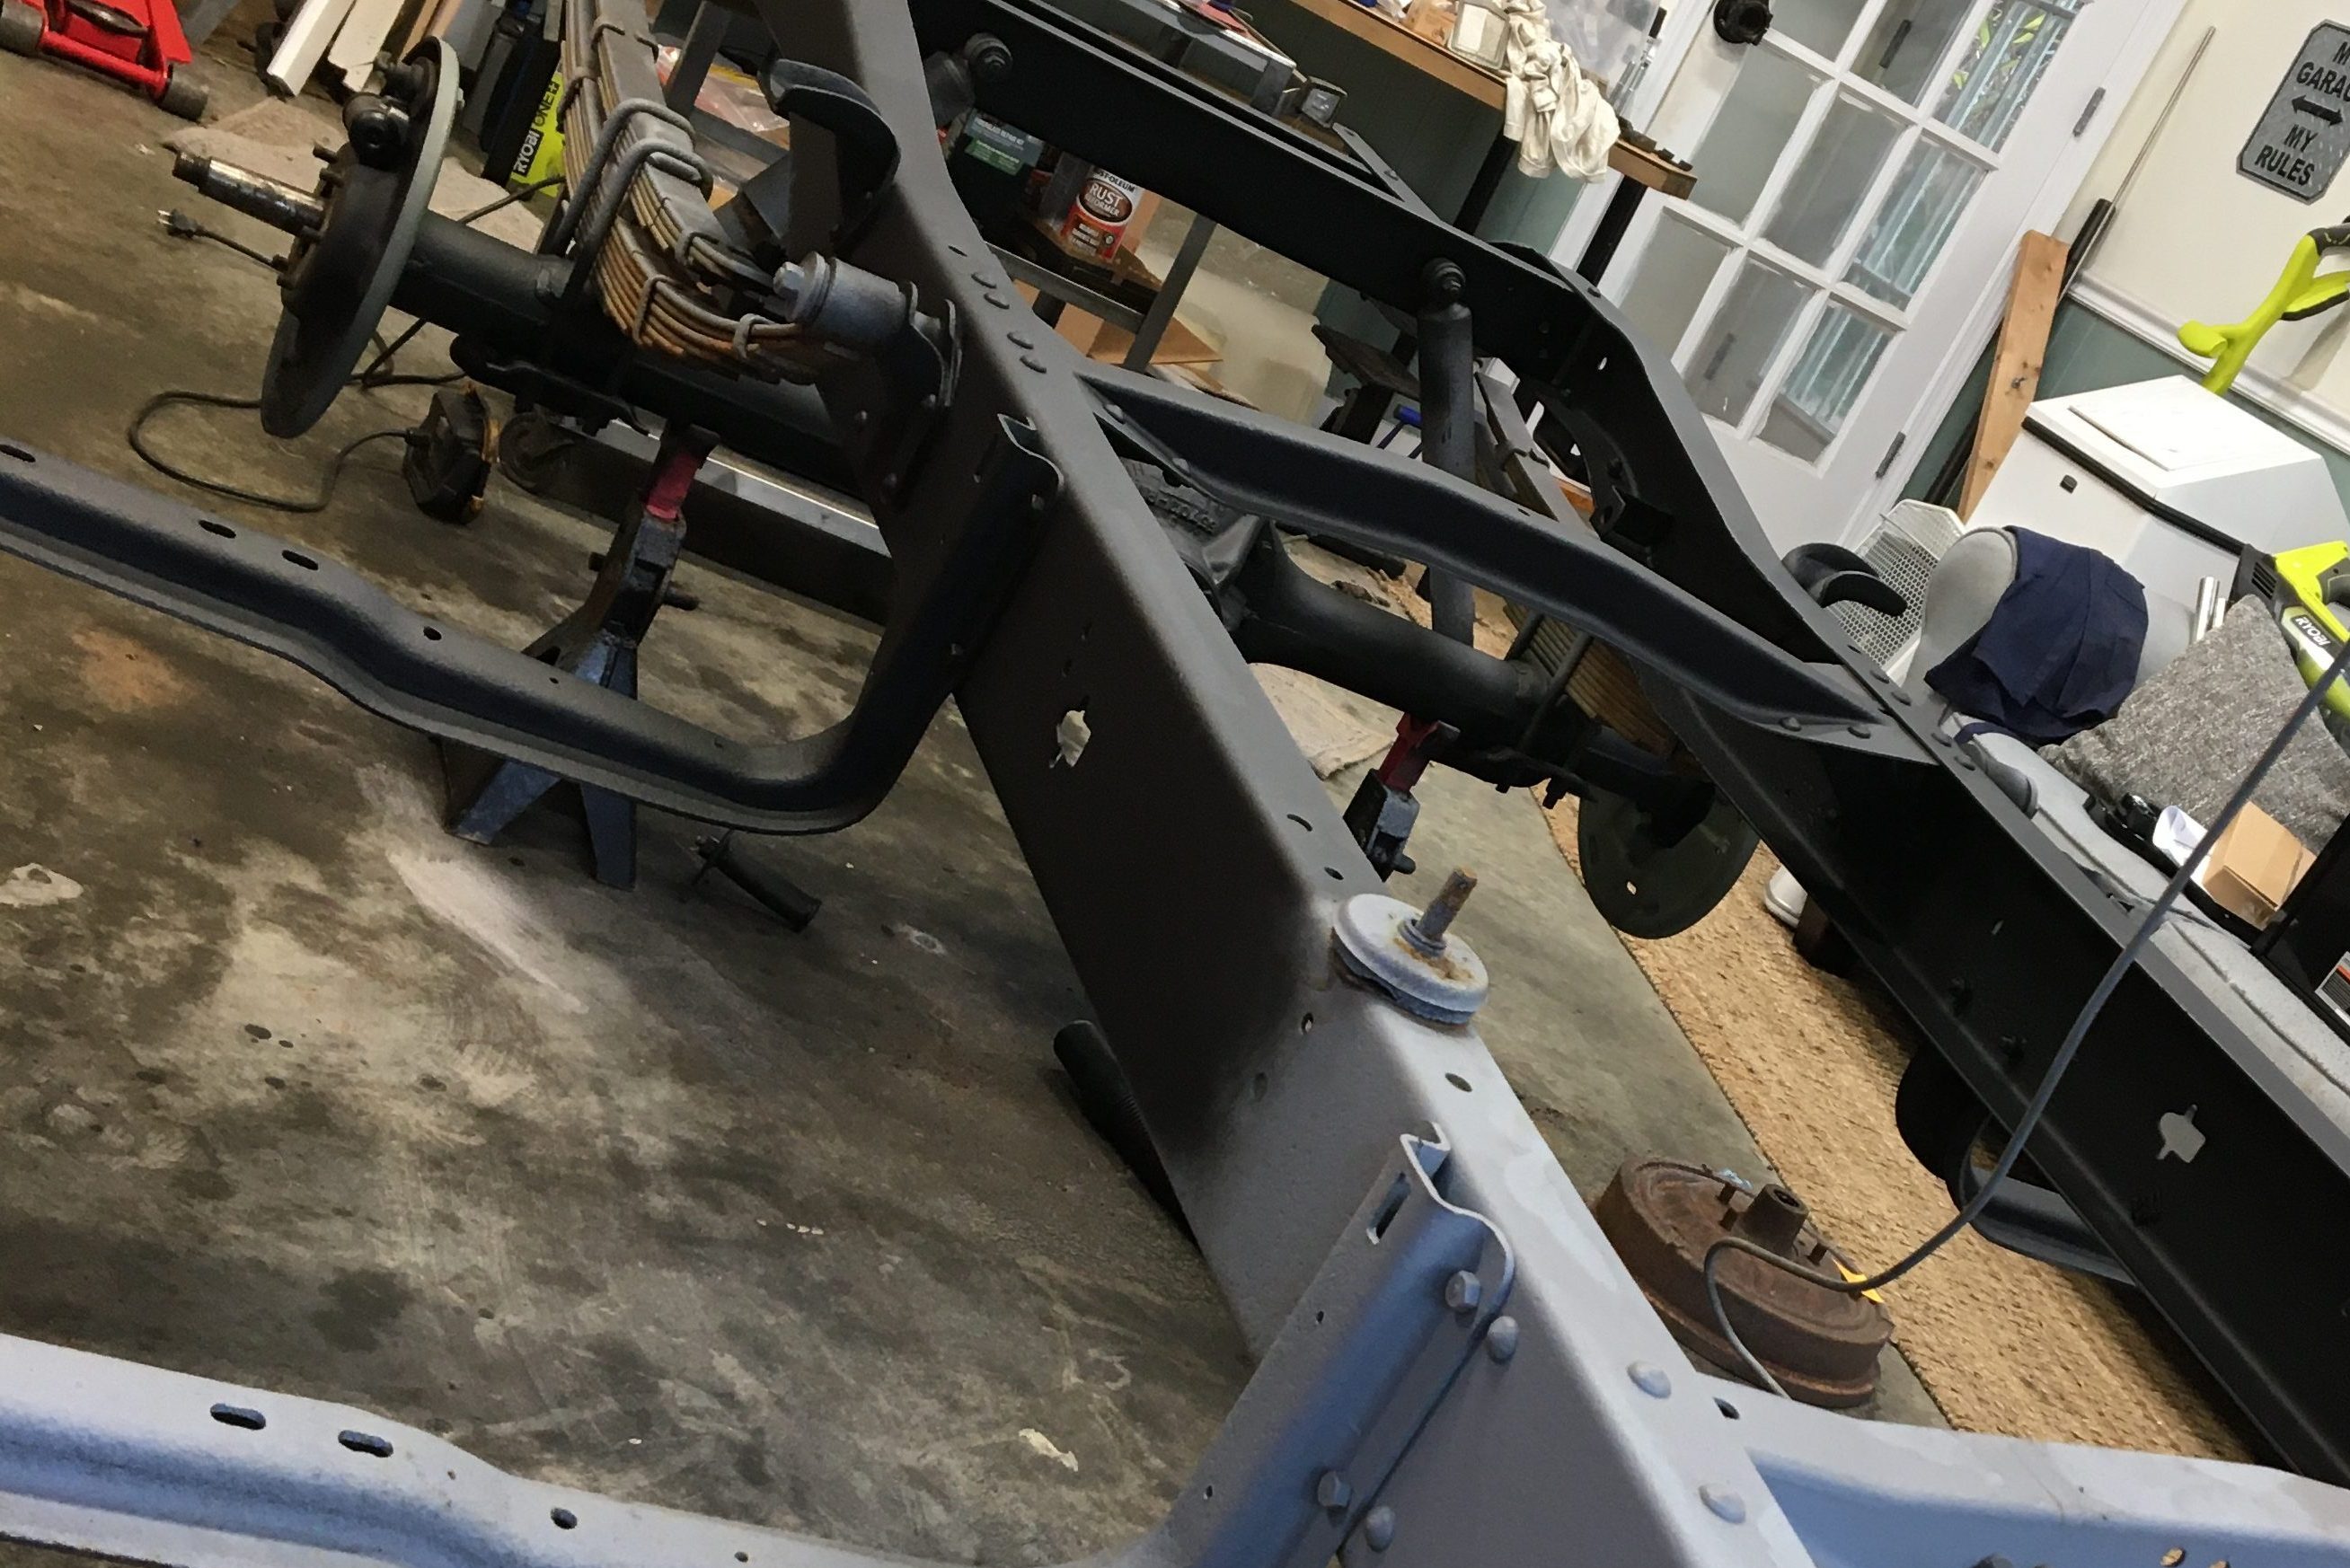
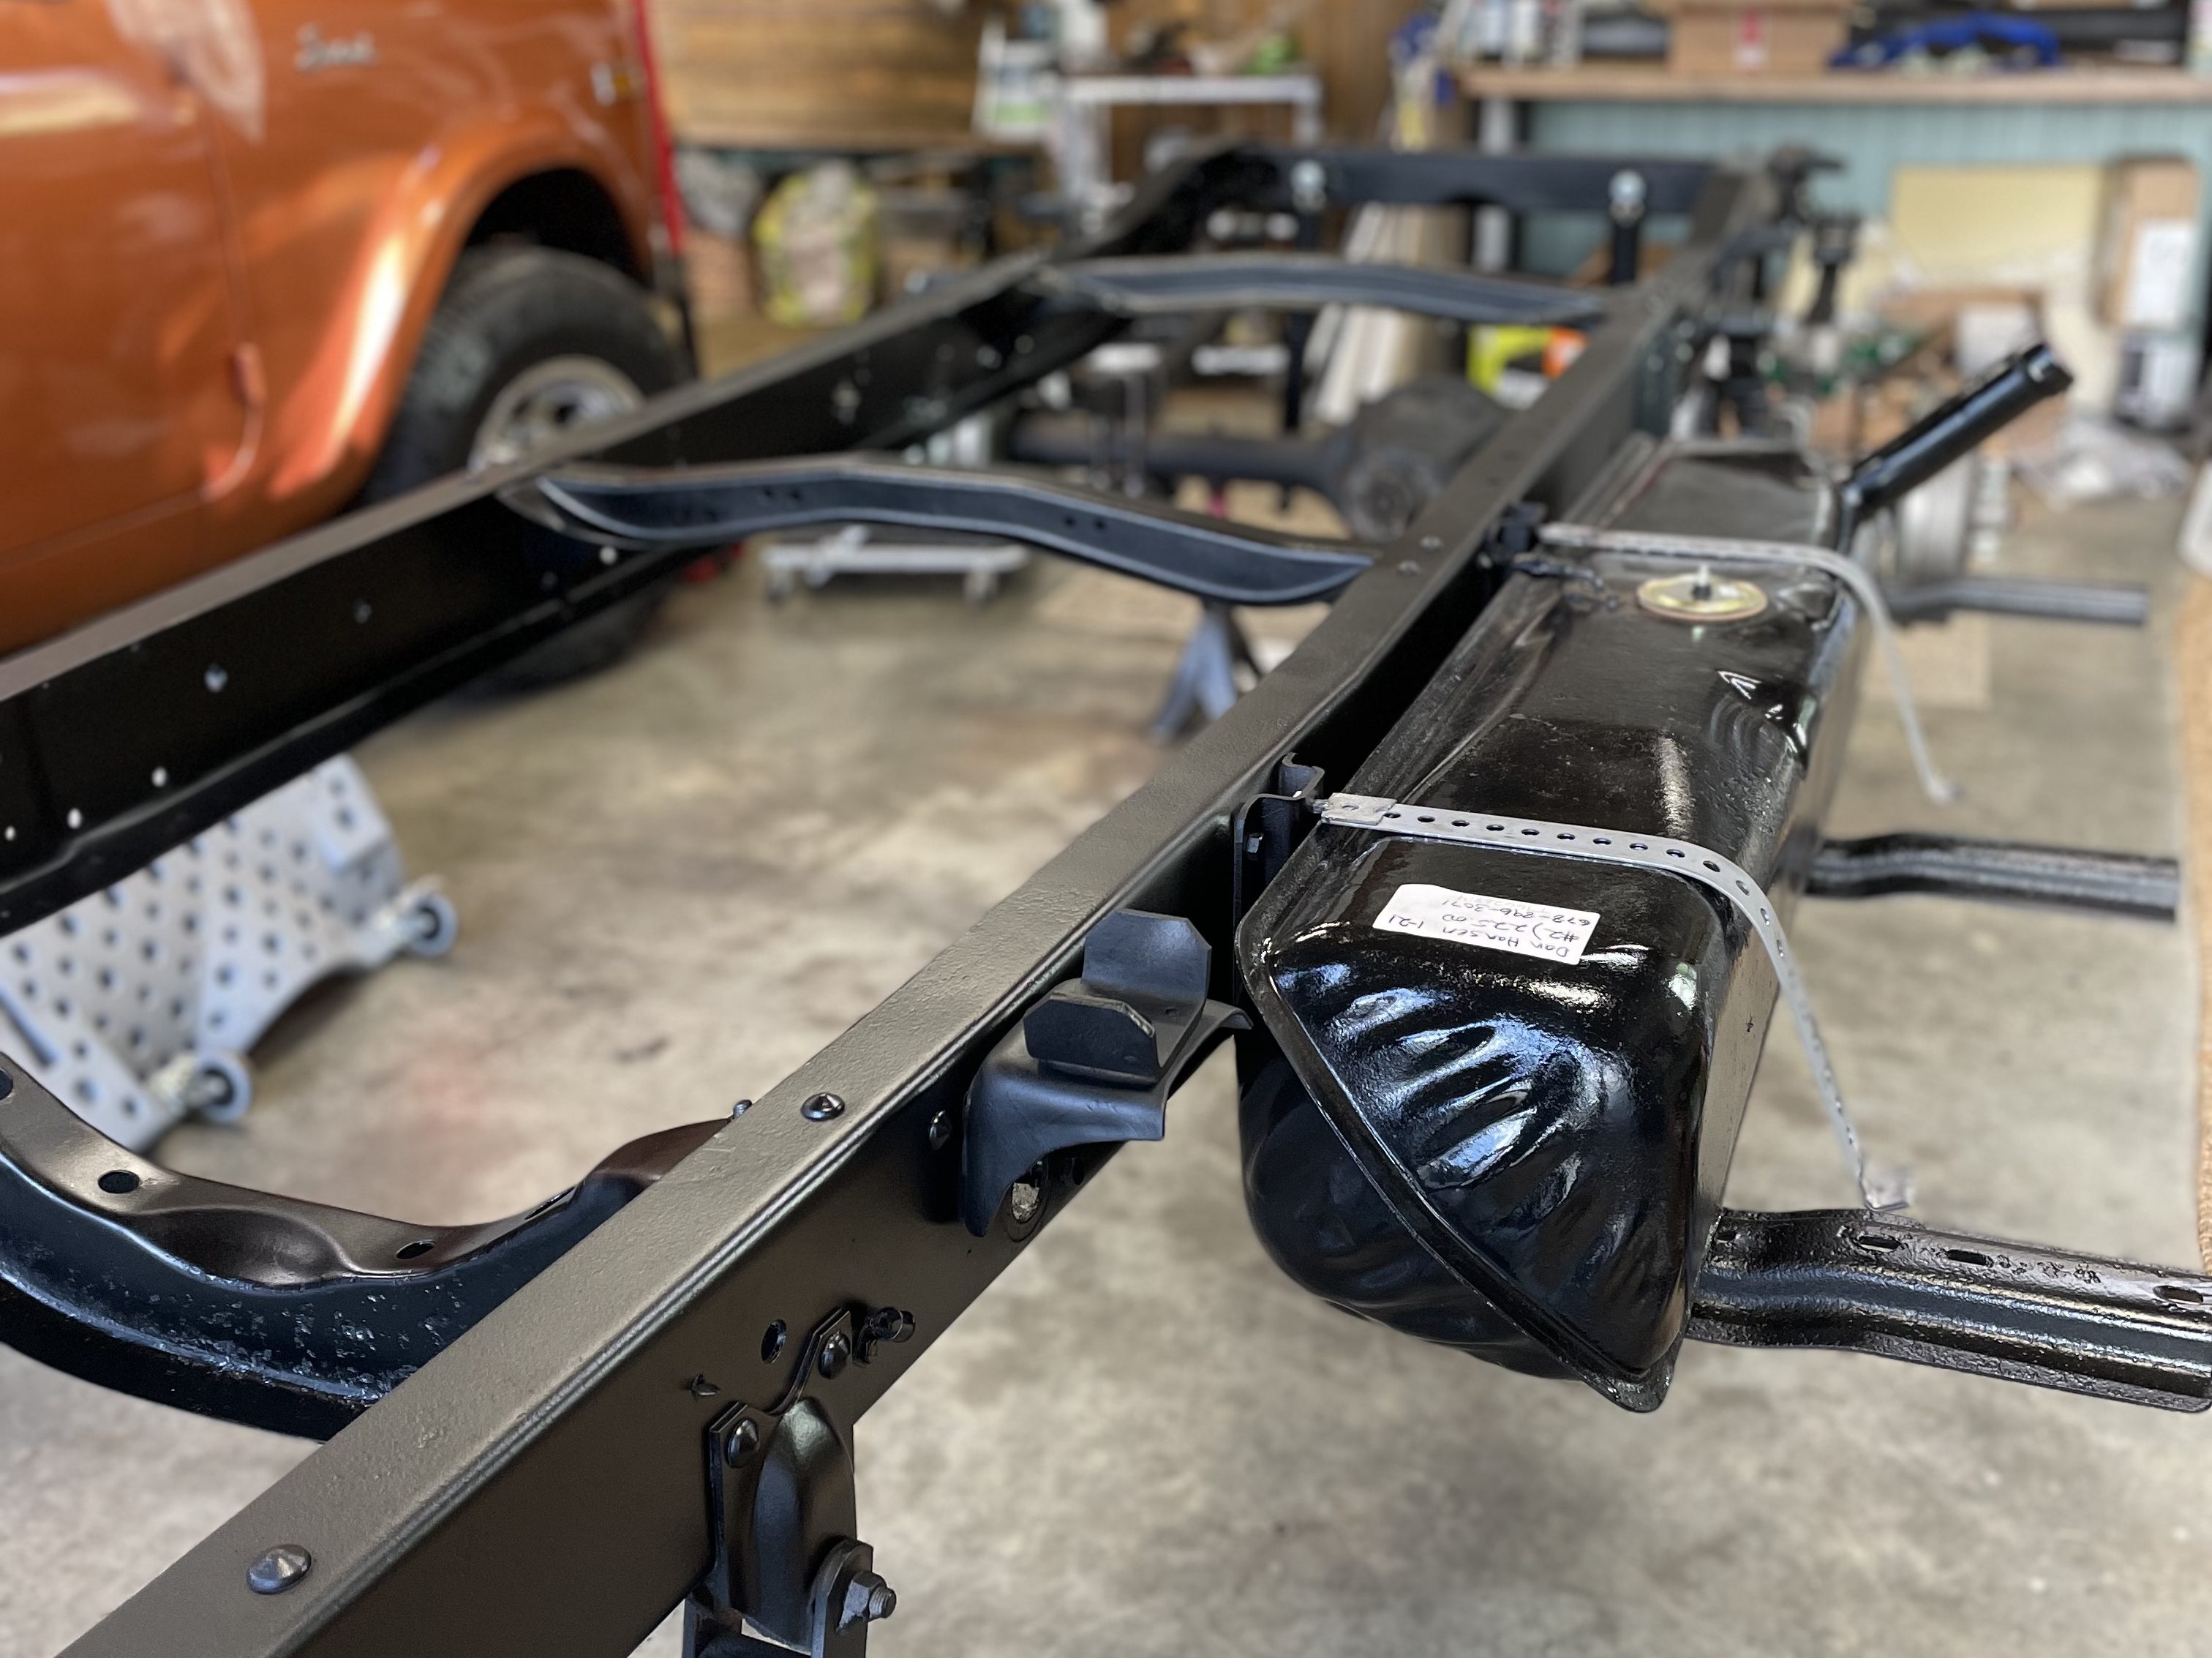
We dropped off the engine for complete rebuild and rolled the frame into the garage to begin rebuilding—three feet at a time. Most people will clean up the frame and then move to paint. We’re actually rebuilding and fitting up new parts as we move along, prior to paint.
Baby’s got new shoes
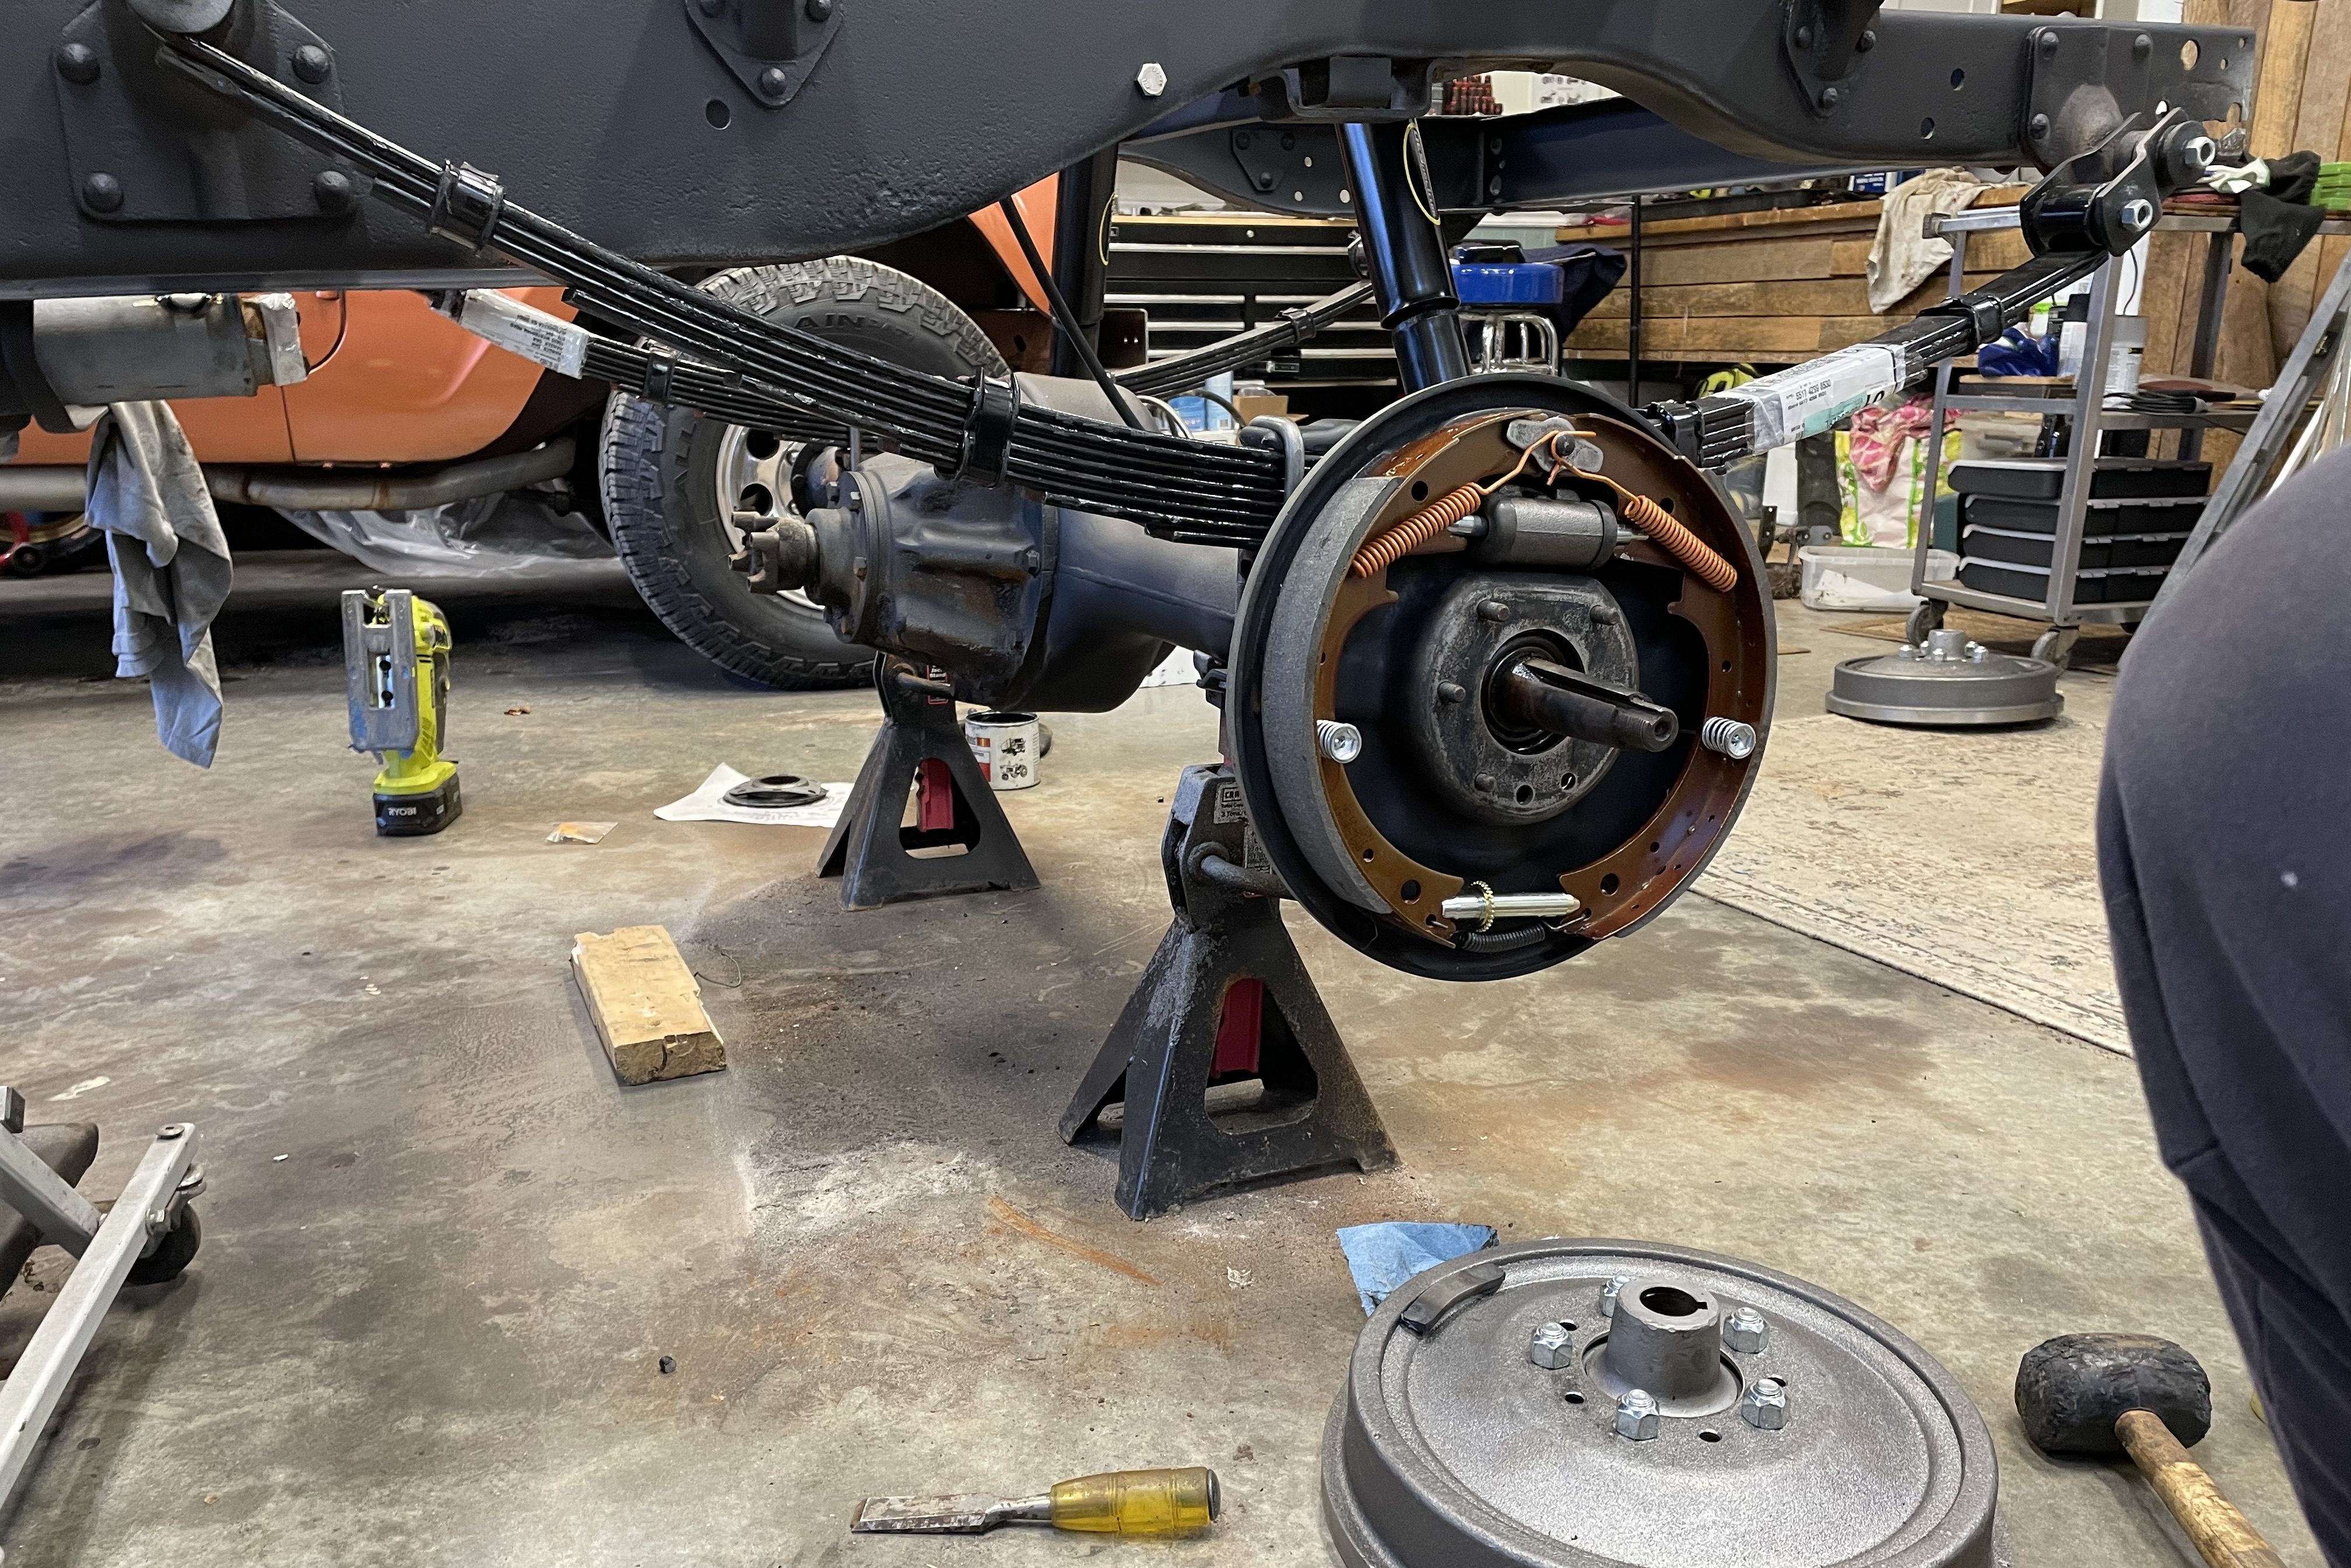
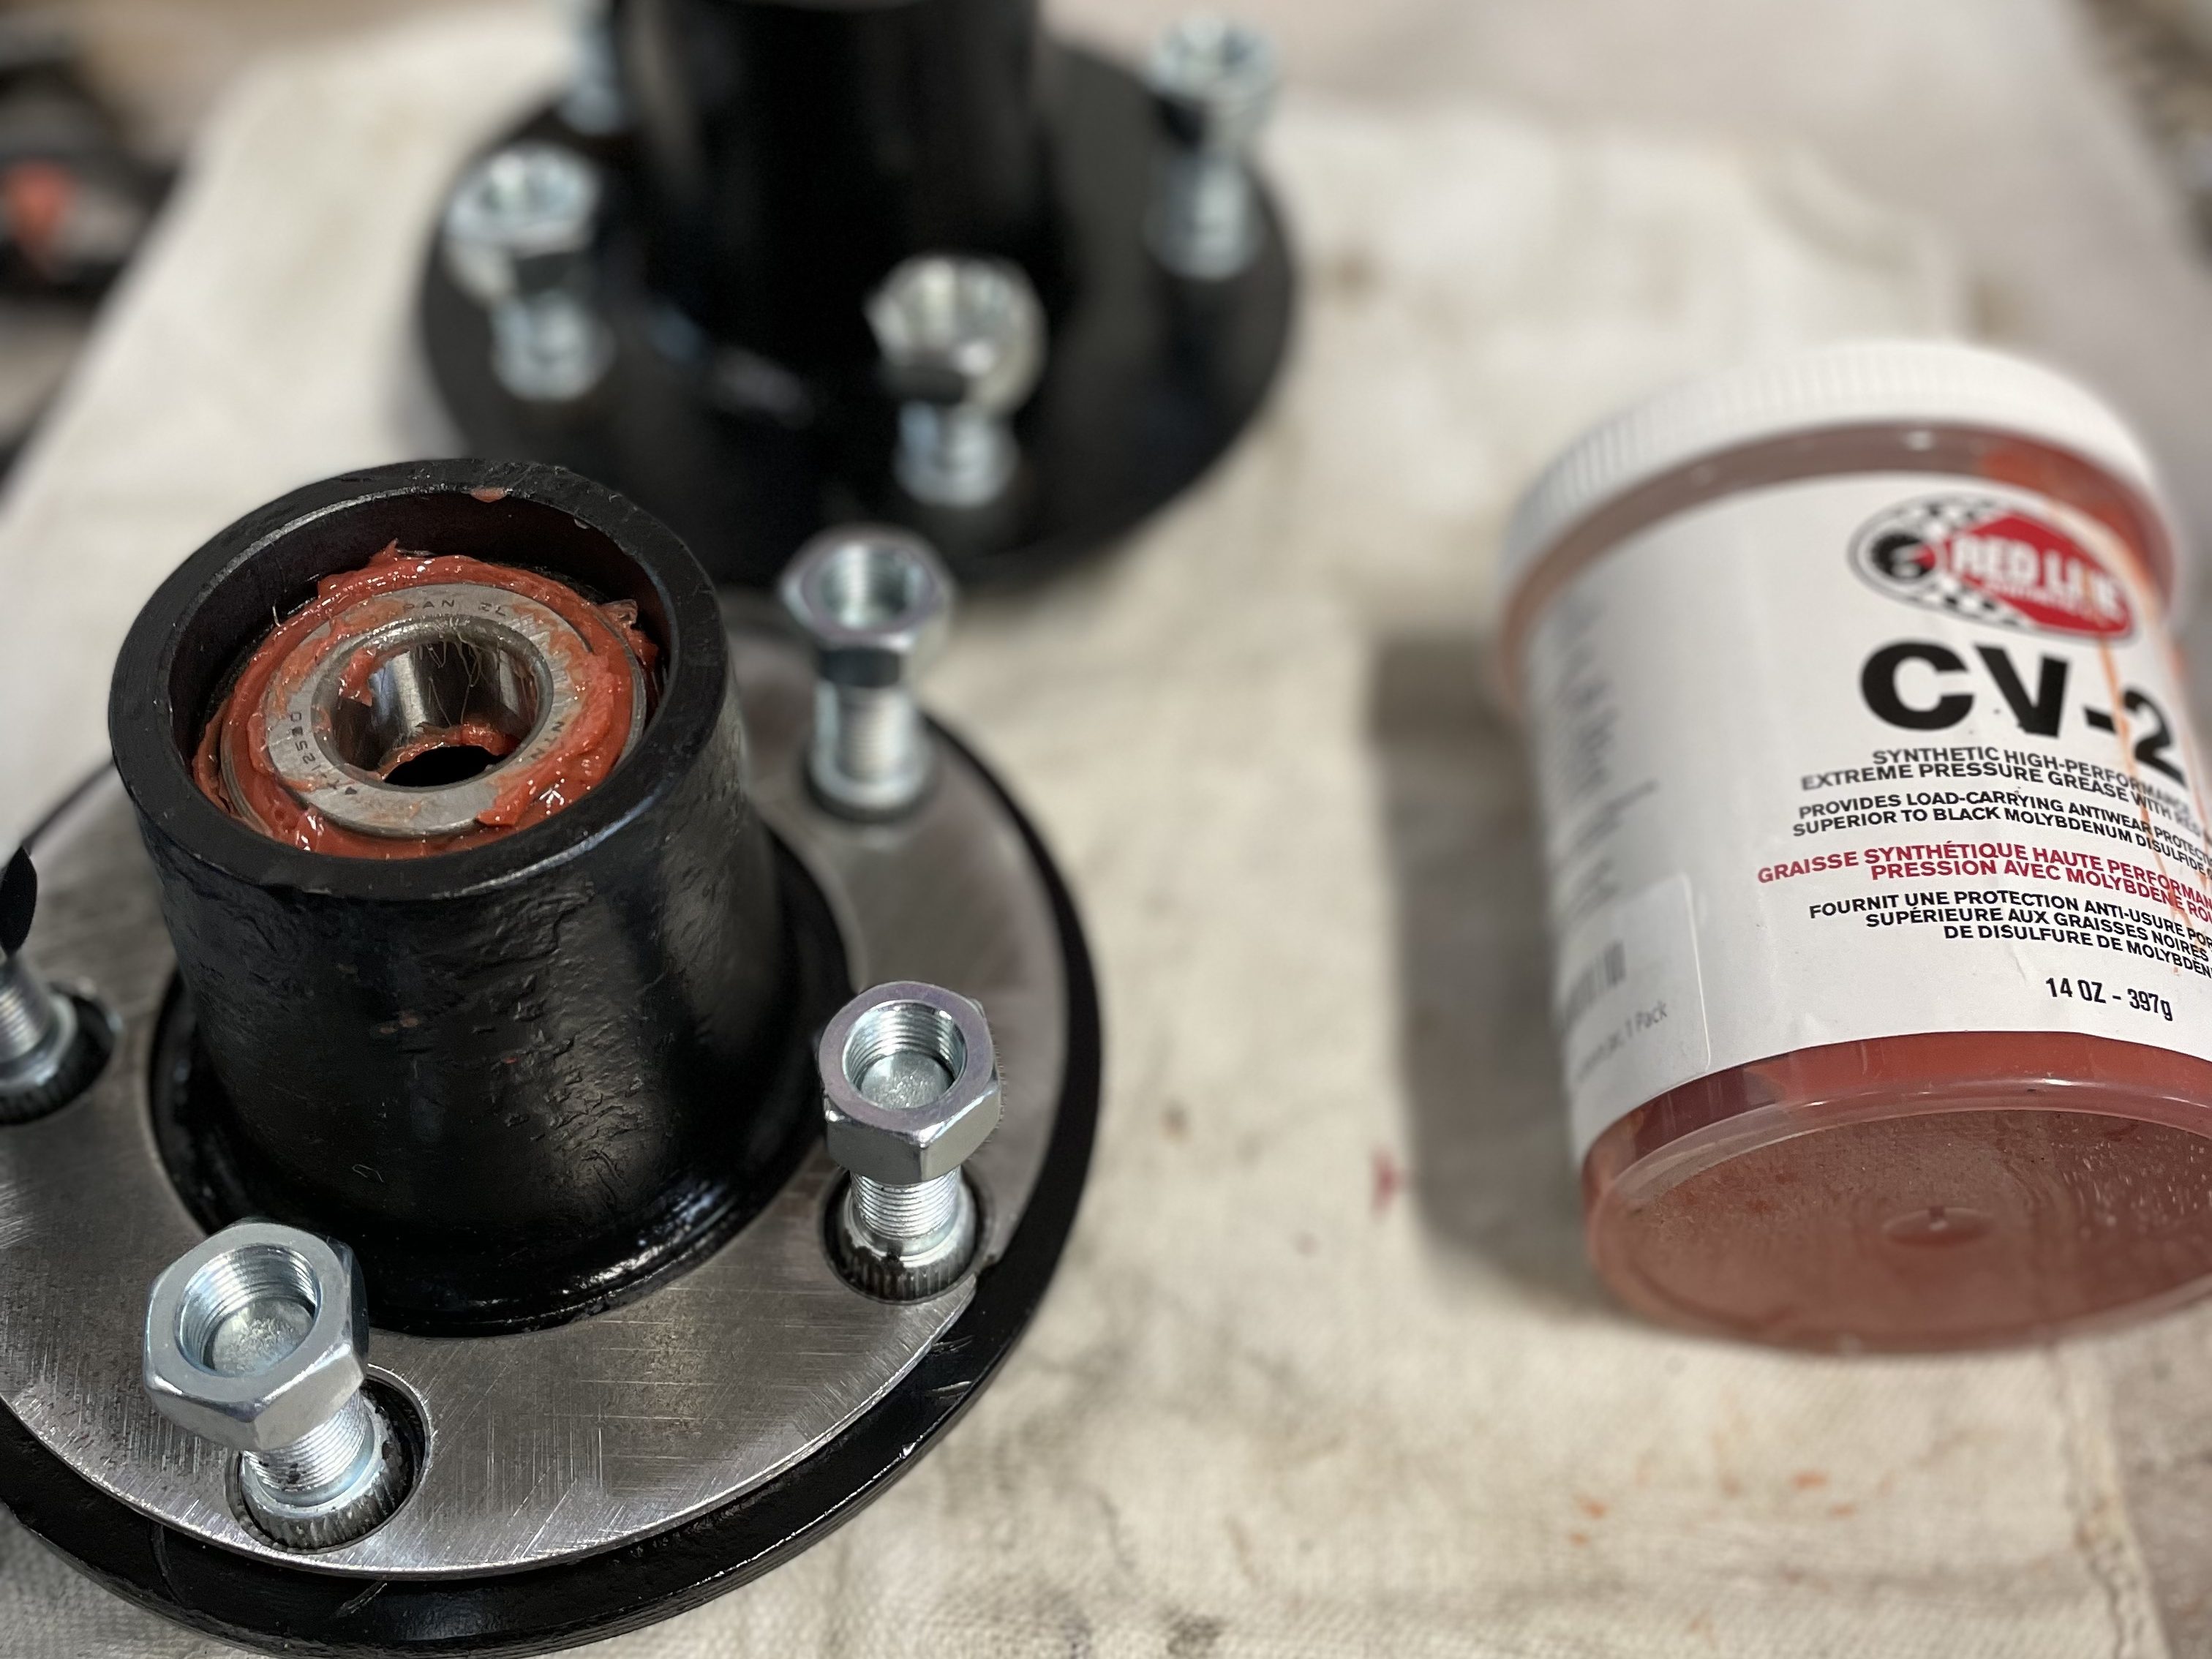
We completely rebuilt the rear end with new springs, brakes, pads, lines and shocks. With this section done, we move on to the differential, drive shaft balancing and straightening—along with new u-joints—and finally, the gearbox rebuild and transmission emergency brake.
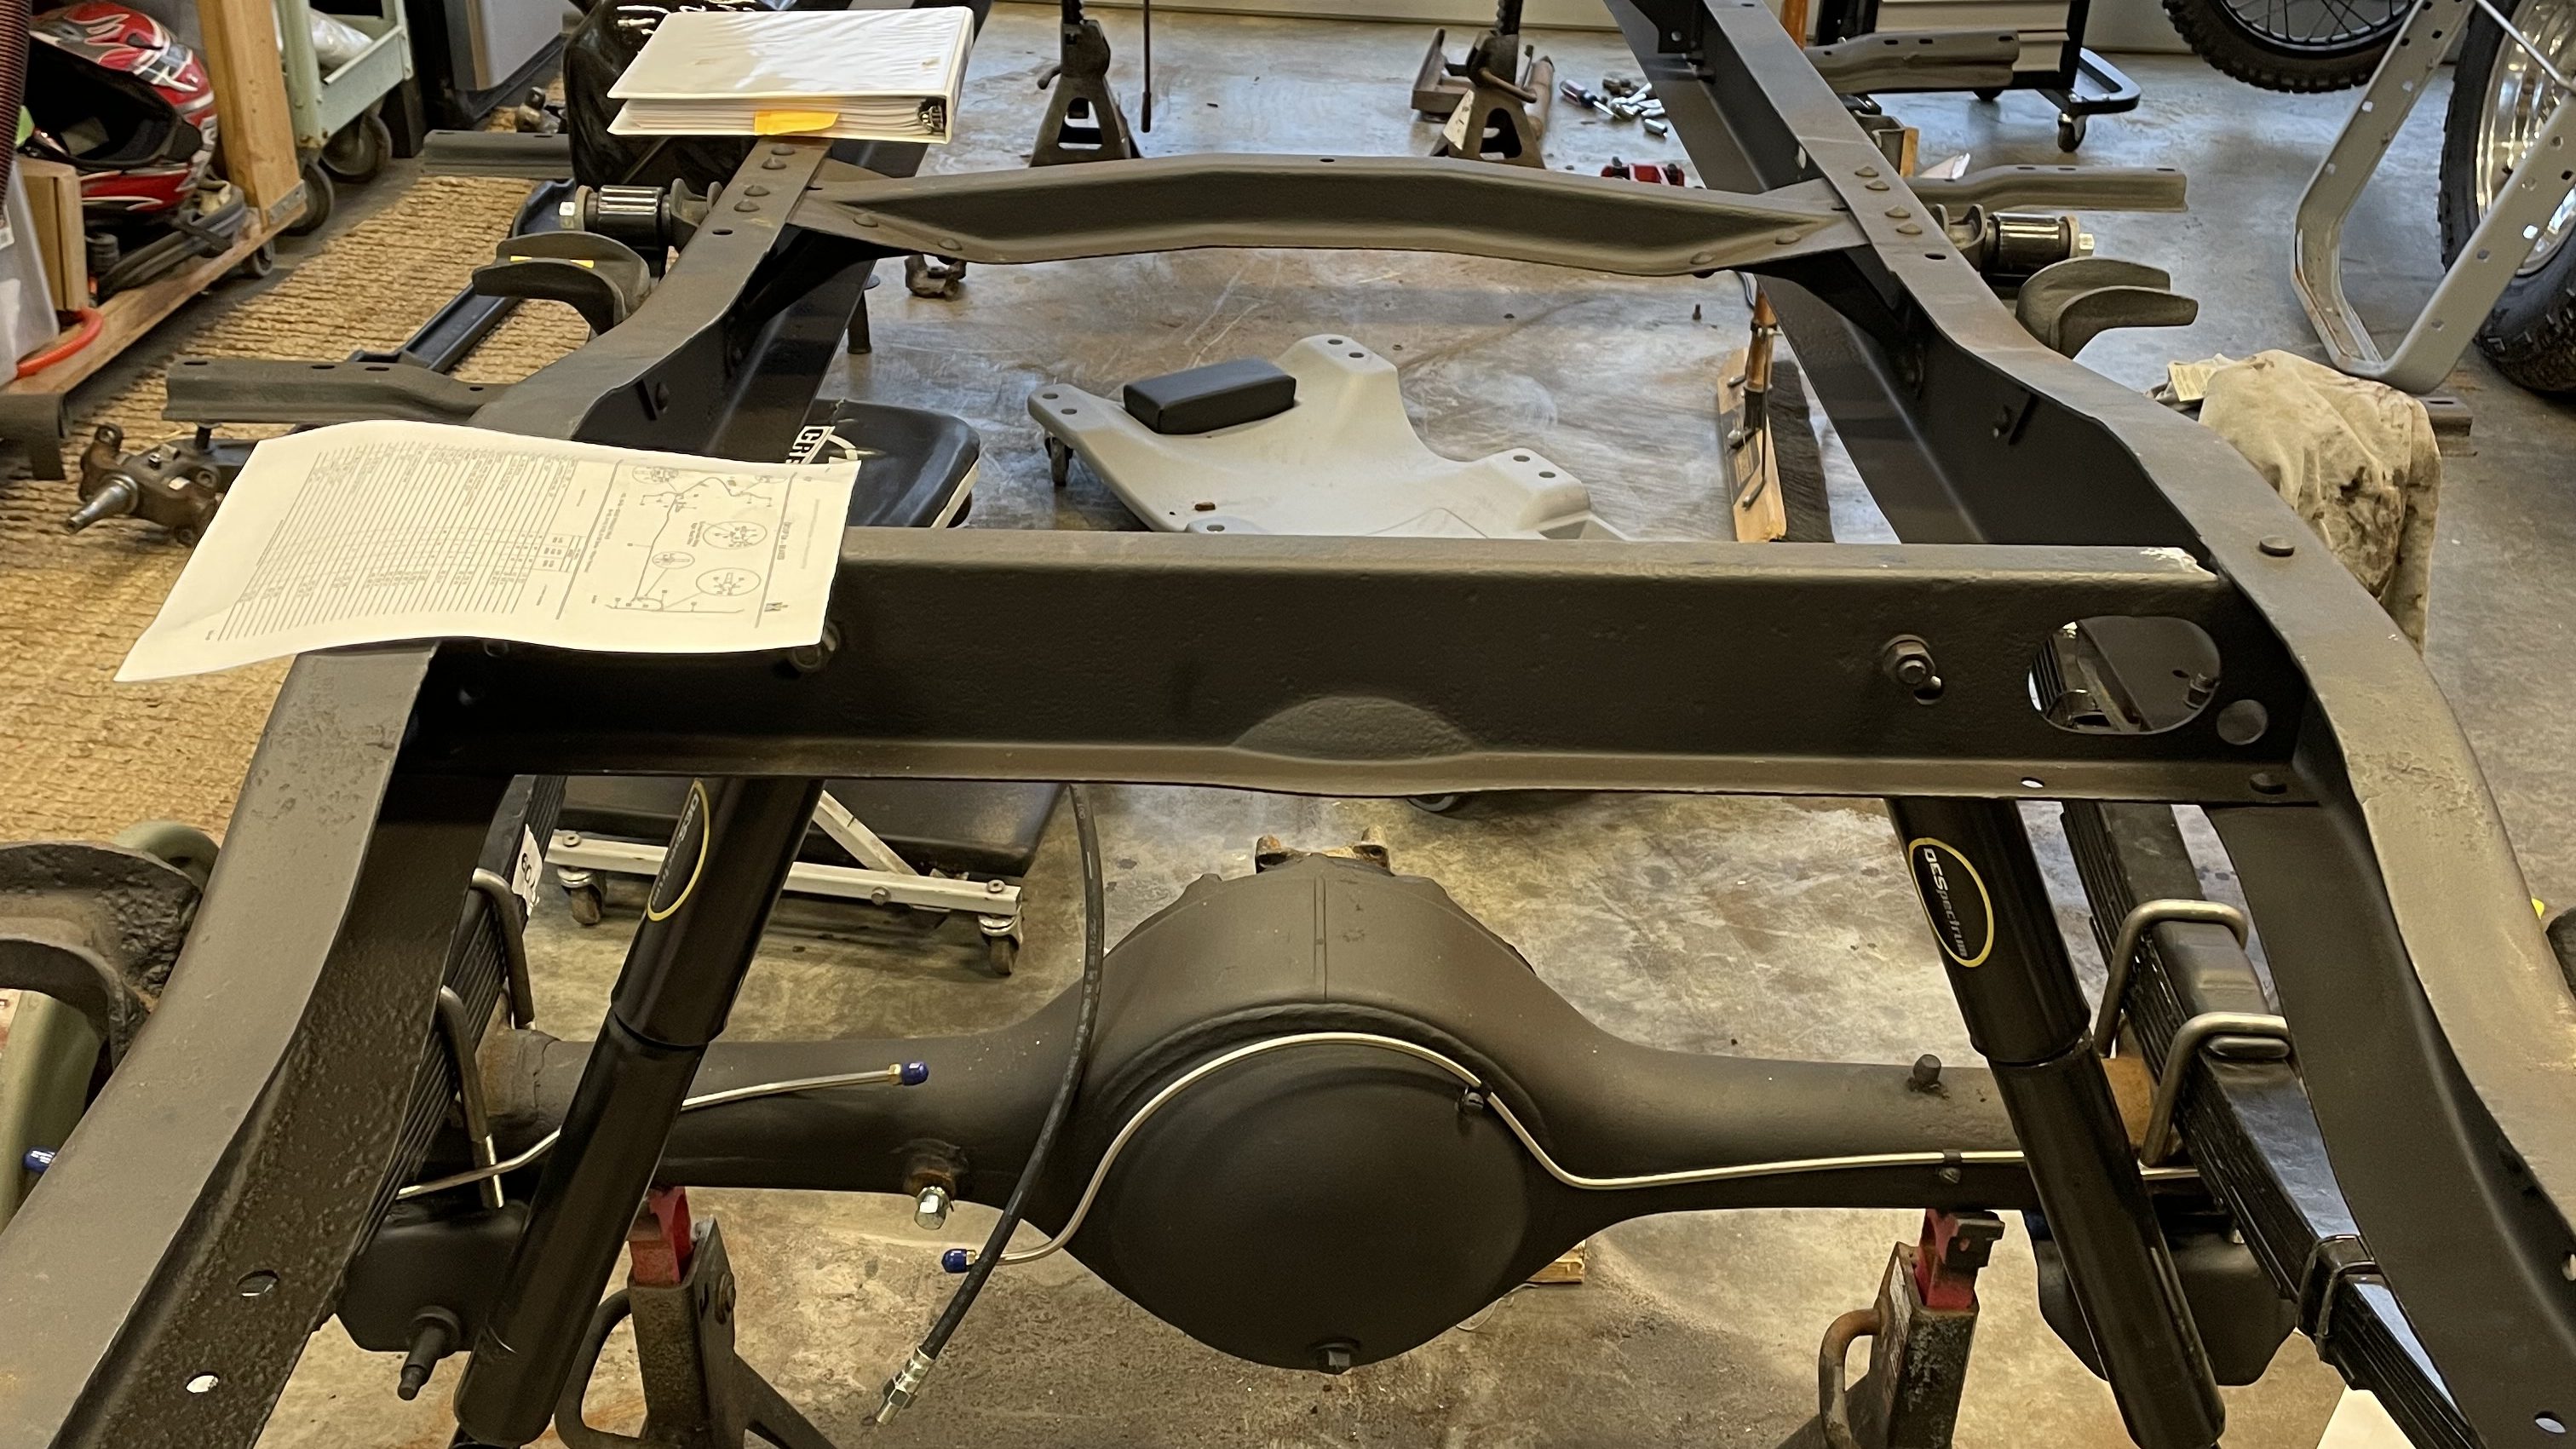
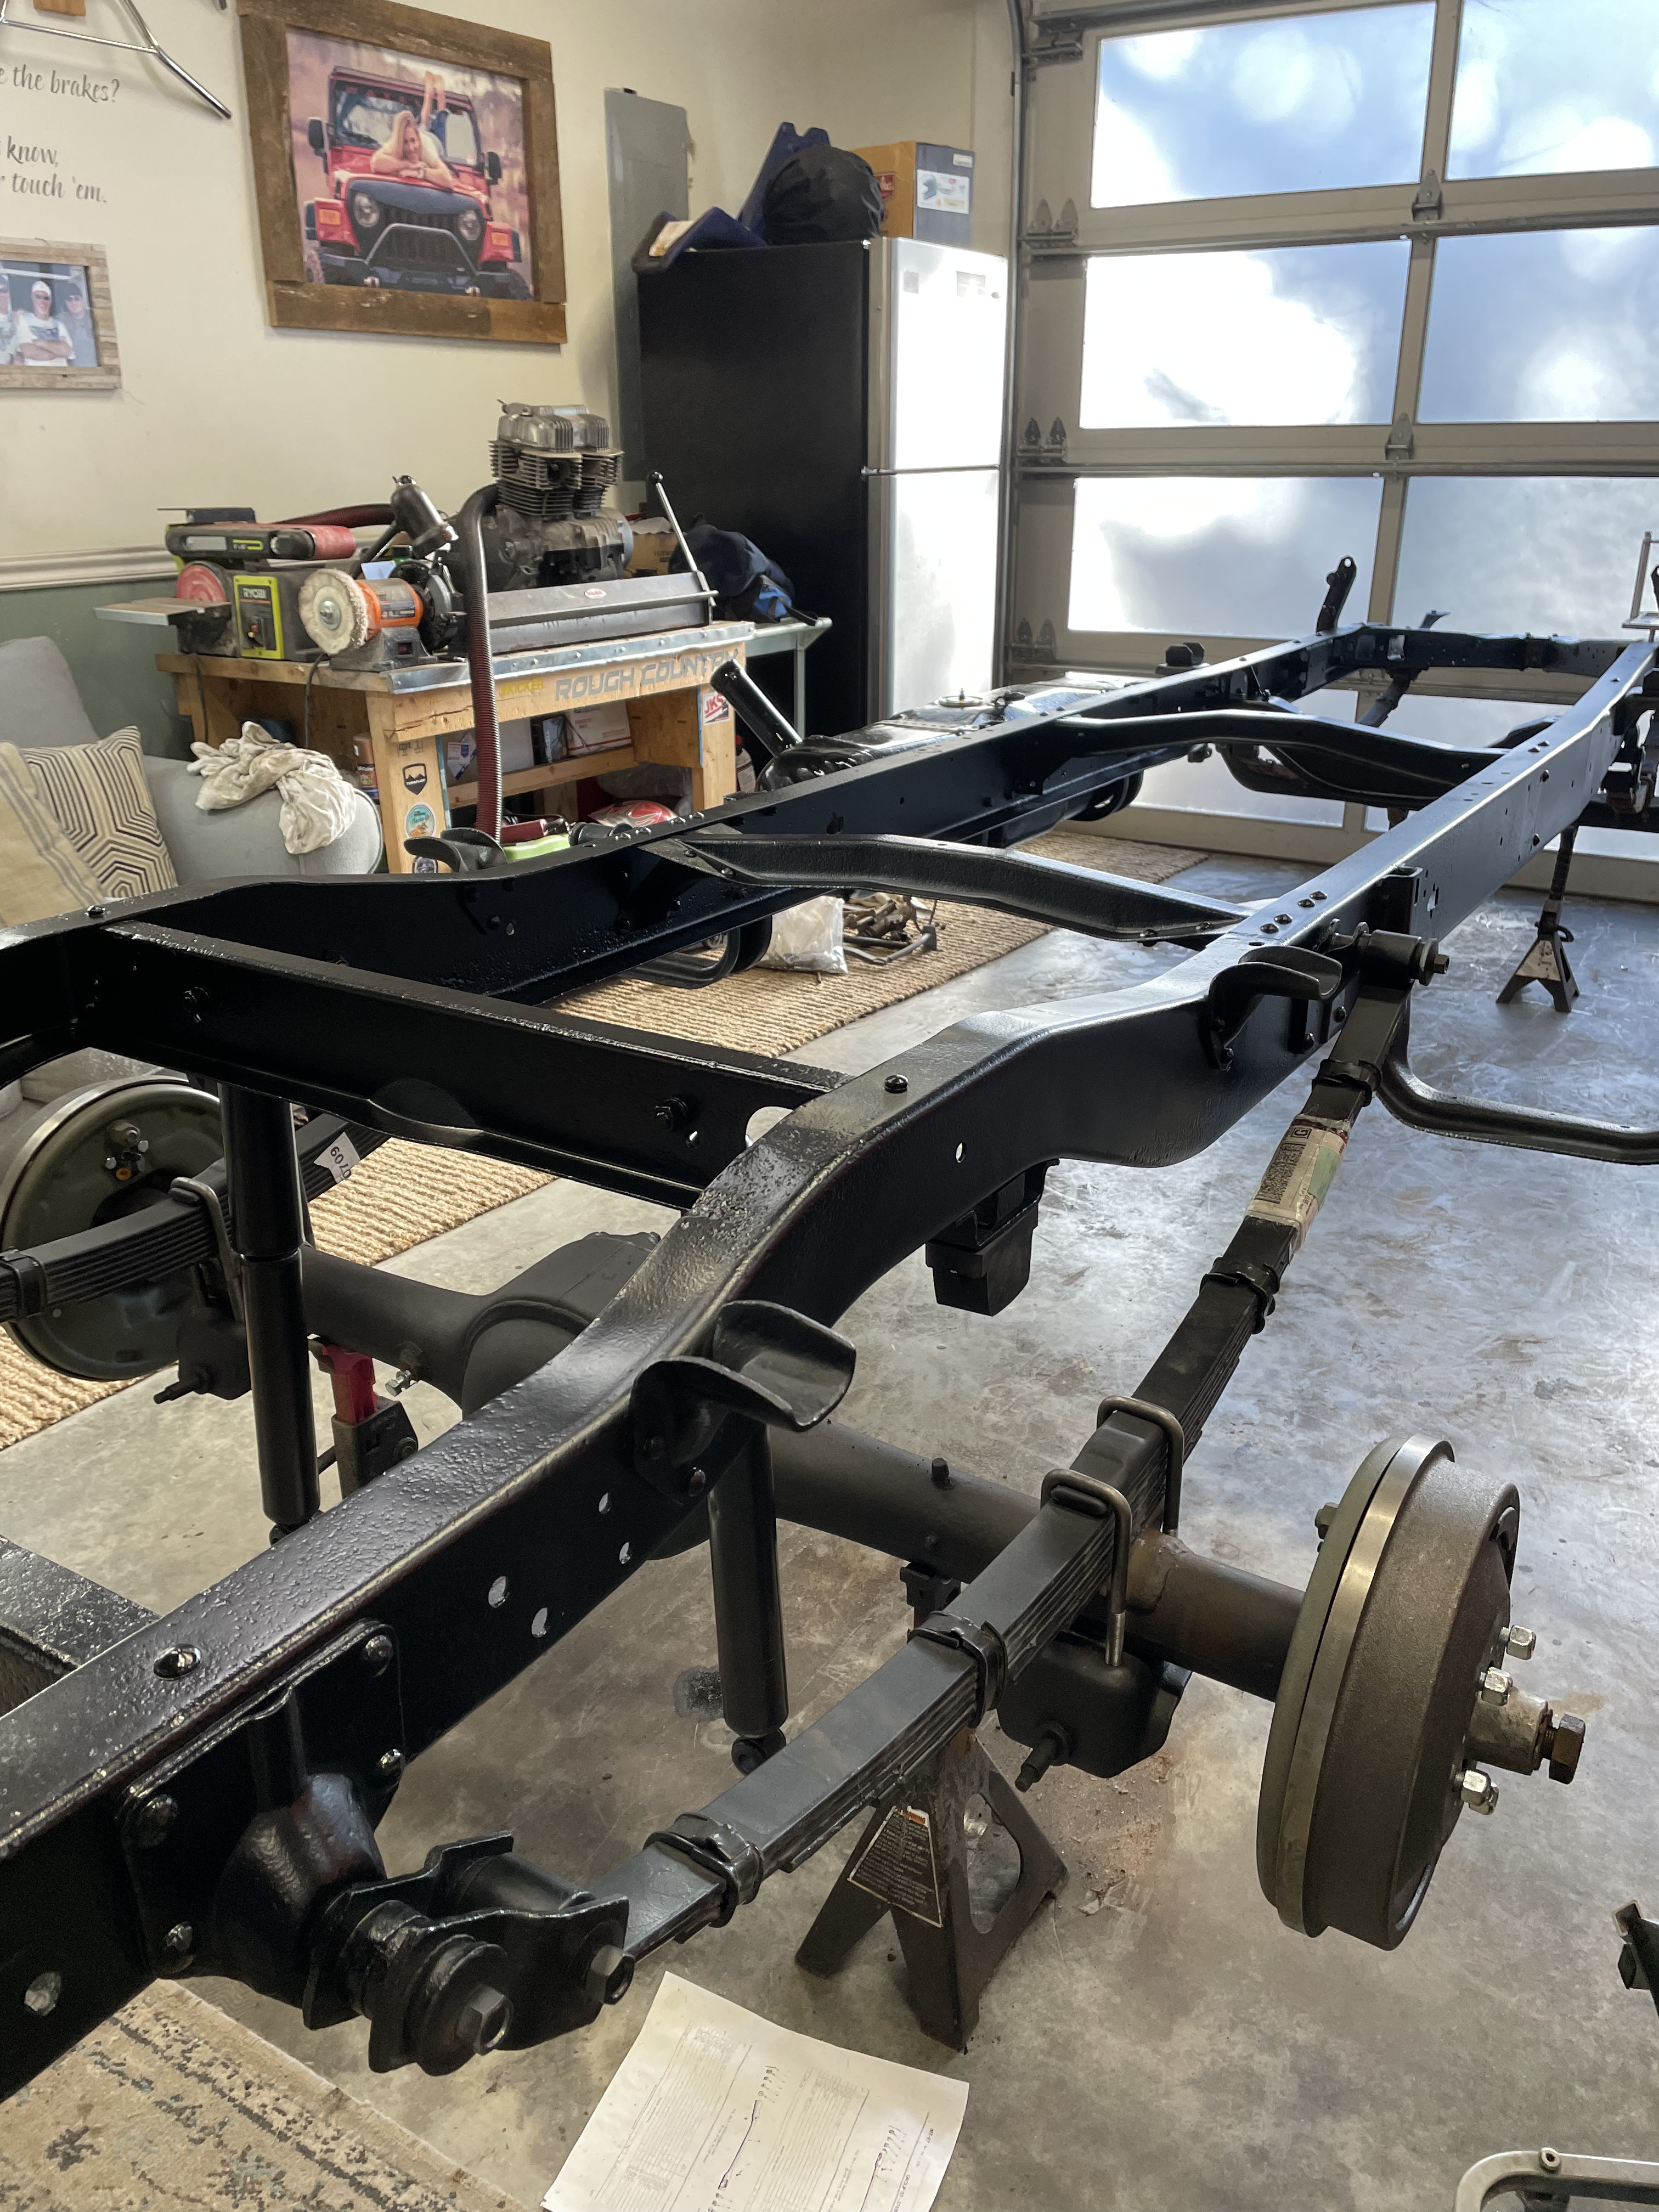
Working from the back, we’ve about buttoned up the brakes, dropped in the new leafs, new bushings, and new brake lines. Once we’ve completed these, we’ll pull the diff apart and determine our next steps. These trucks came with a floating rear axel made by IH. Later they moved to using Dana rear ends.
Make it all new
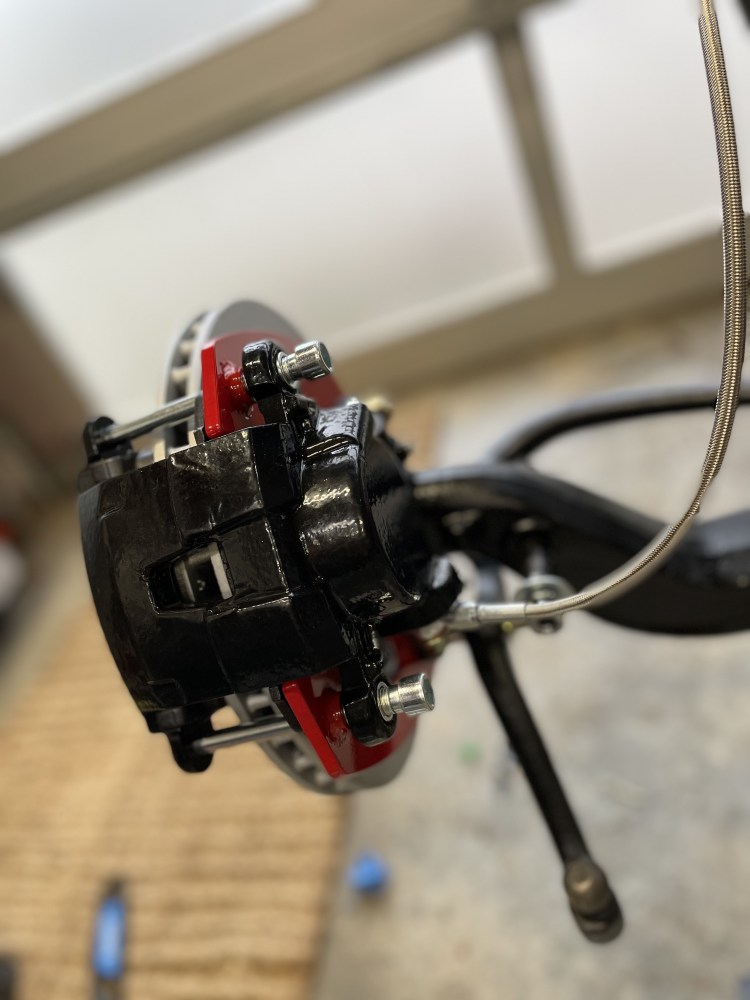
When we rebuilt the brakes, it included new pistons, shoes, hardware, seals and drums. These will work better than the originals when we’re done! We also converted the front to disc brakes for added stopping power.
Steady wins the race
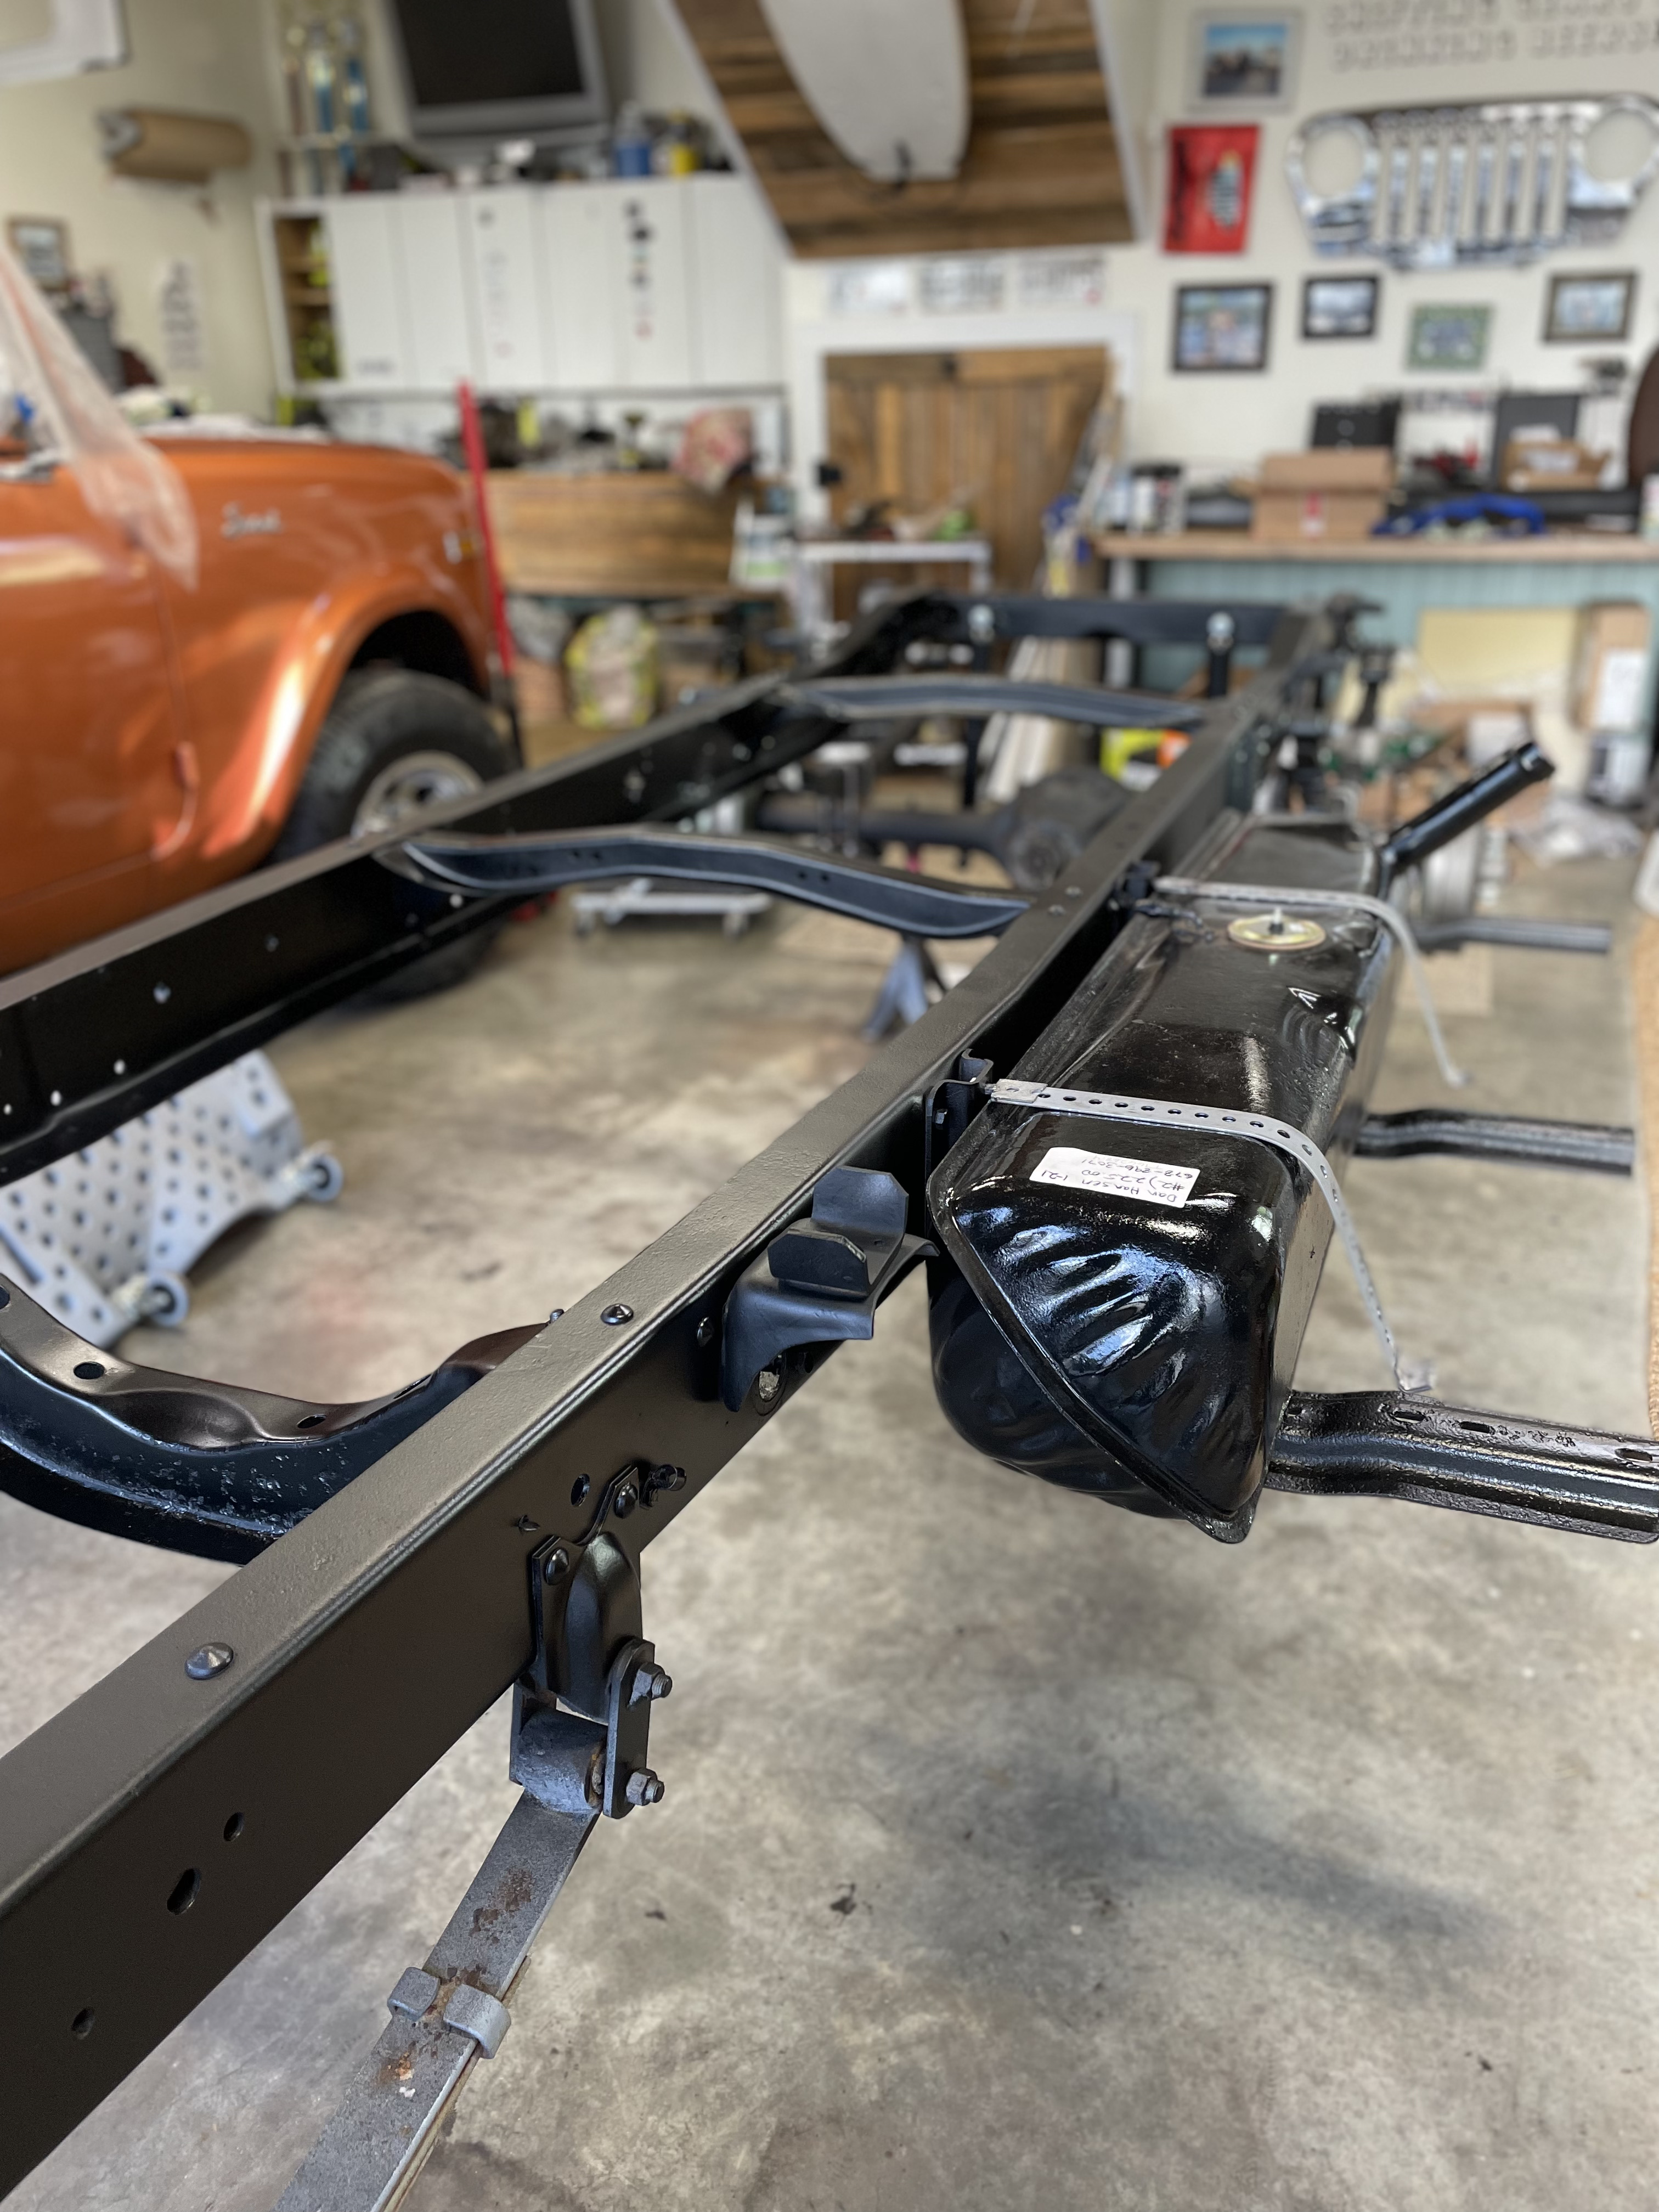
The frame components alone have taken five months. As we moved through it the tank was sent out for sealing, the drive shaft went to our guys at Ron’s Driveshaft for a rebuild and straightening as well as finding new hardware.


Details, details, and, well, details
As we go, we’re looking at everything. Little details like replacing the old rusted battery tray with something less conductive and stronger. We added power disc brakes in front and replaced the original hydraulic brake master with a two-well power brake booster. I know guys hate it when you “change” anything that was stock, but frankly, it was just unsafe. With both front and back brakes running off a single-well master cylinder, you run the risk of loosing ALL brakes if it (the master) fails.
Fabrication
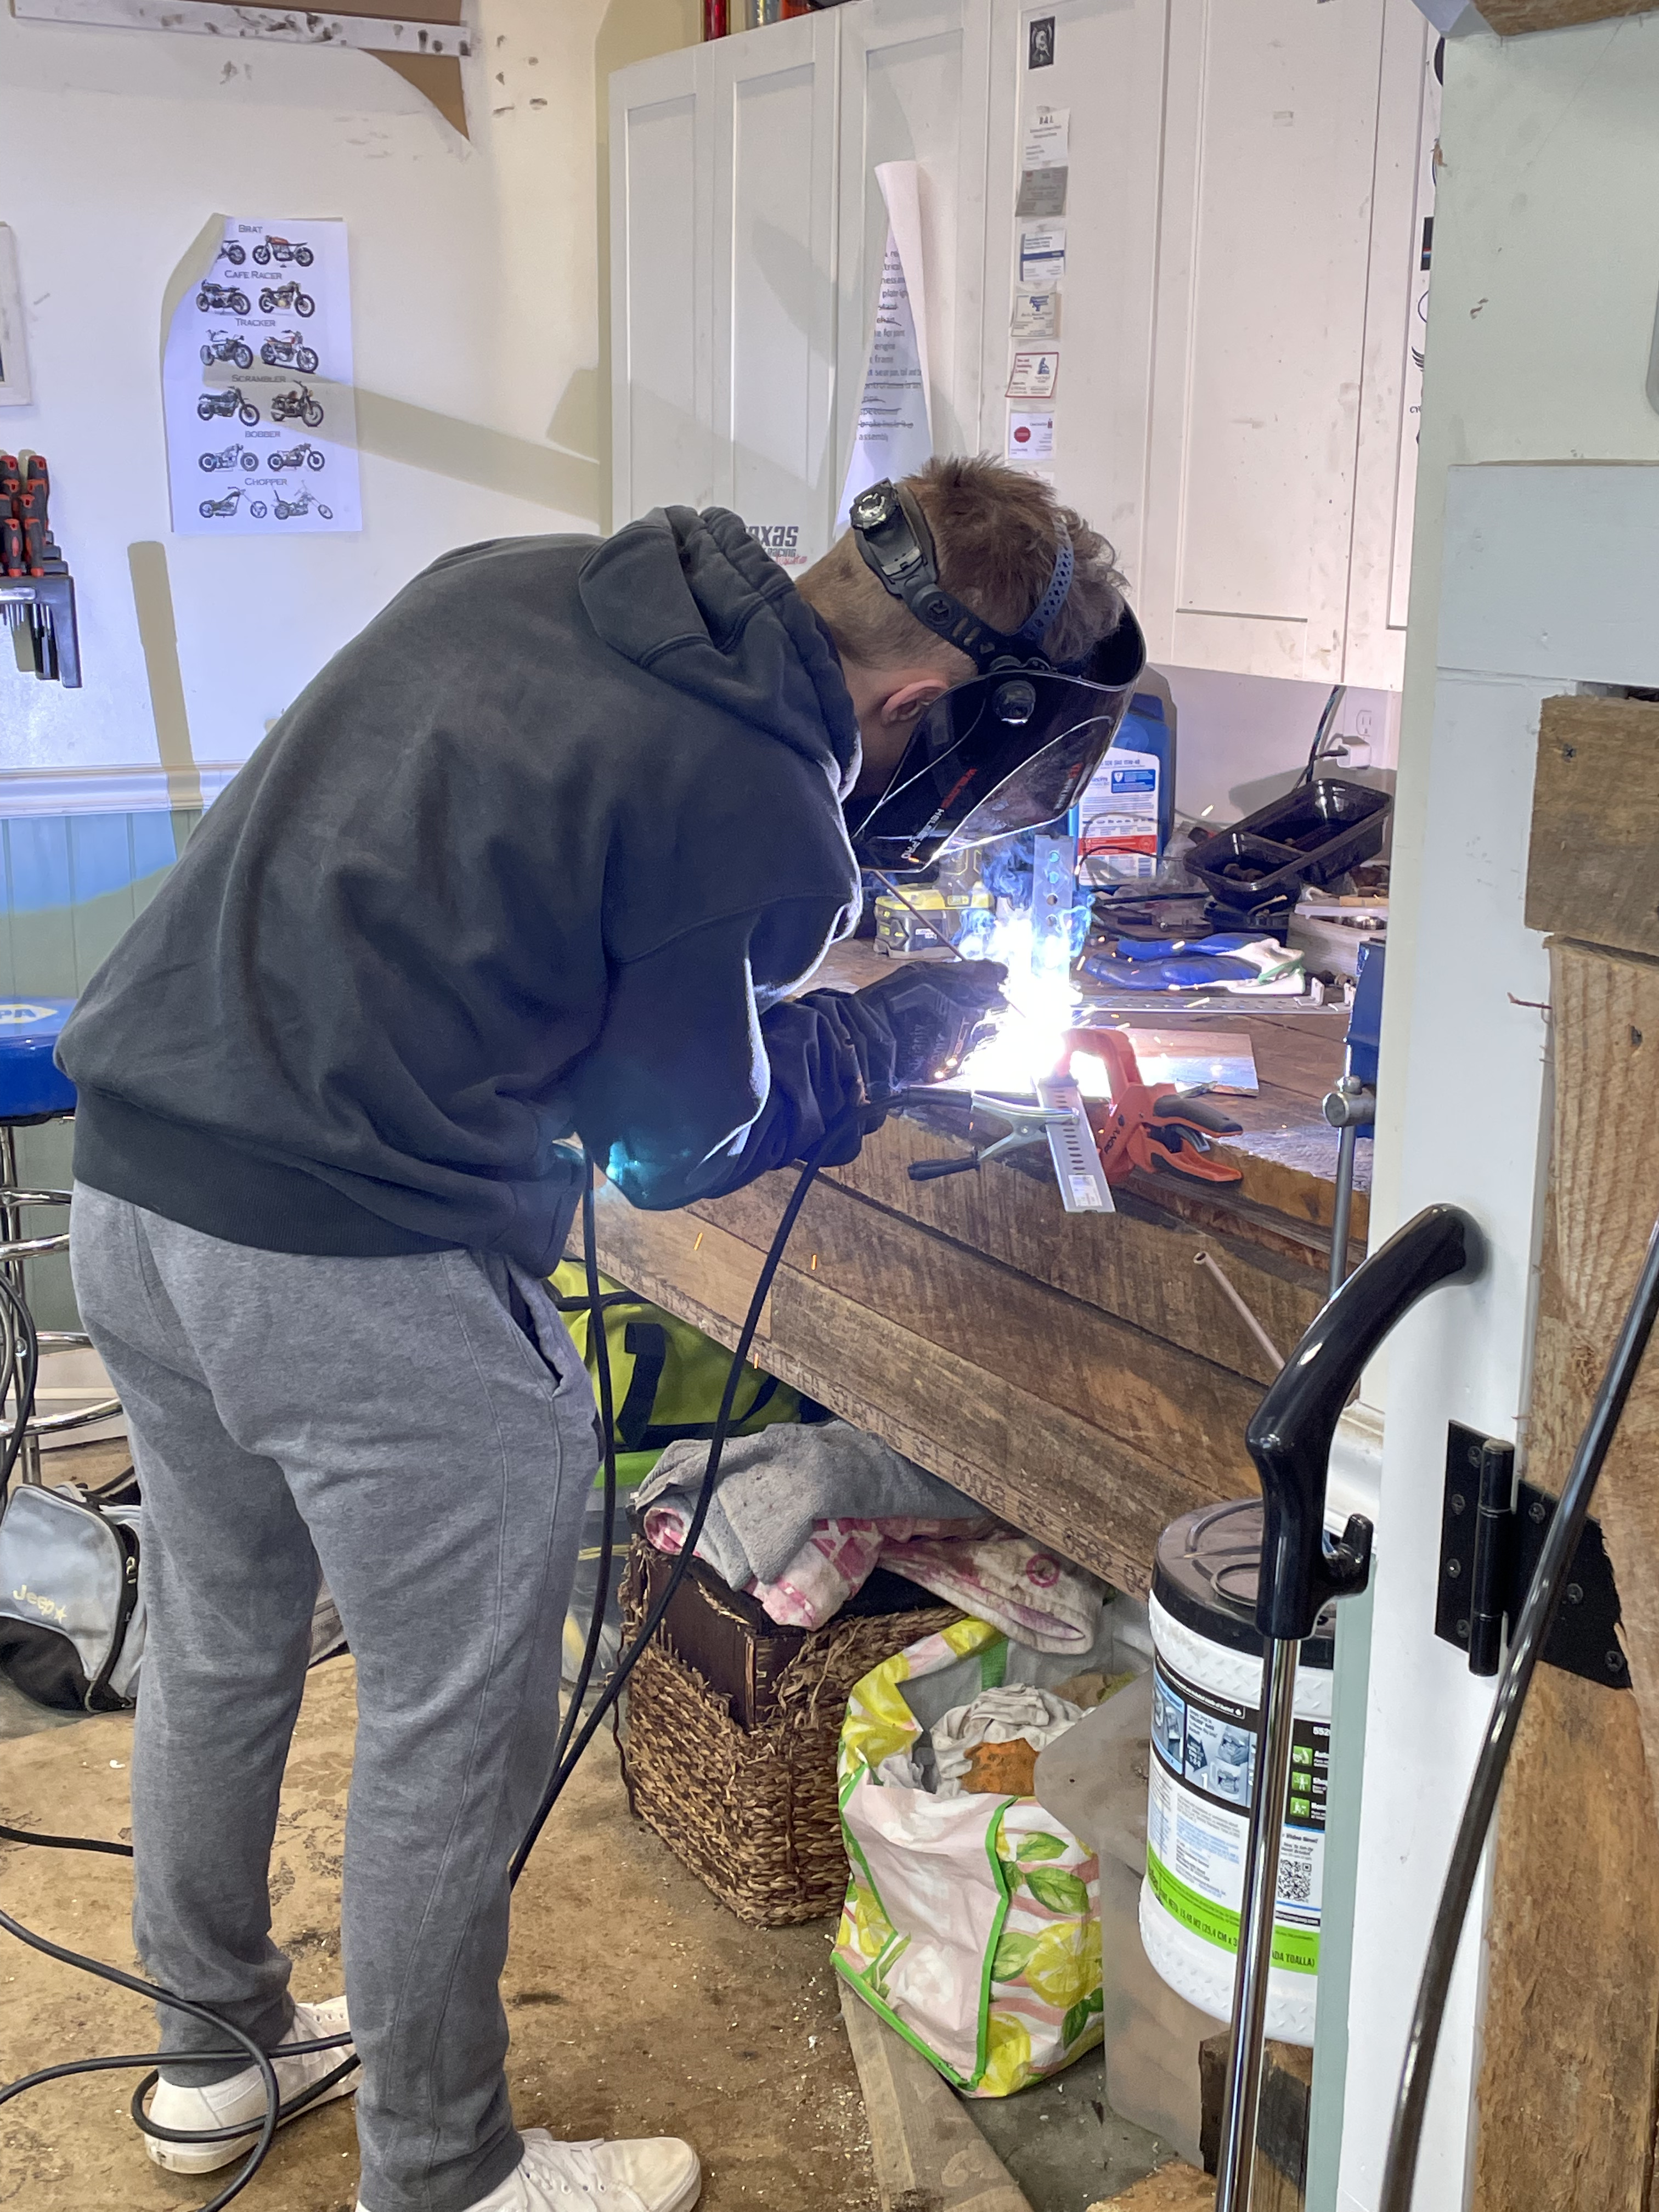
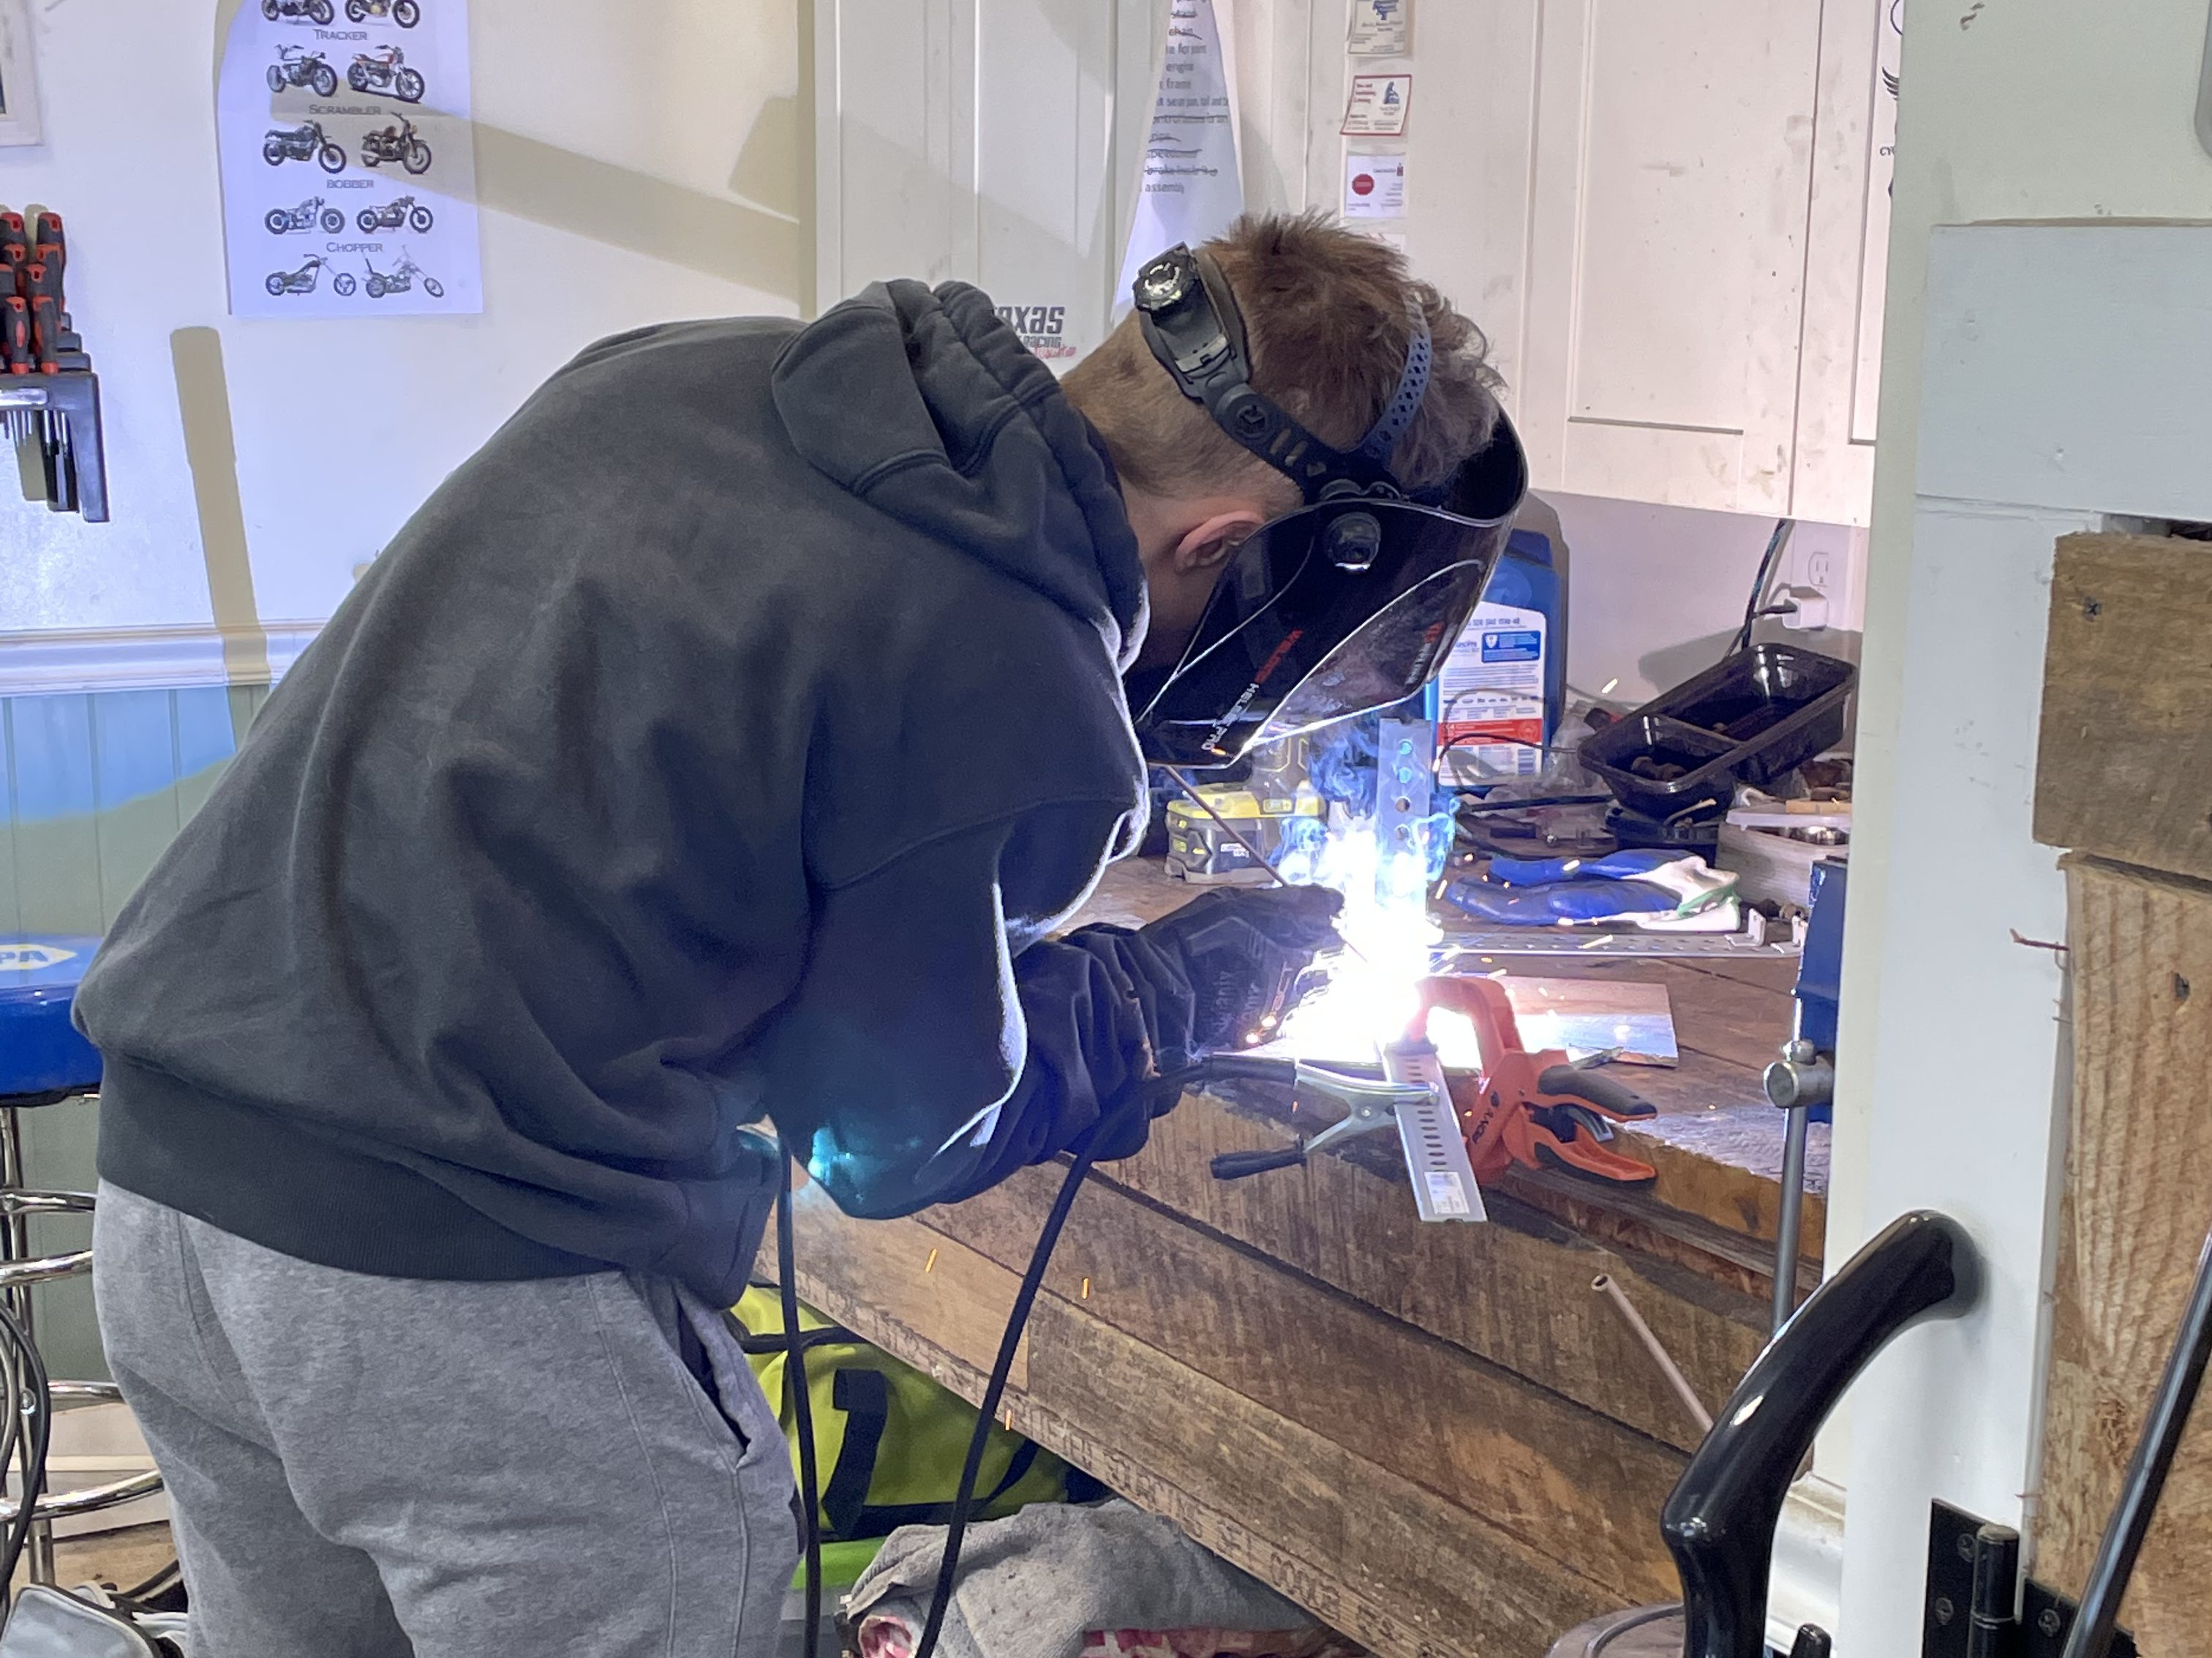
We did surprisingly little welding on the vehicle. We closed a couple gaps and touched up some messes from the PO, but most welding centered on new part development when parts were tough to find, or we were eliminating something.
Fill the gap
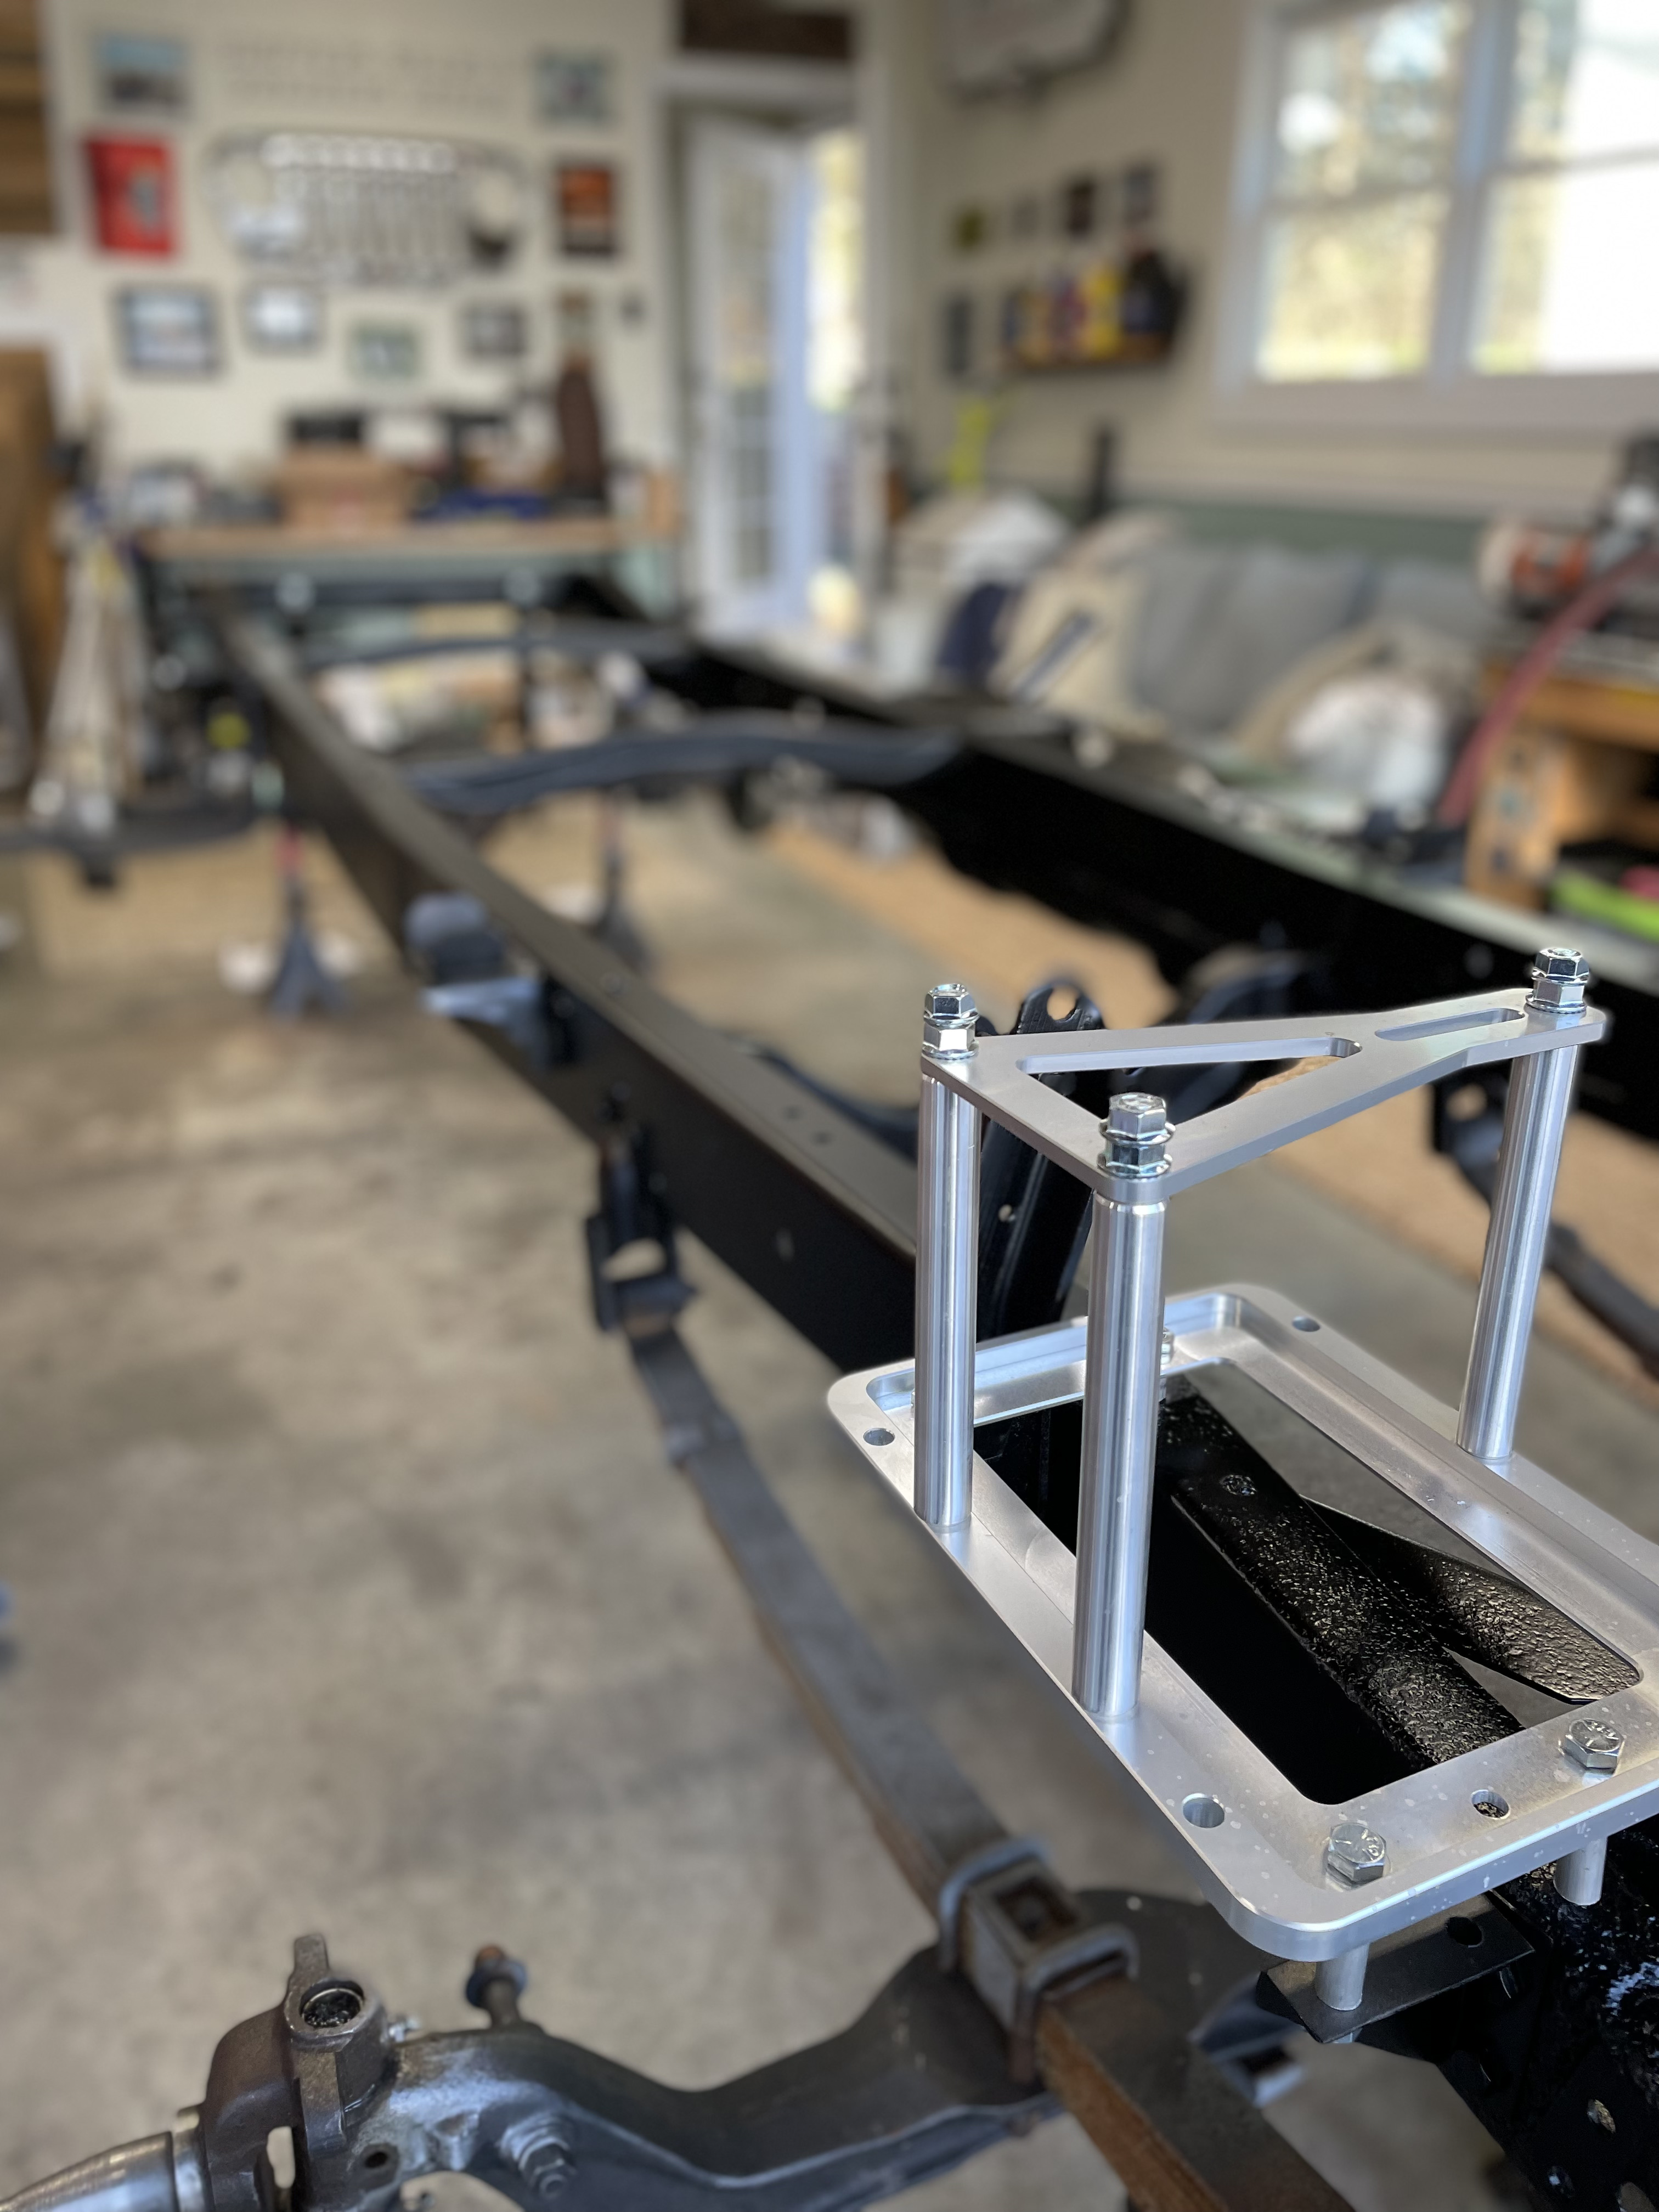
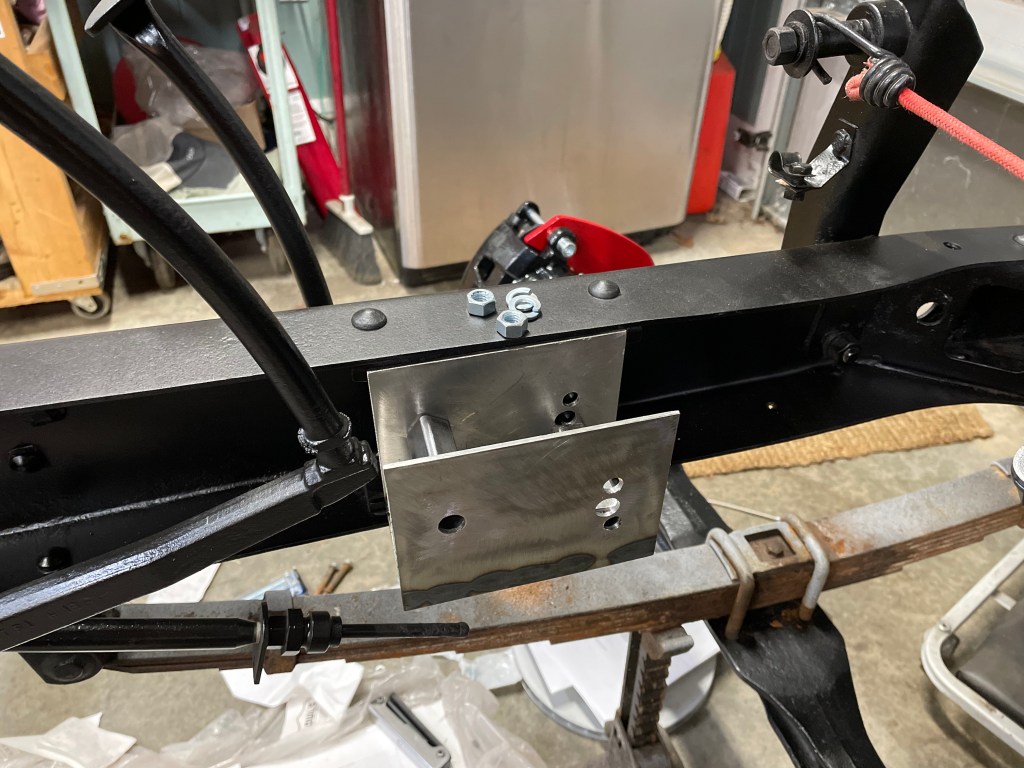
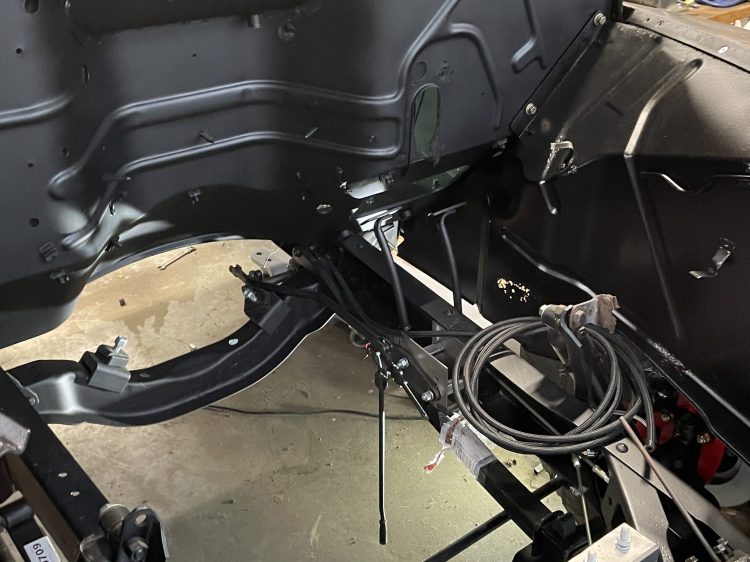
The original master brake cylinder was located on the lower frame, which we eliminated. As a result, we had to fabricate a box to replace it, since it was also a pivot point for much of the linkage.
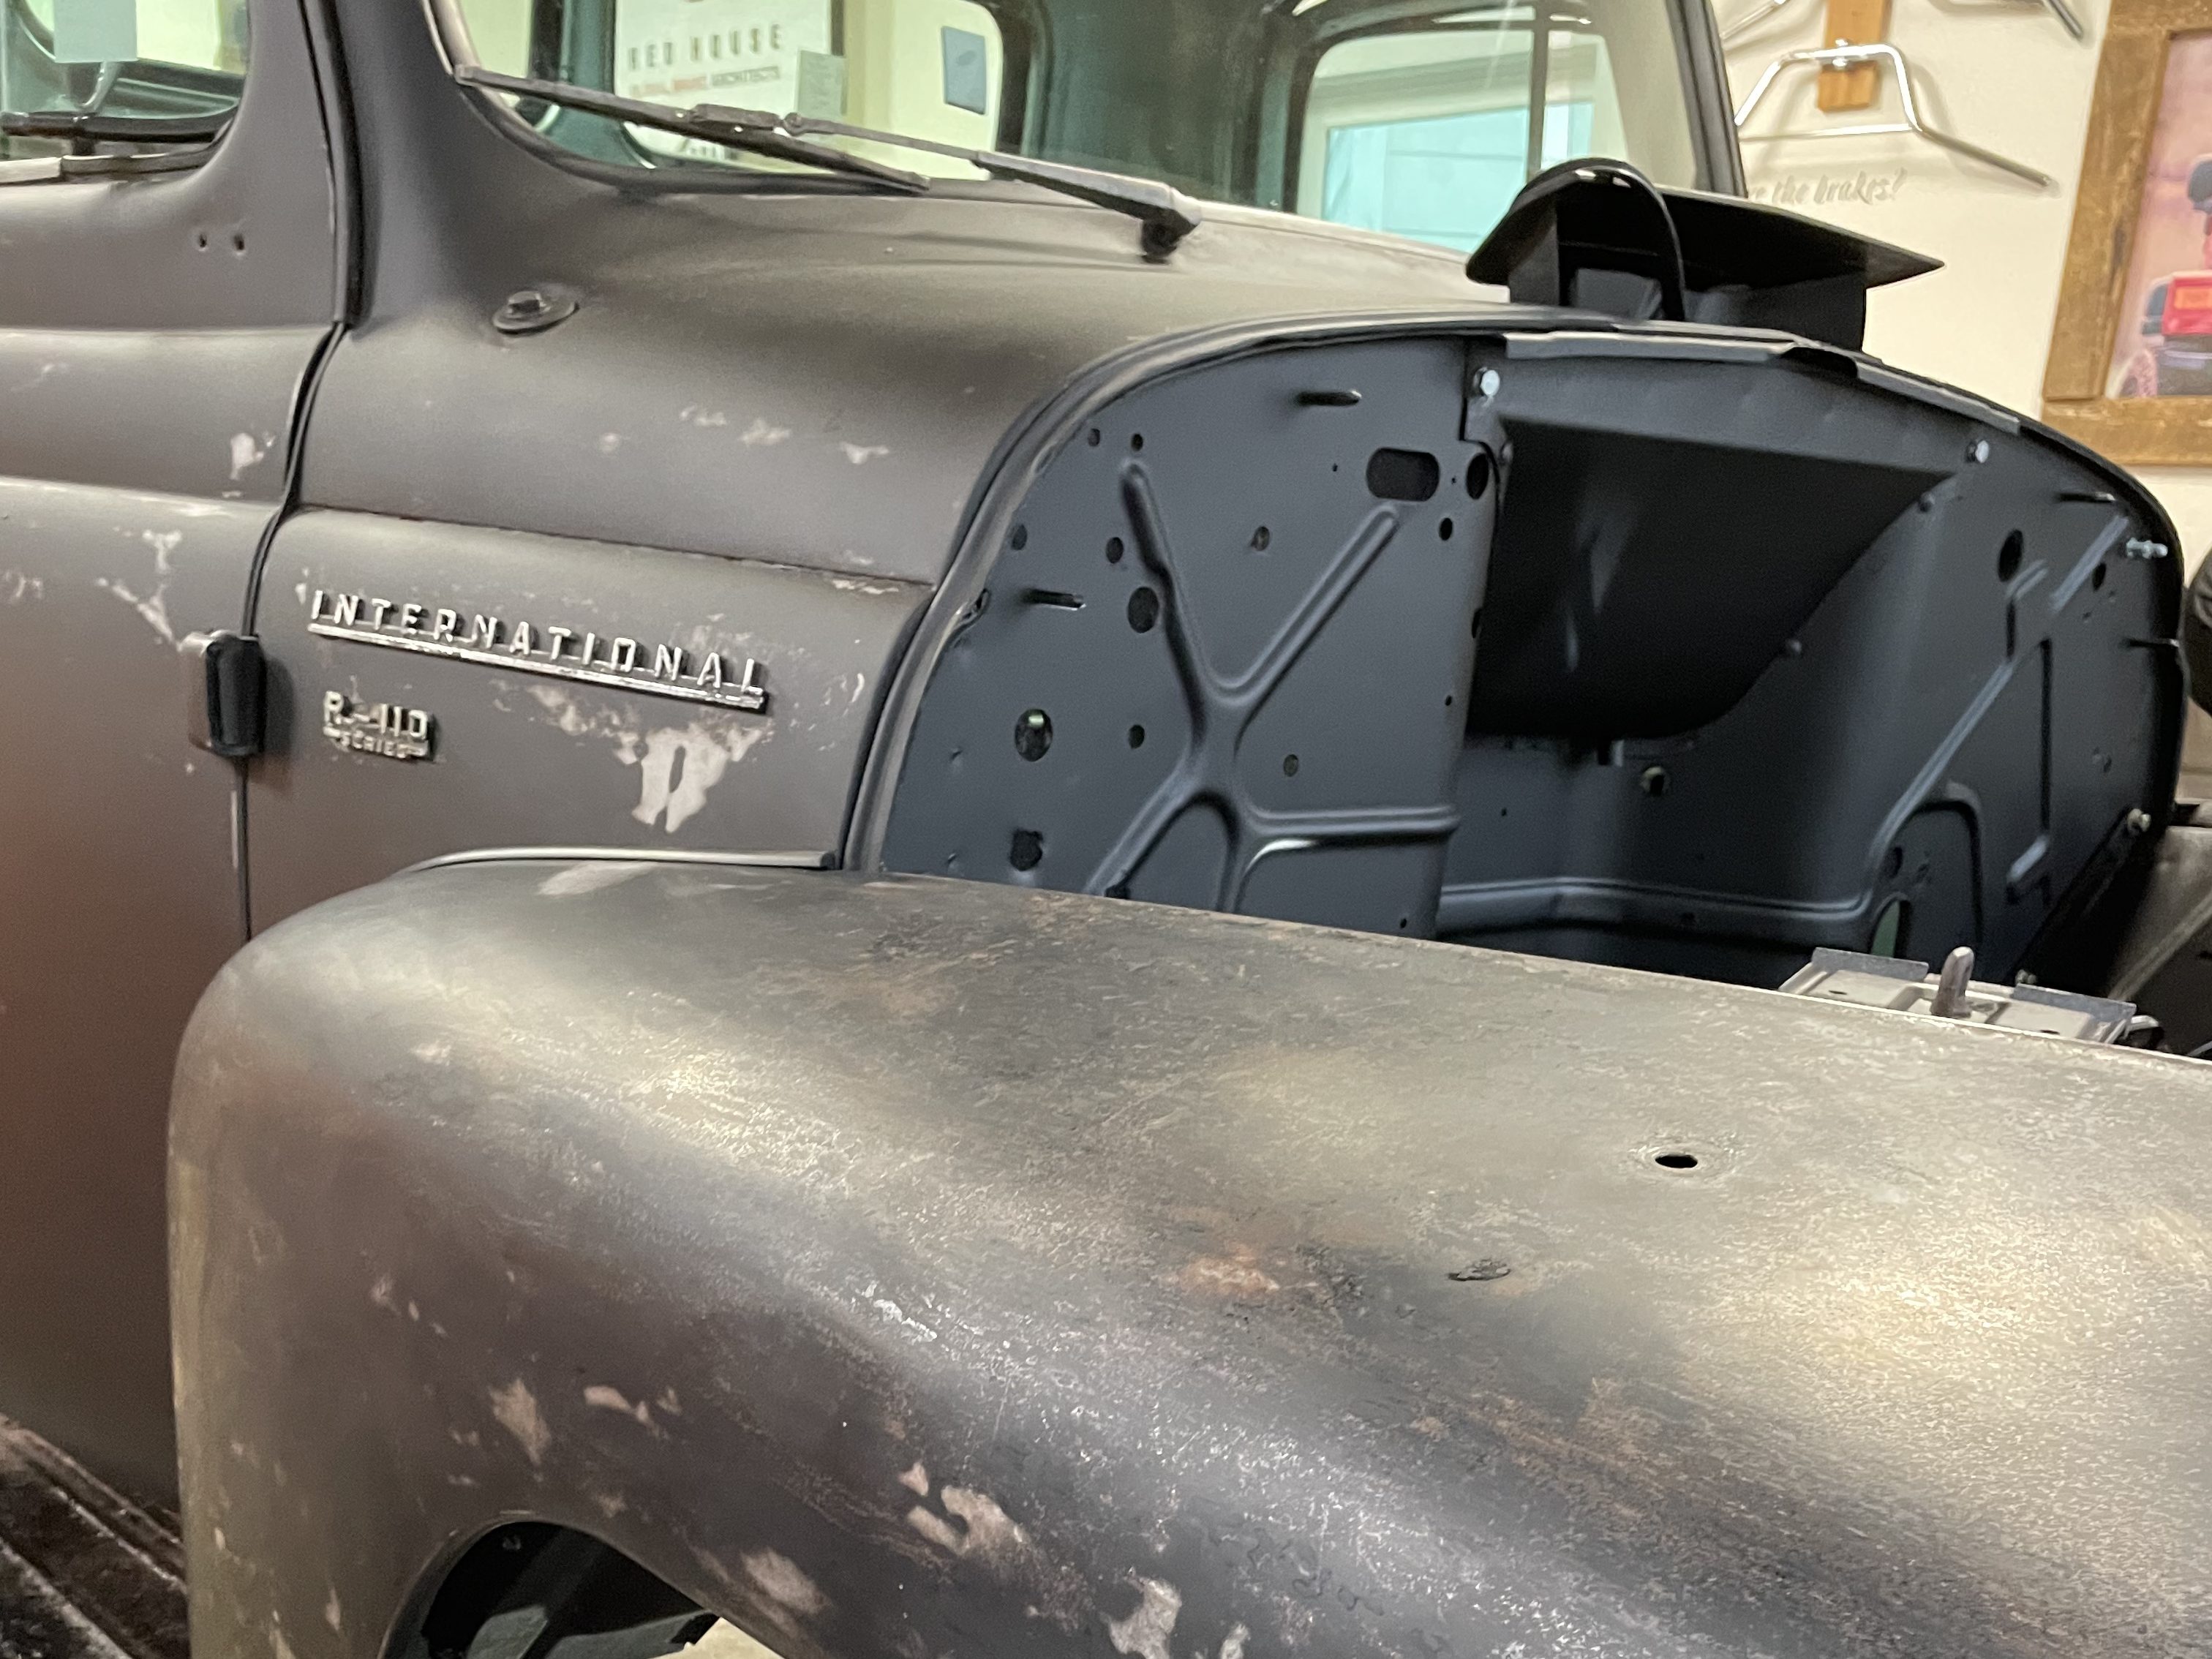
The body had years of brushed on paint cover. This wasn’t uncommon back in the 50’s and 60’s. Farmers would routinely cover rust with Navel Jelly. A trick they picked up from WW2. Navel Jelly was used on ships to convert rust back to metal through a chemical reaction. Each section received up to seven separate sandings (wet and dry) to remove the old coats and leave the original paint where possible. Then three coats of satin clear were added as a protectant.
Check out the Copperhead build. A 1970 International Scout
Reassembly begins
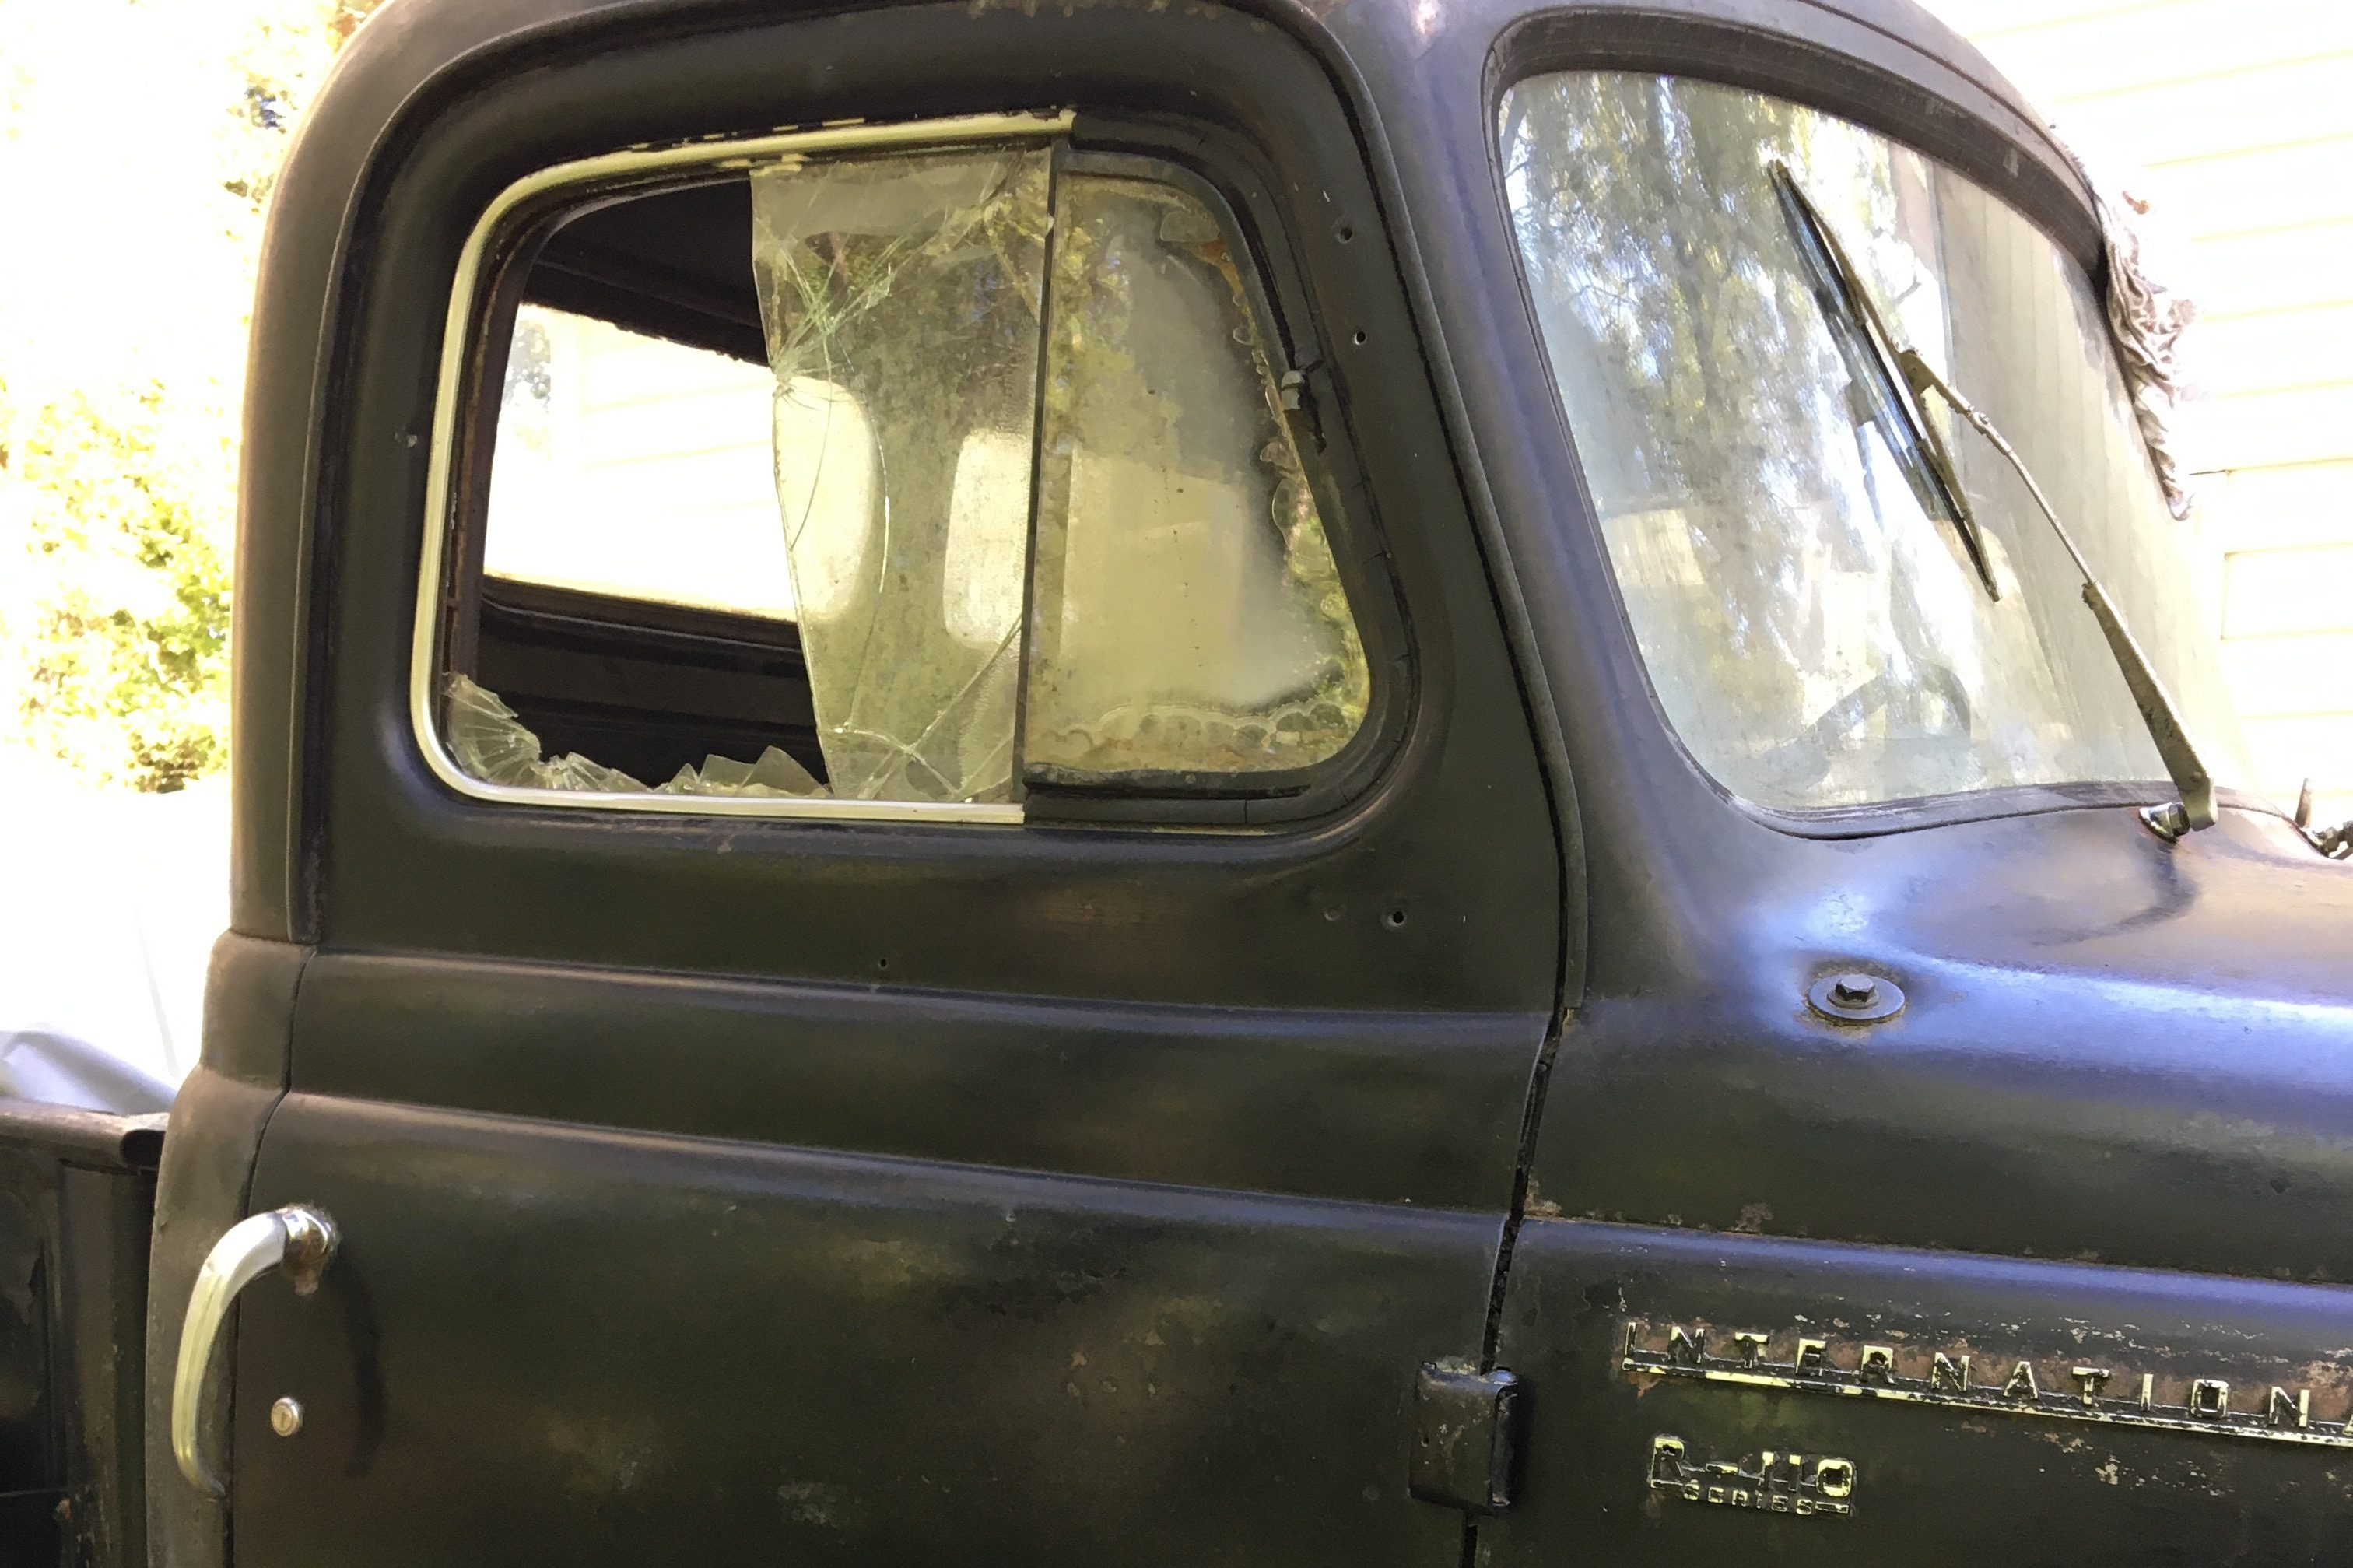
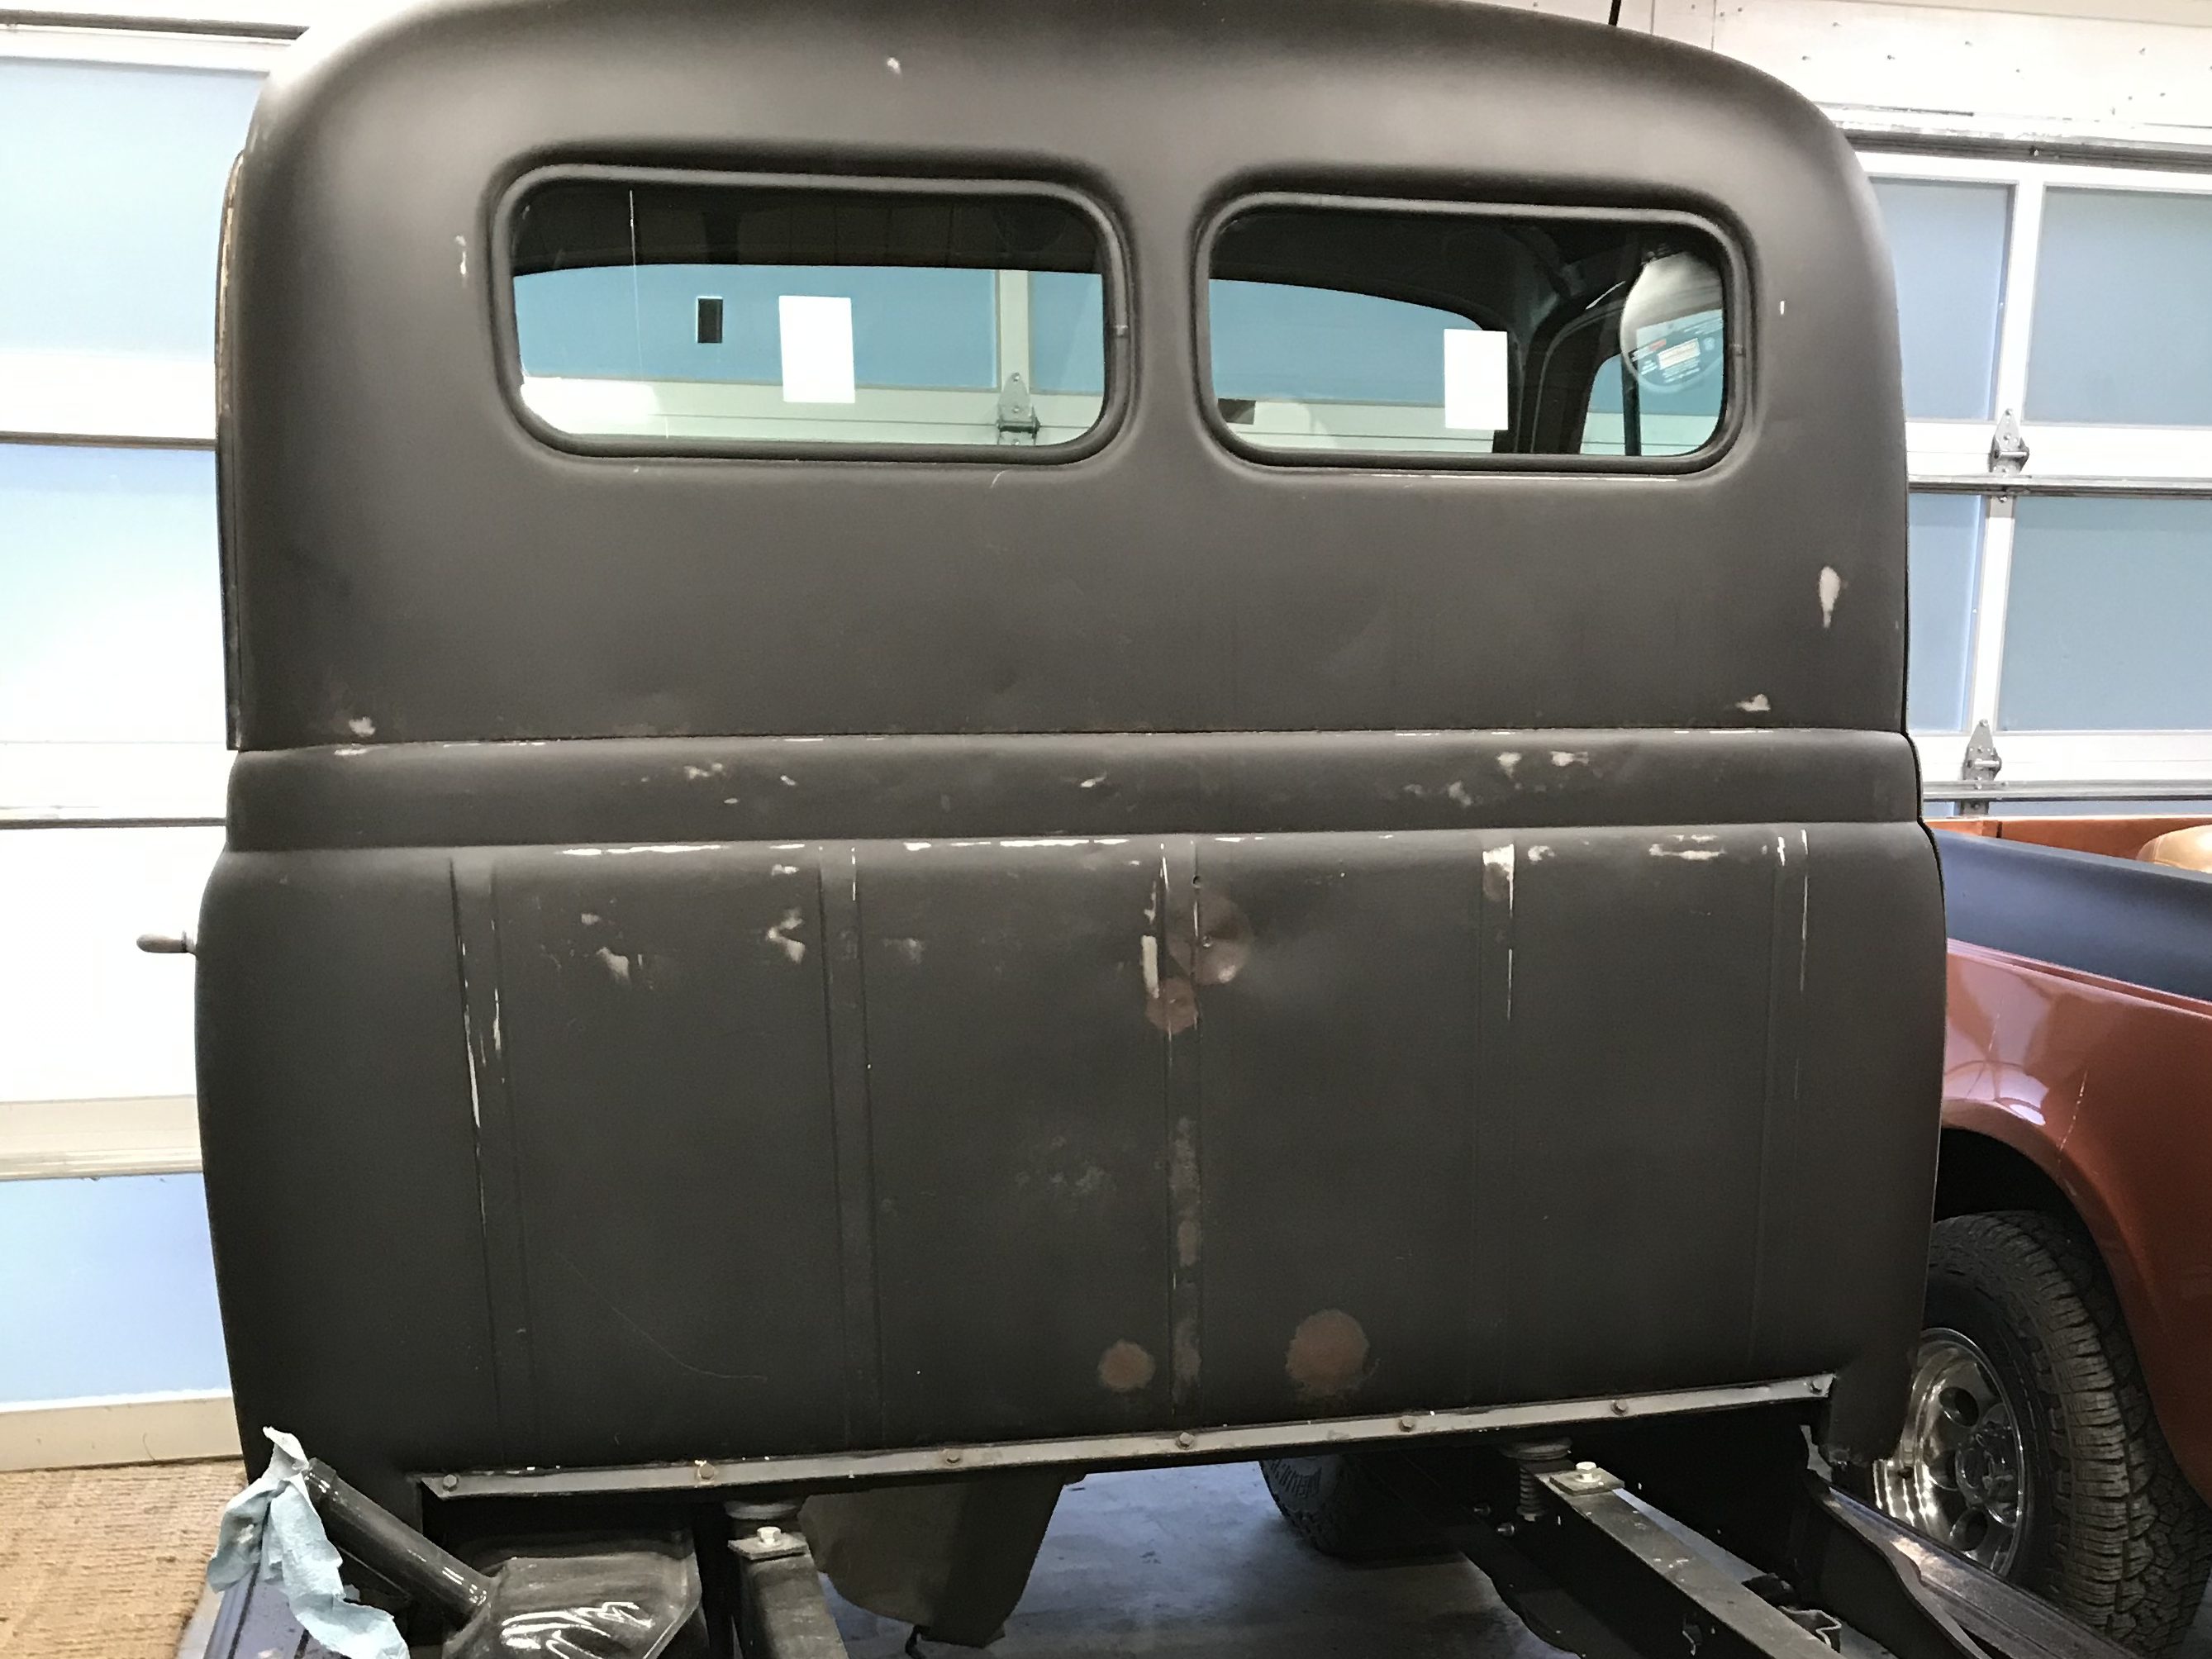
After the body was sanded, cleared and cleaned, reassembly has begun. The cab is the central point to putting any truck back together, so thats where we began. The undercoating was completed, the new glass was in place, all window and door actuation was repaired or replaced, so all thats left is the interior work.
Make way for daddy
The frame, firewall, inner fenders and more were all painted Hot Rod Black to ensure the overall look is maintained with the patina exterior. All components like rear wiring, new gas lines, and brake lines are routed and left in the front in anticipation of the new drive train. Meanwhile, all new shocks and springs were added as well.
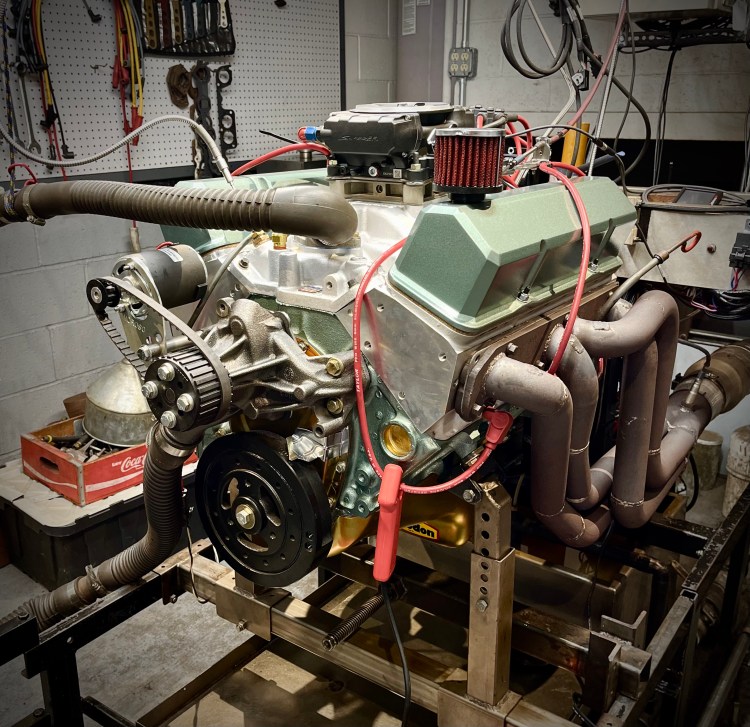
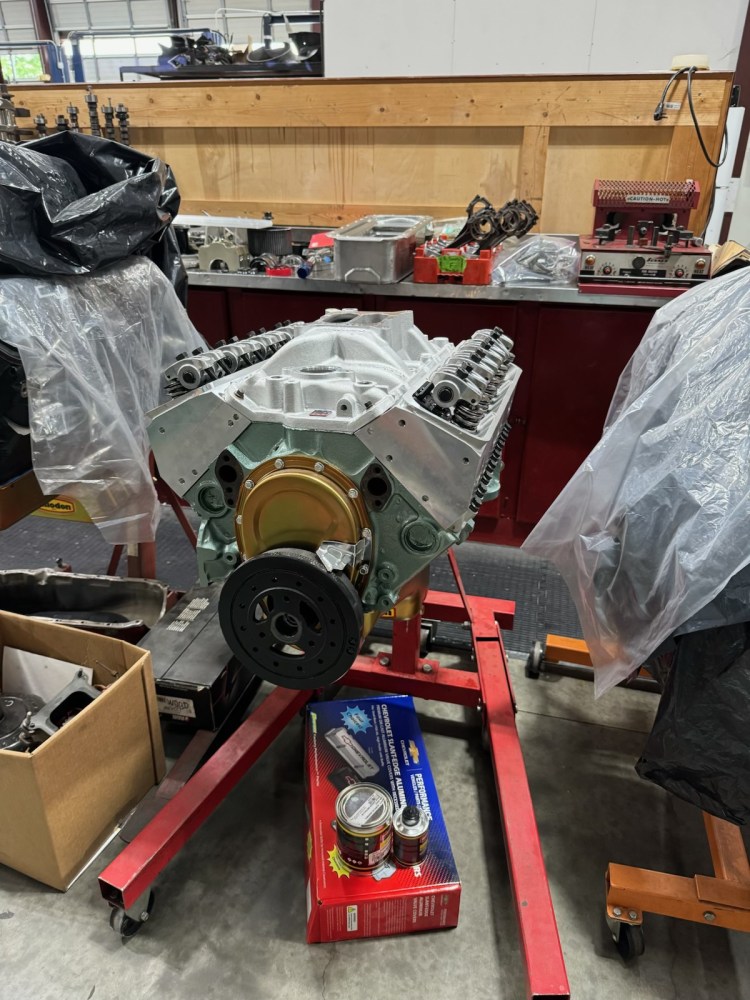
As we mentioned before, we’re not going stock on this engine. Instead, we’ve opted to build a 383 stroker to move LockJaw, and whoever is driving it! After the build, we went ahead and worked on the tune. Final numbers say we’re running +/- 435 Horse and a little over 450 torque. That should do it!

I have a 1970 ih 1200D 4/4 stepside very rare truck Please contact me regarding completion it needs primed and painted. I have all the badges parts everything. To complete it. The truck was my fathers and he has passed on. Please contact me ASAP.
LikeLiked by 1 person
John, Would love to help out. Please reach out through FaceBook and we can DM/trade numbers. Thanks! -Dan
LikeLike