Building a Honda Street Tracker
We received this bike as part of a trailer full of parts, frames and motors. Once the Bullitt Boy build was complete, we decided to make this CM 450 decidedly different.

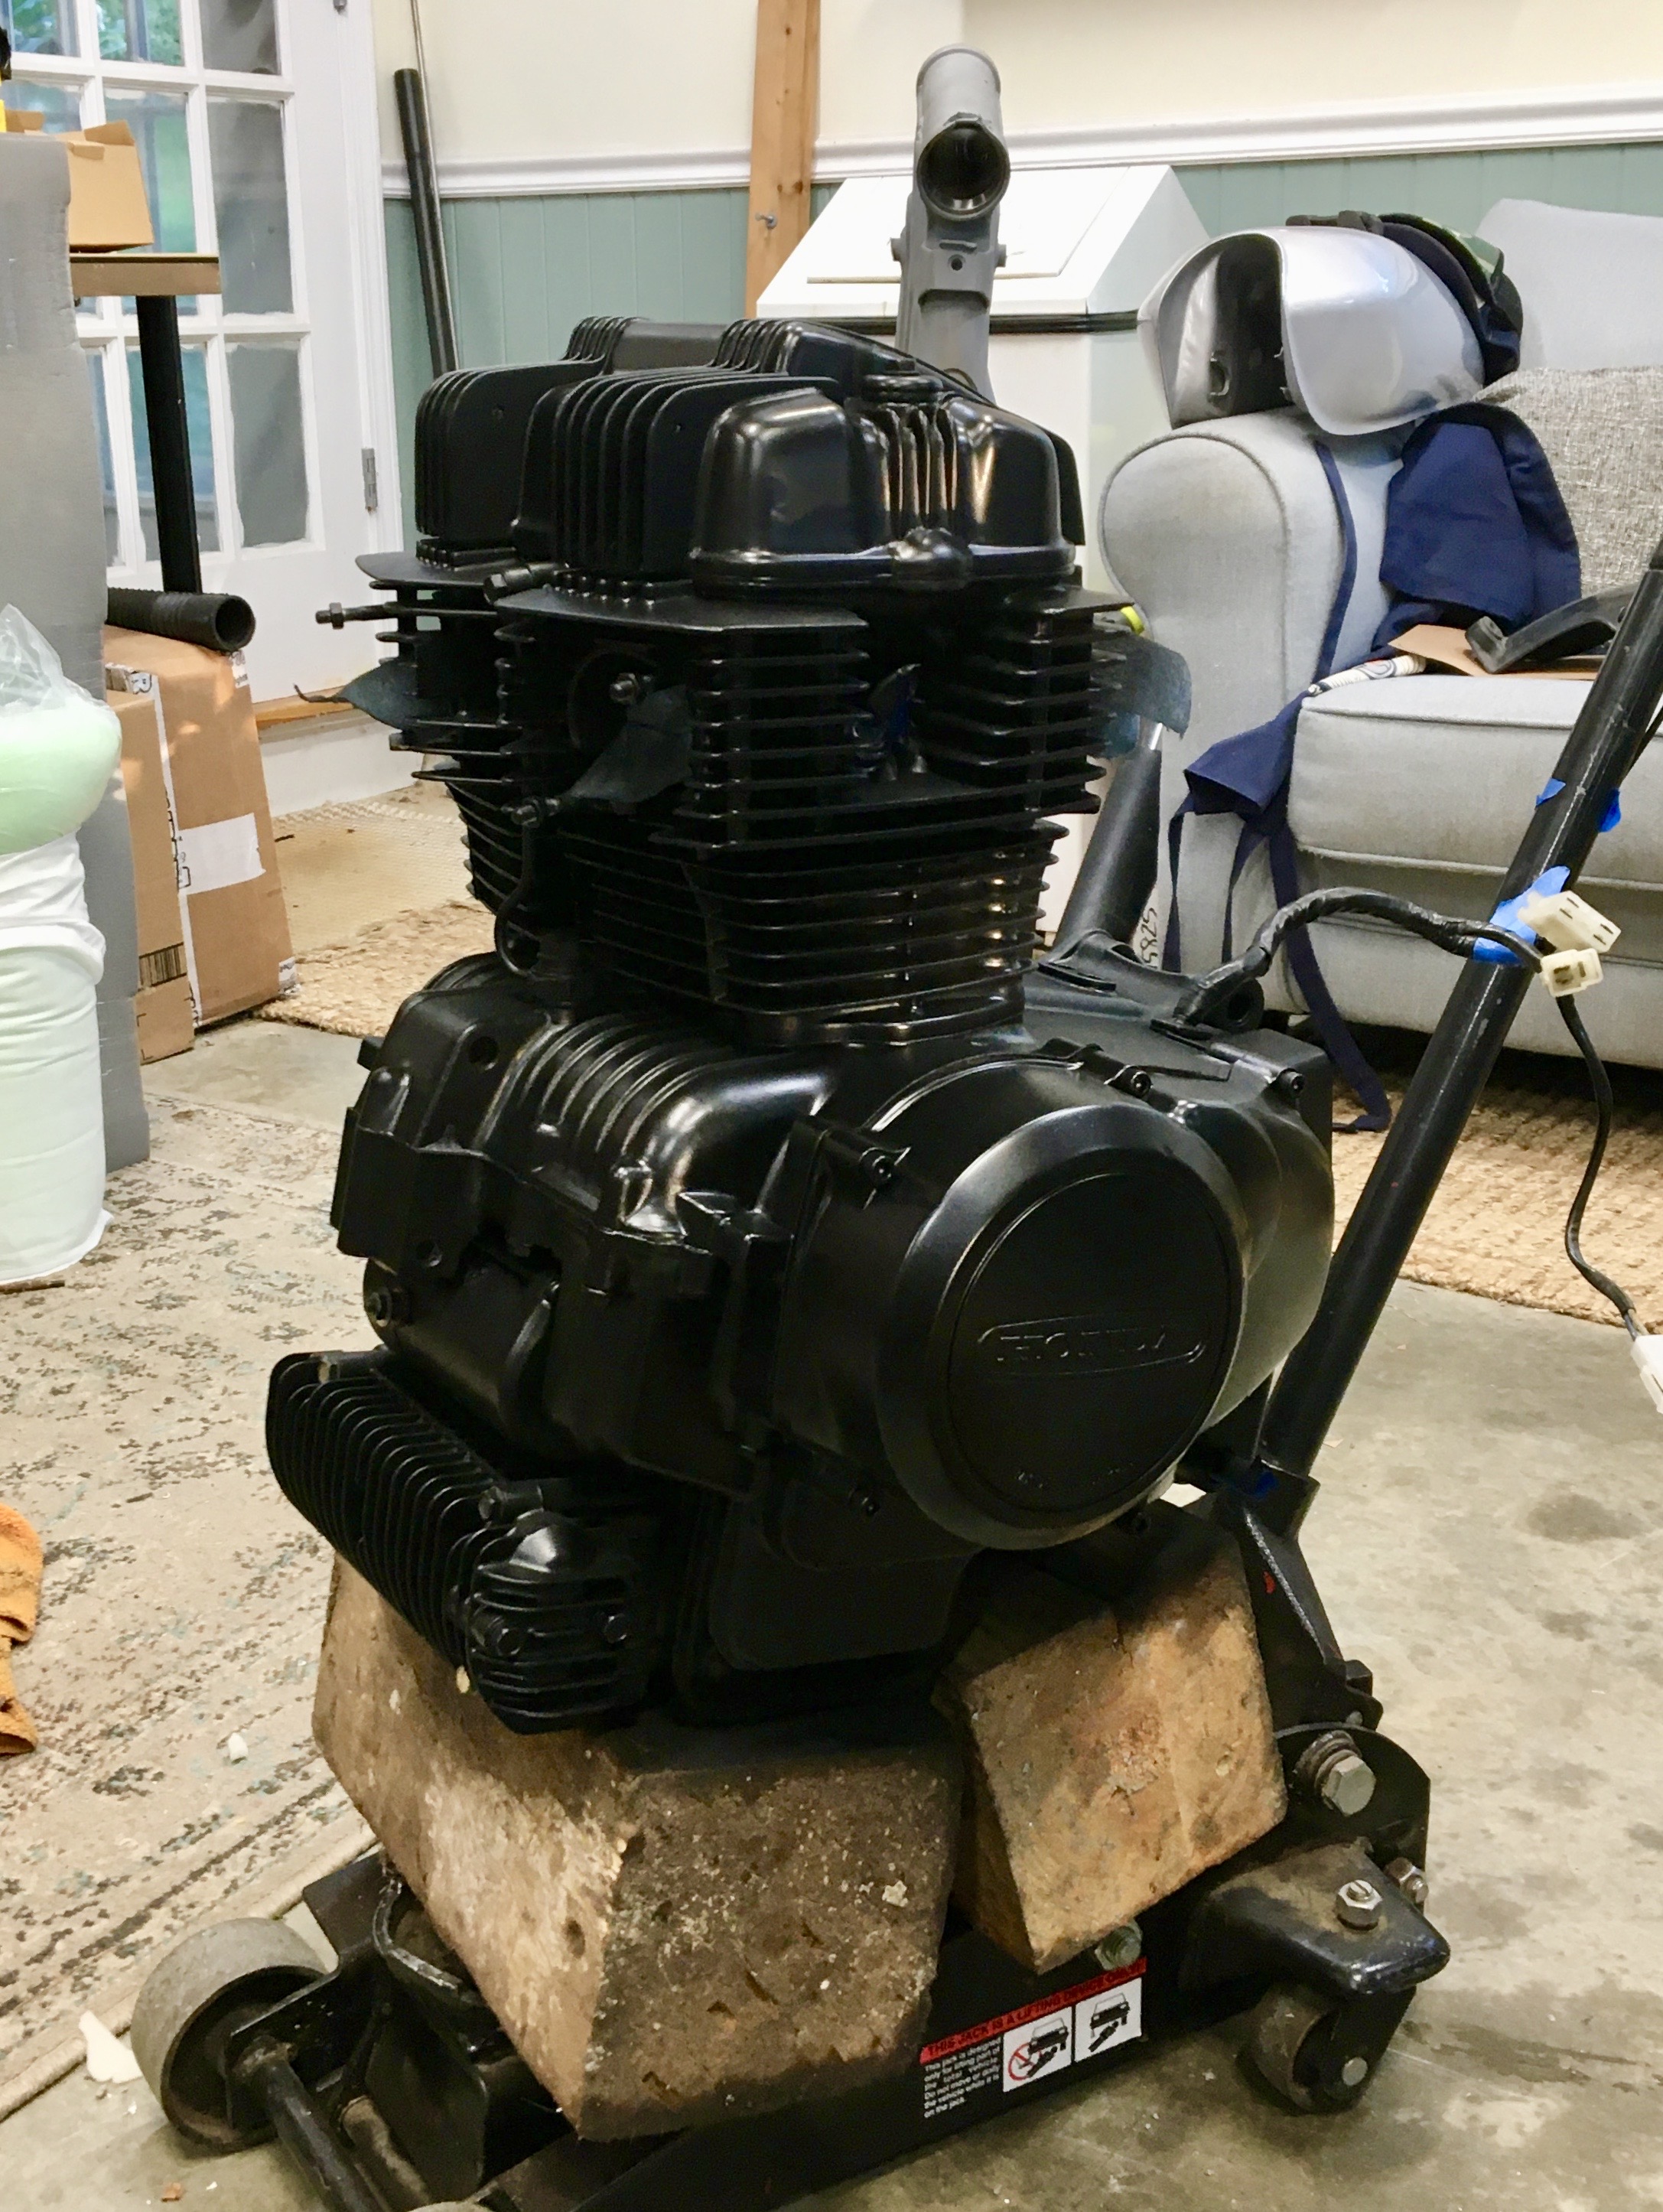
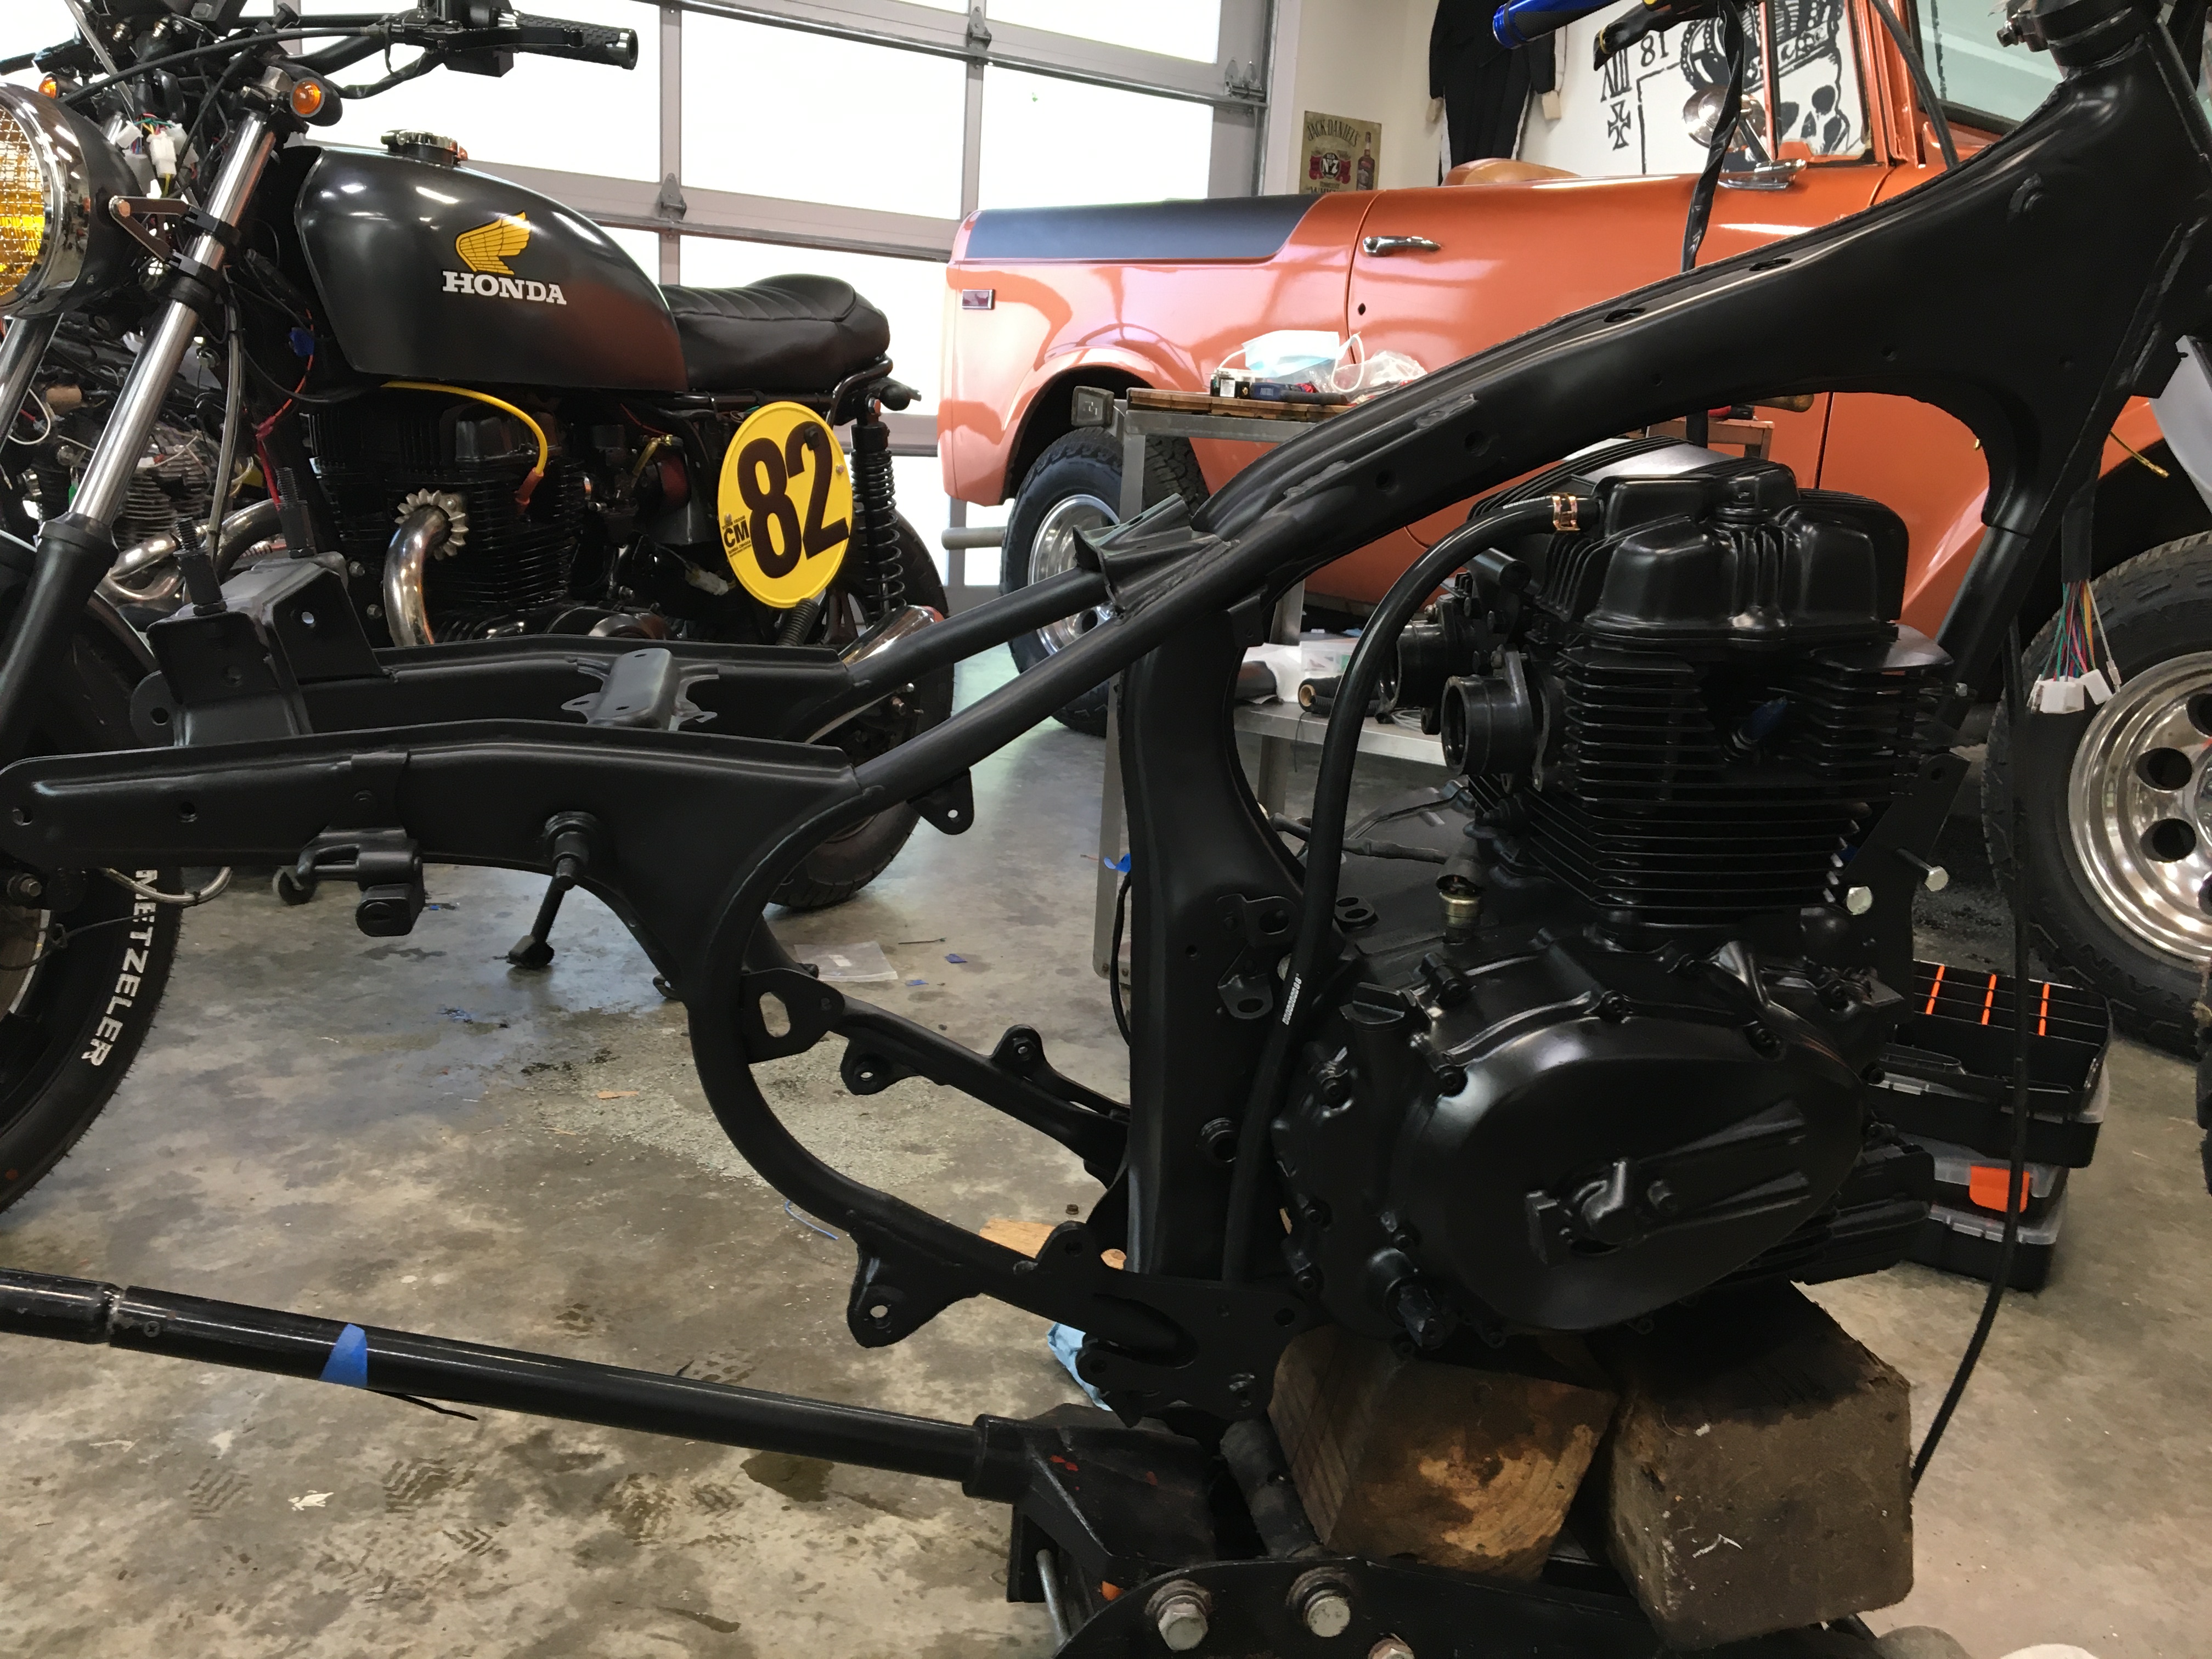
Tearing it down
Like the 1982 CM, everything was torn apart, including the engine, to see what we were working with. This engine had very little wear on it. In fact, we found didn’t even find a leaky seal AND everything mic’ed in within spec.
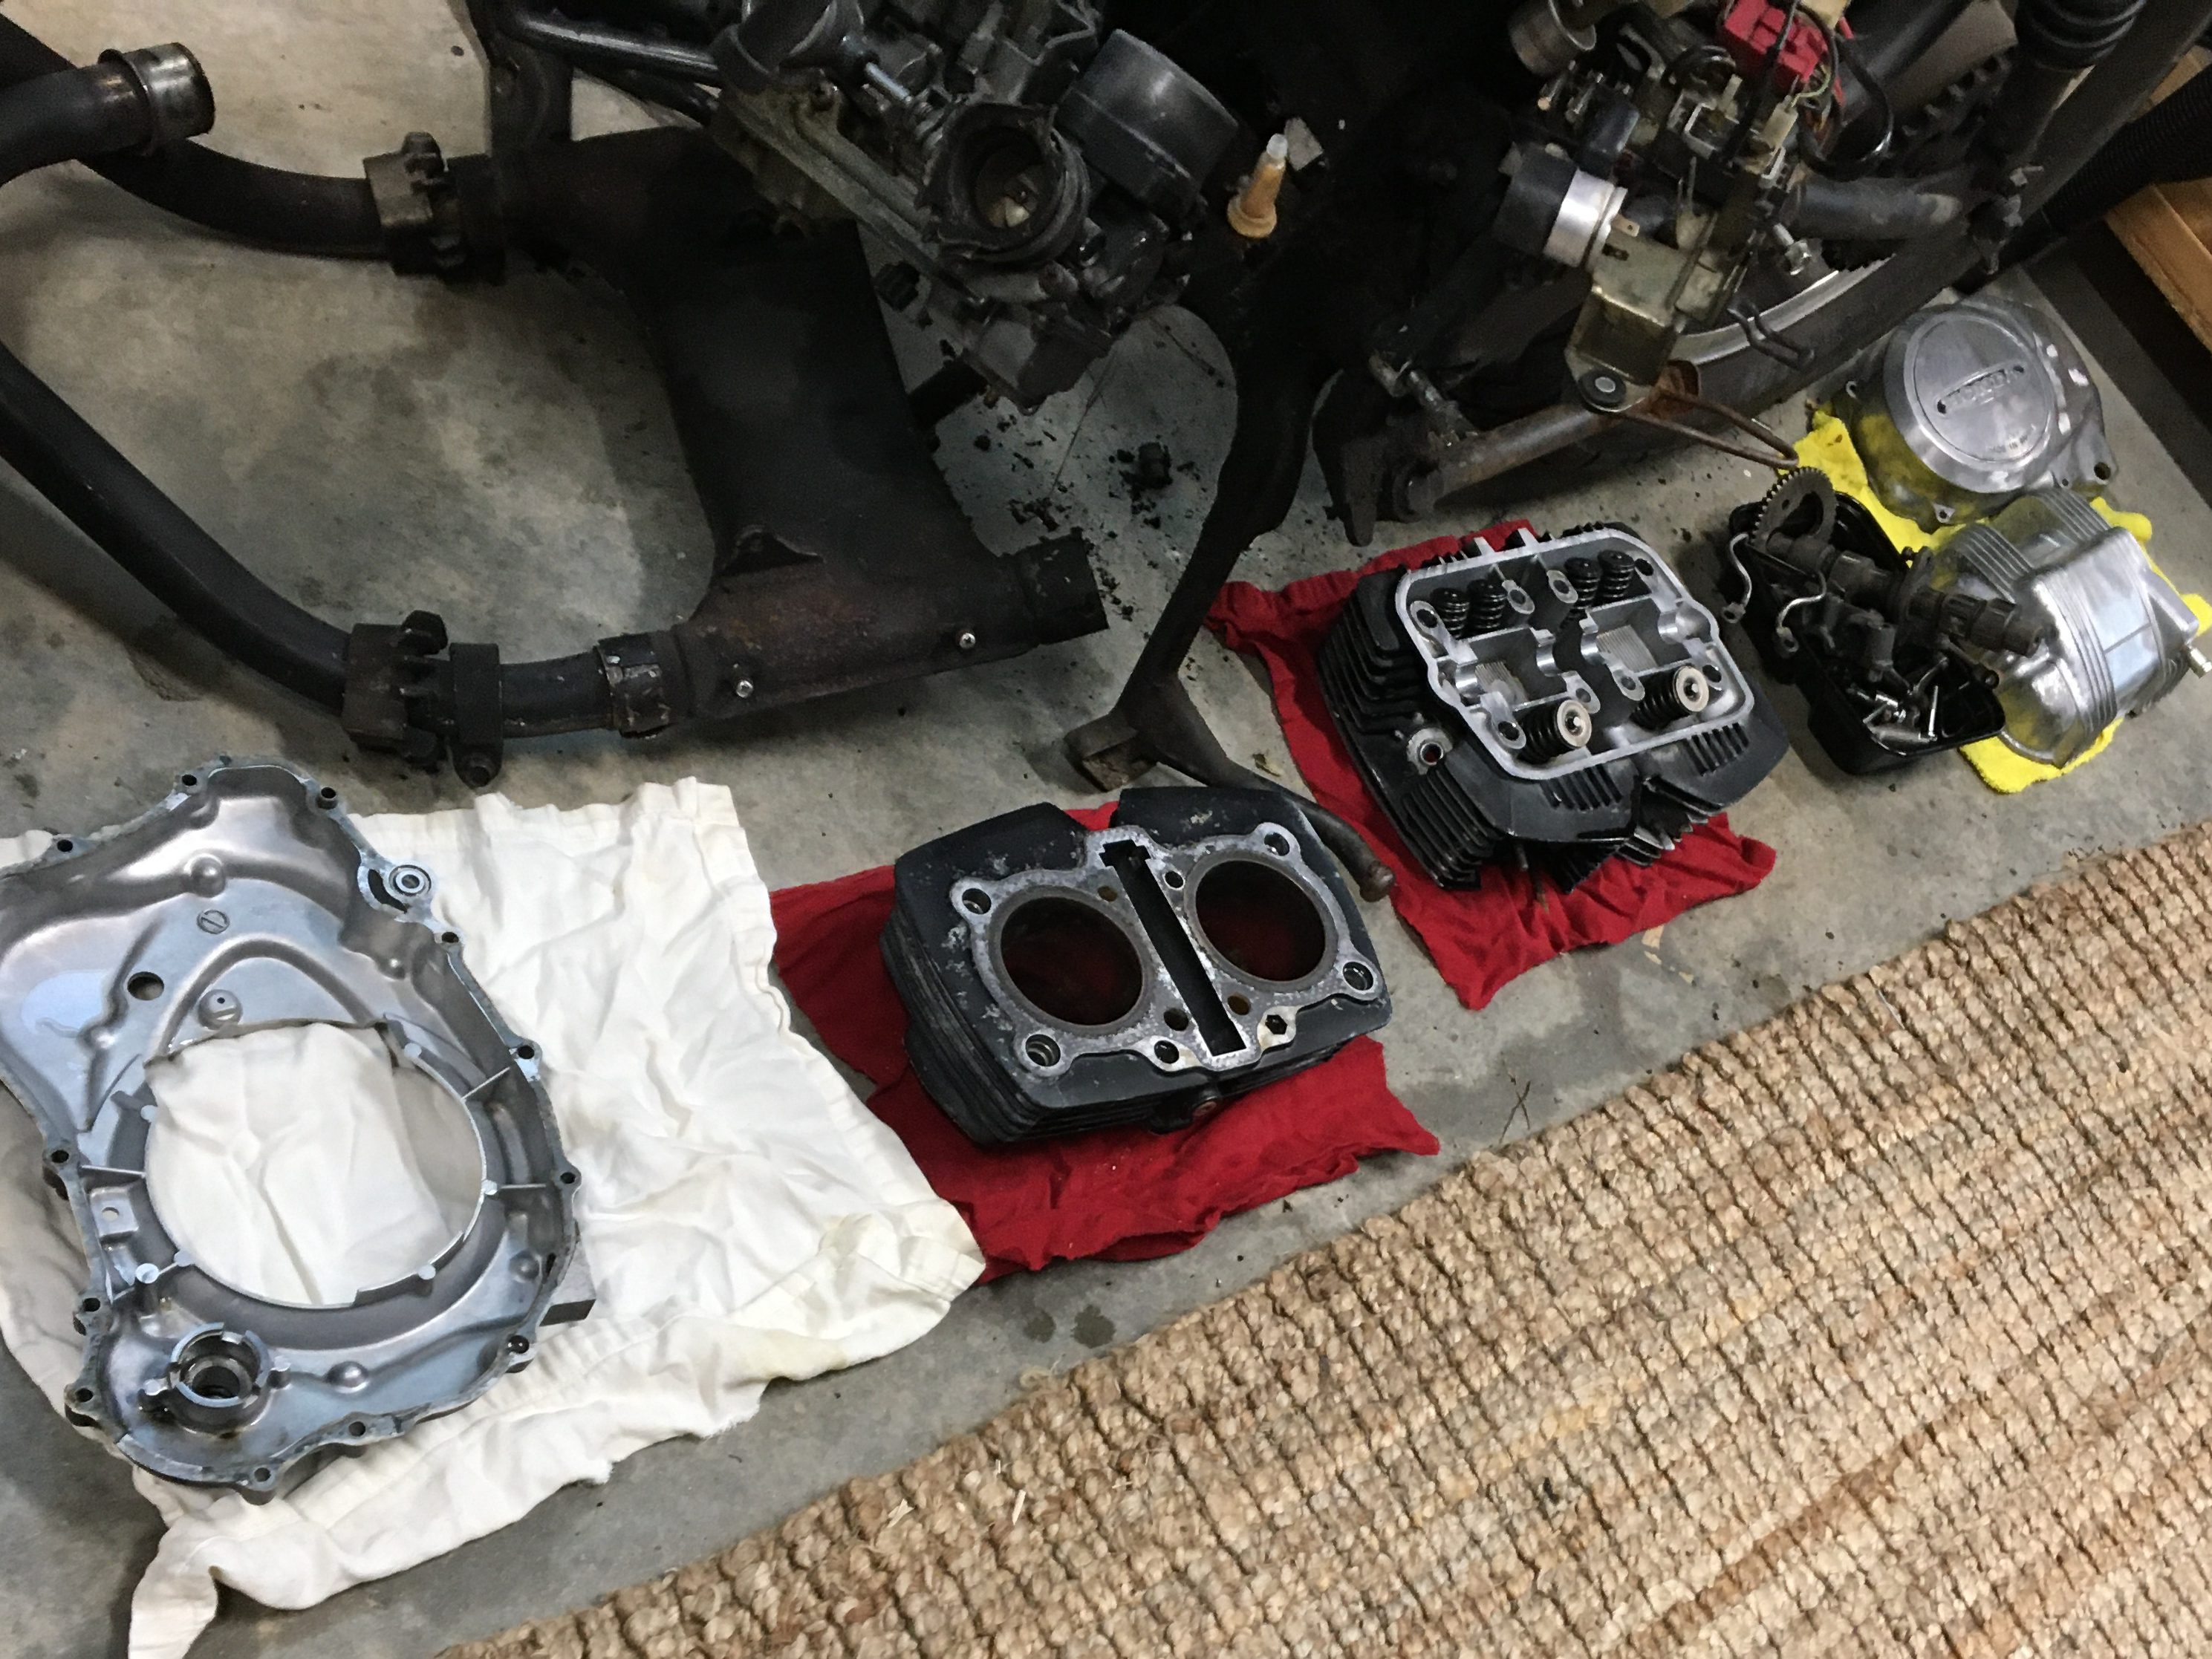
You need to bathe
As with any tear down, once you have the parts disassembled and noted, everything goes into the parts bath to see what we see. Its easy for everything from chips in head fins to cracks in the case to hide in the gunk that 40 years of driving will put on a bike.
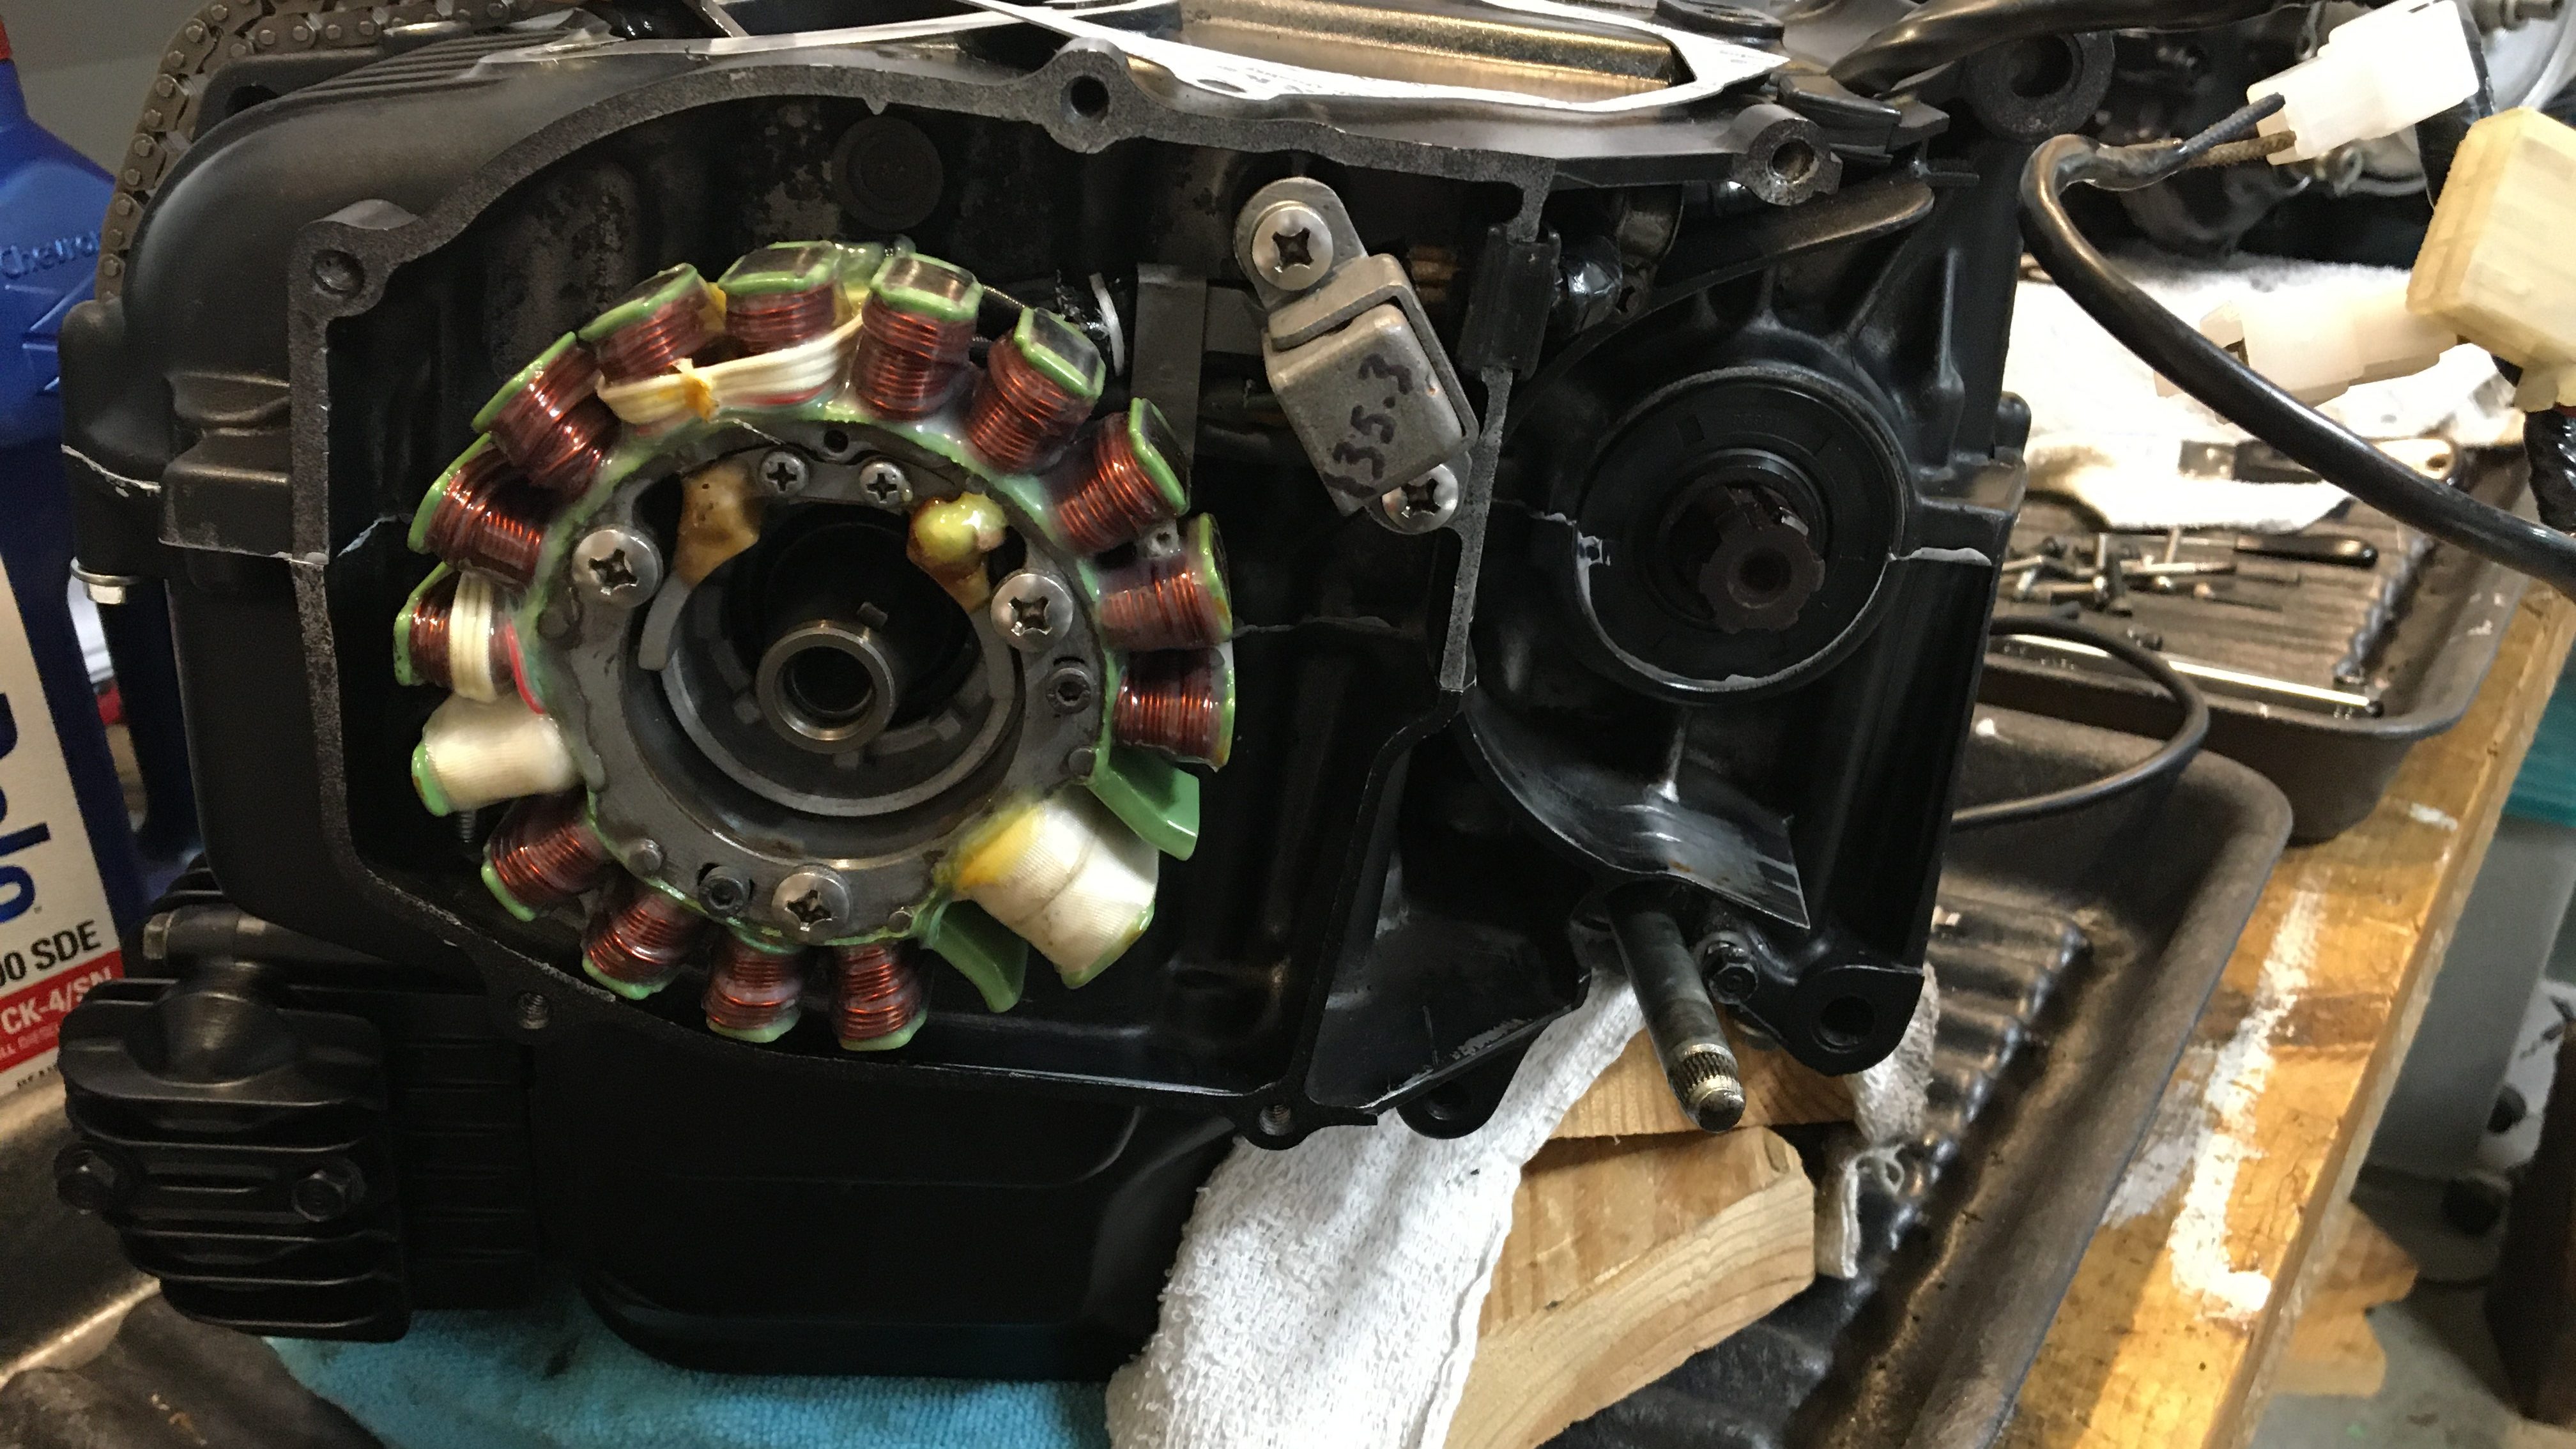
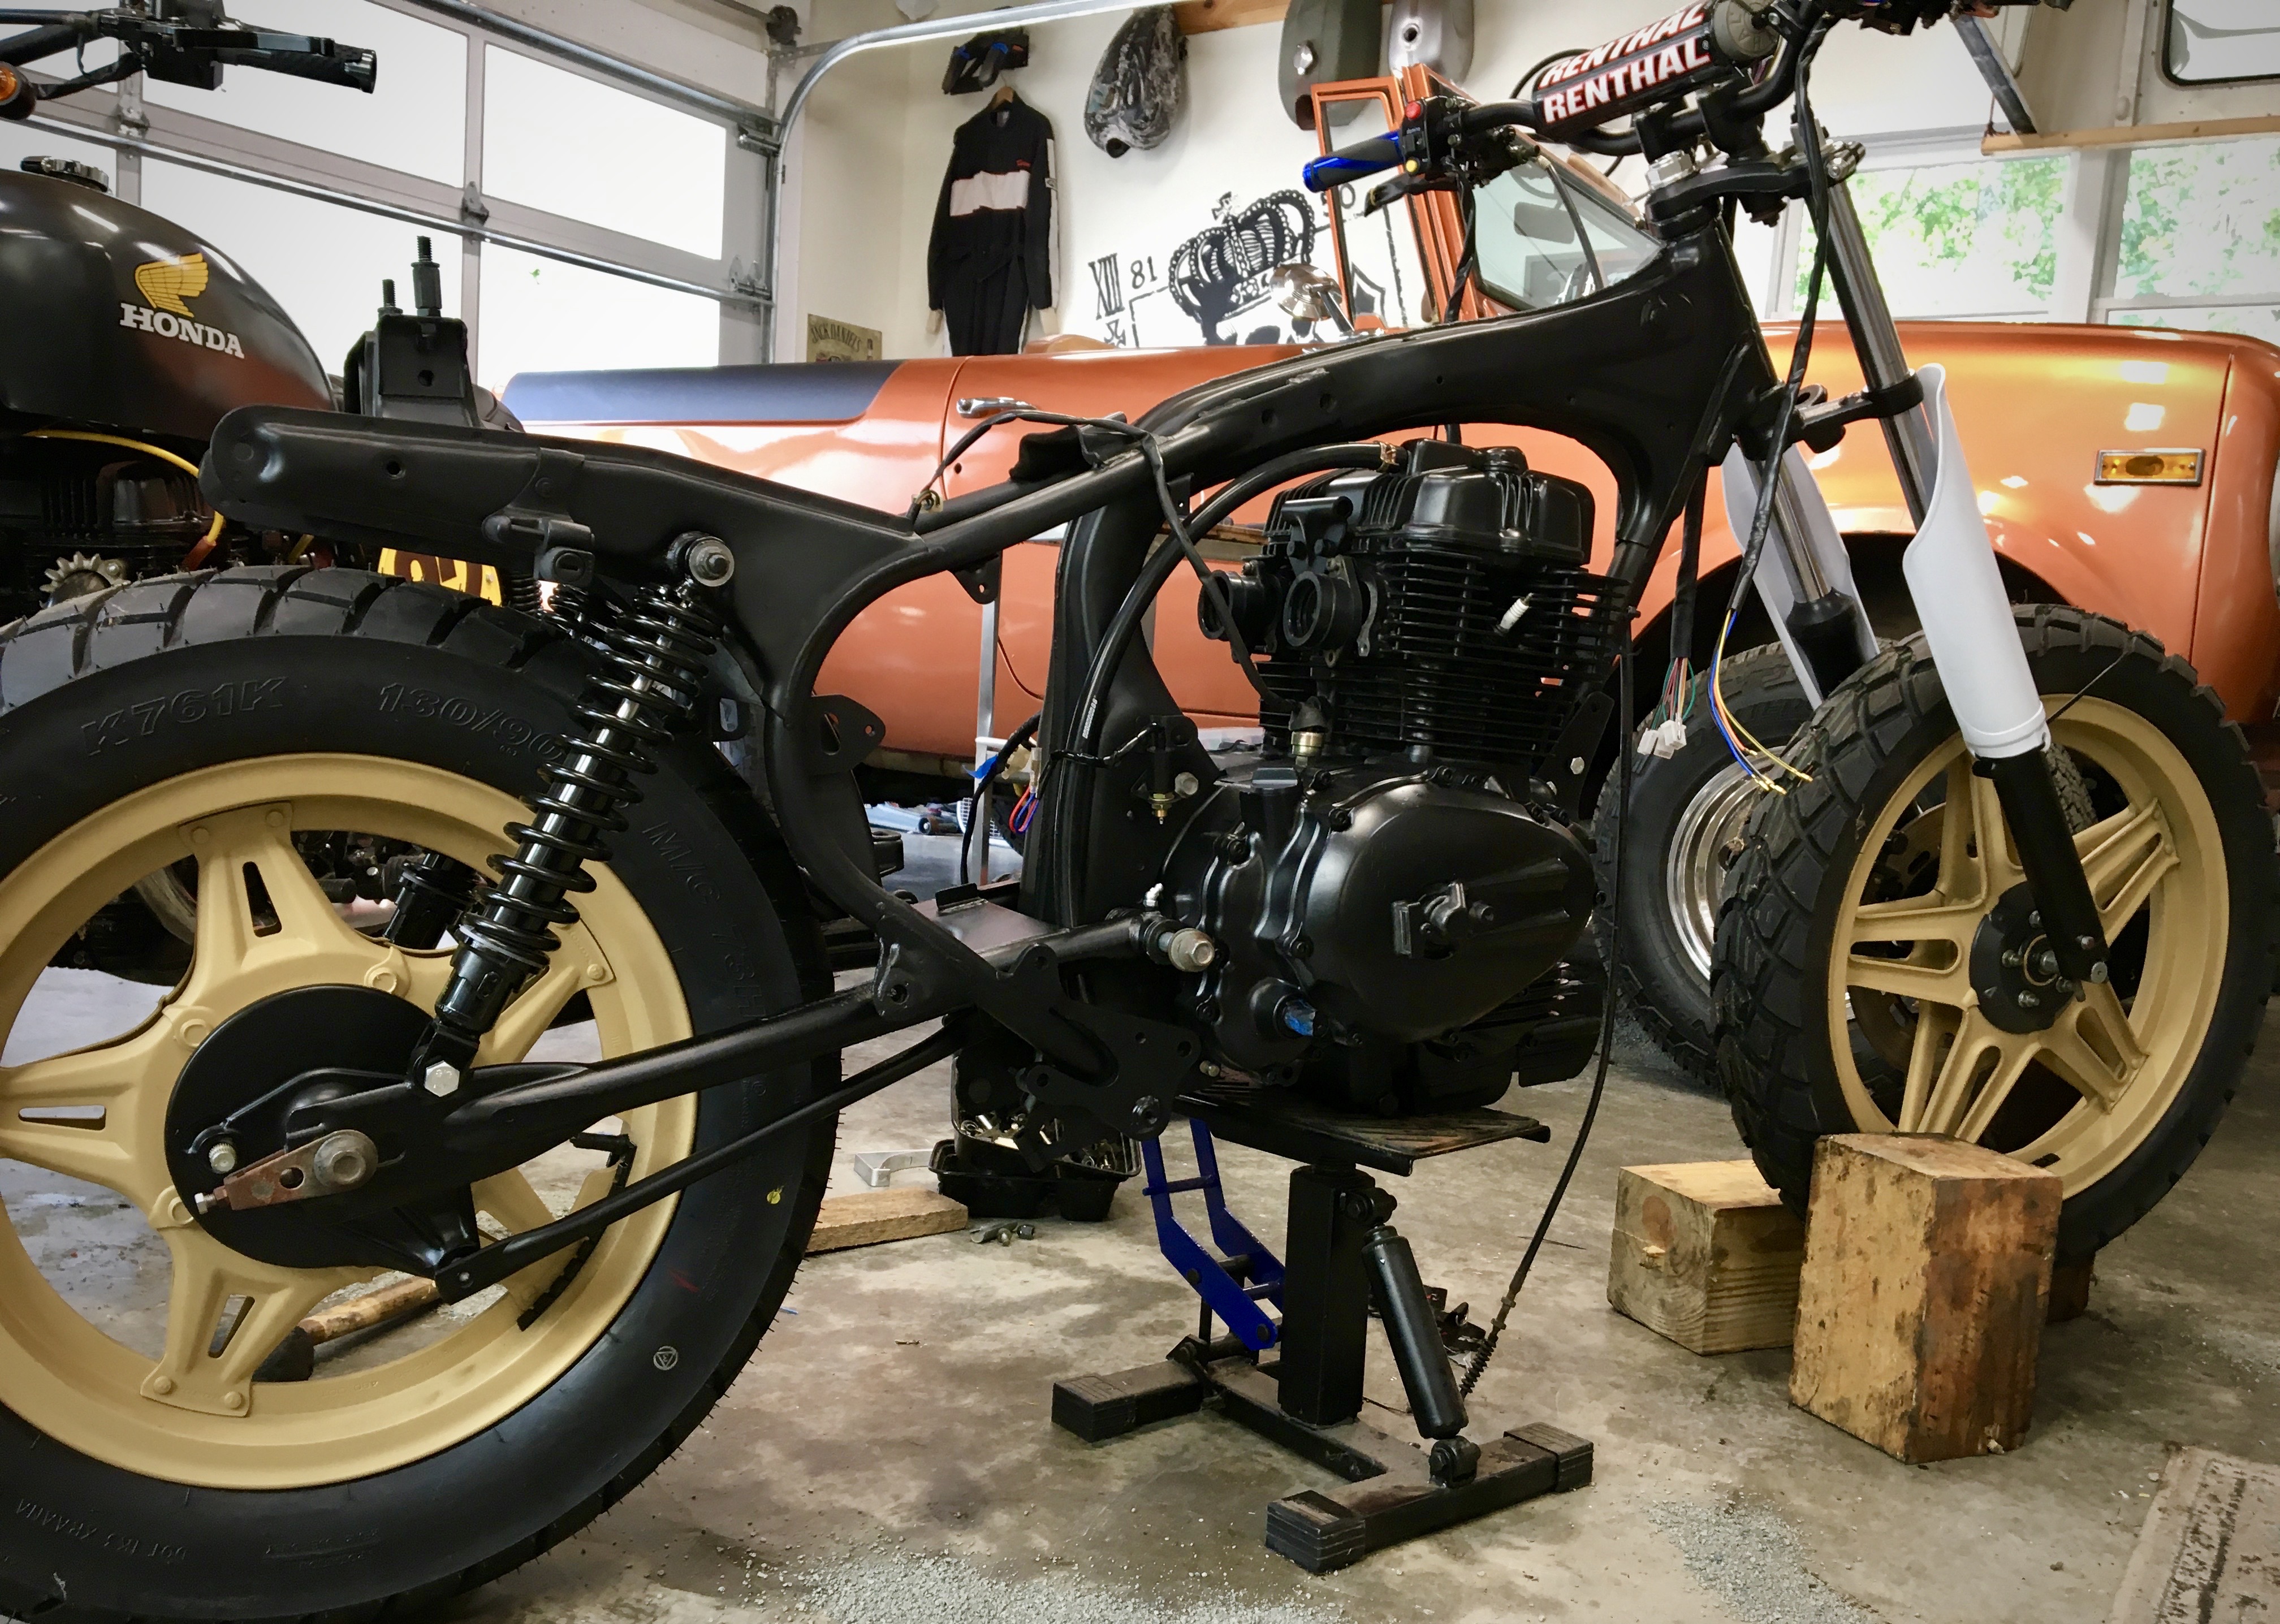
Spend the money to get what you want
A lot of people don’t want to tinker with electrical, but we have to. This bike has all new electrical because much of the stock electrical wasn’t even that good in the 80’s. We even sent the stator out to have it completely respun with new copper wire. When we build a bike, it should run another 40 years, in our opnion.
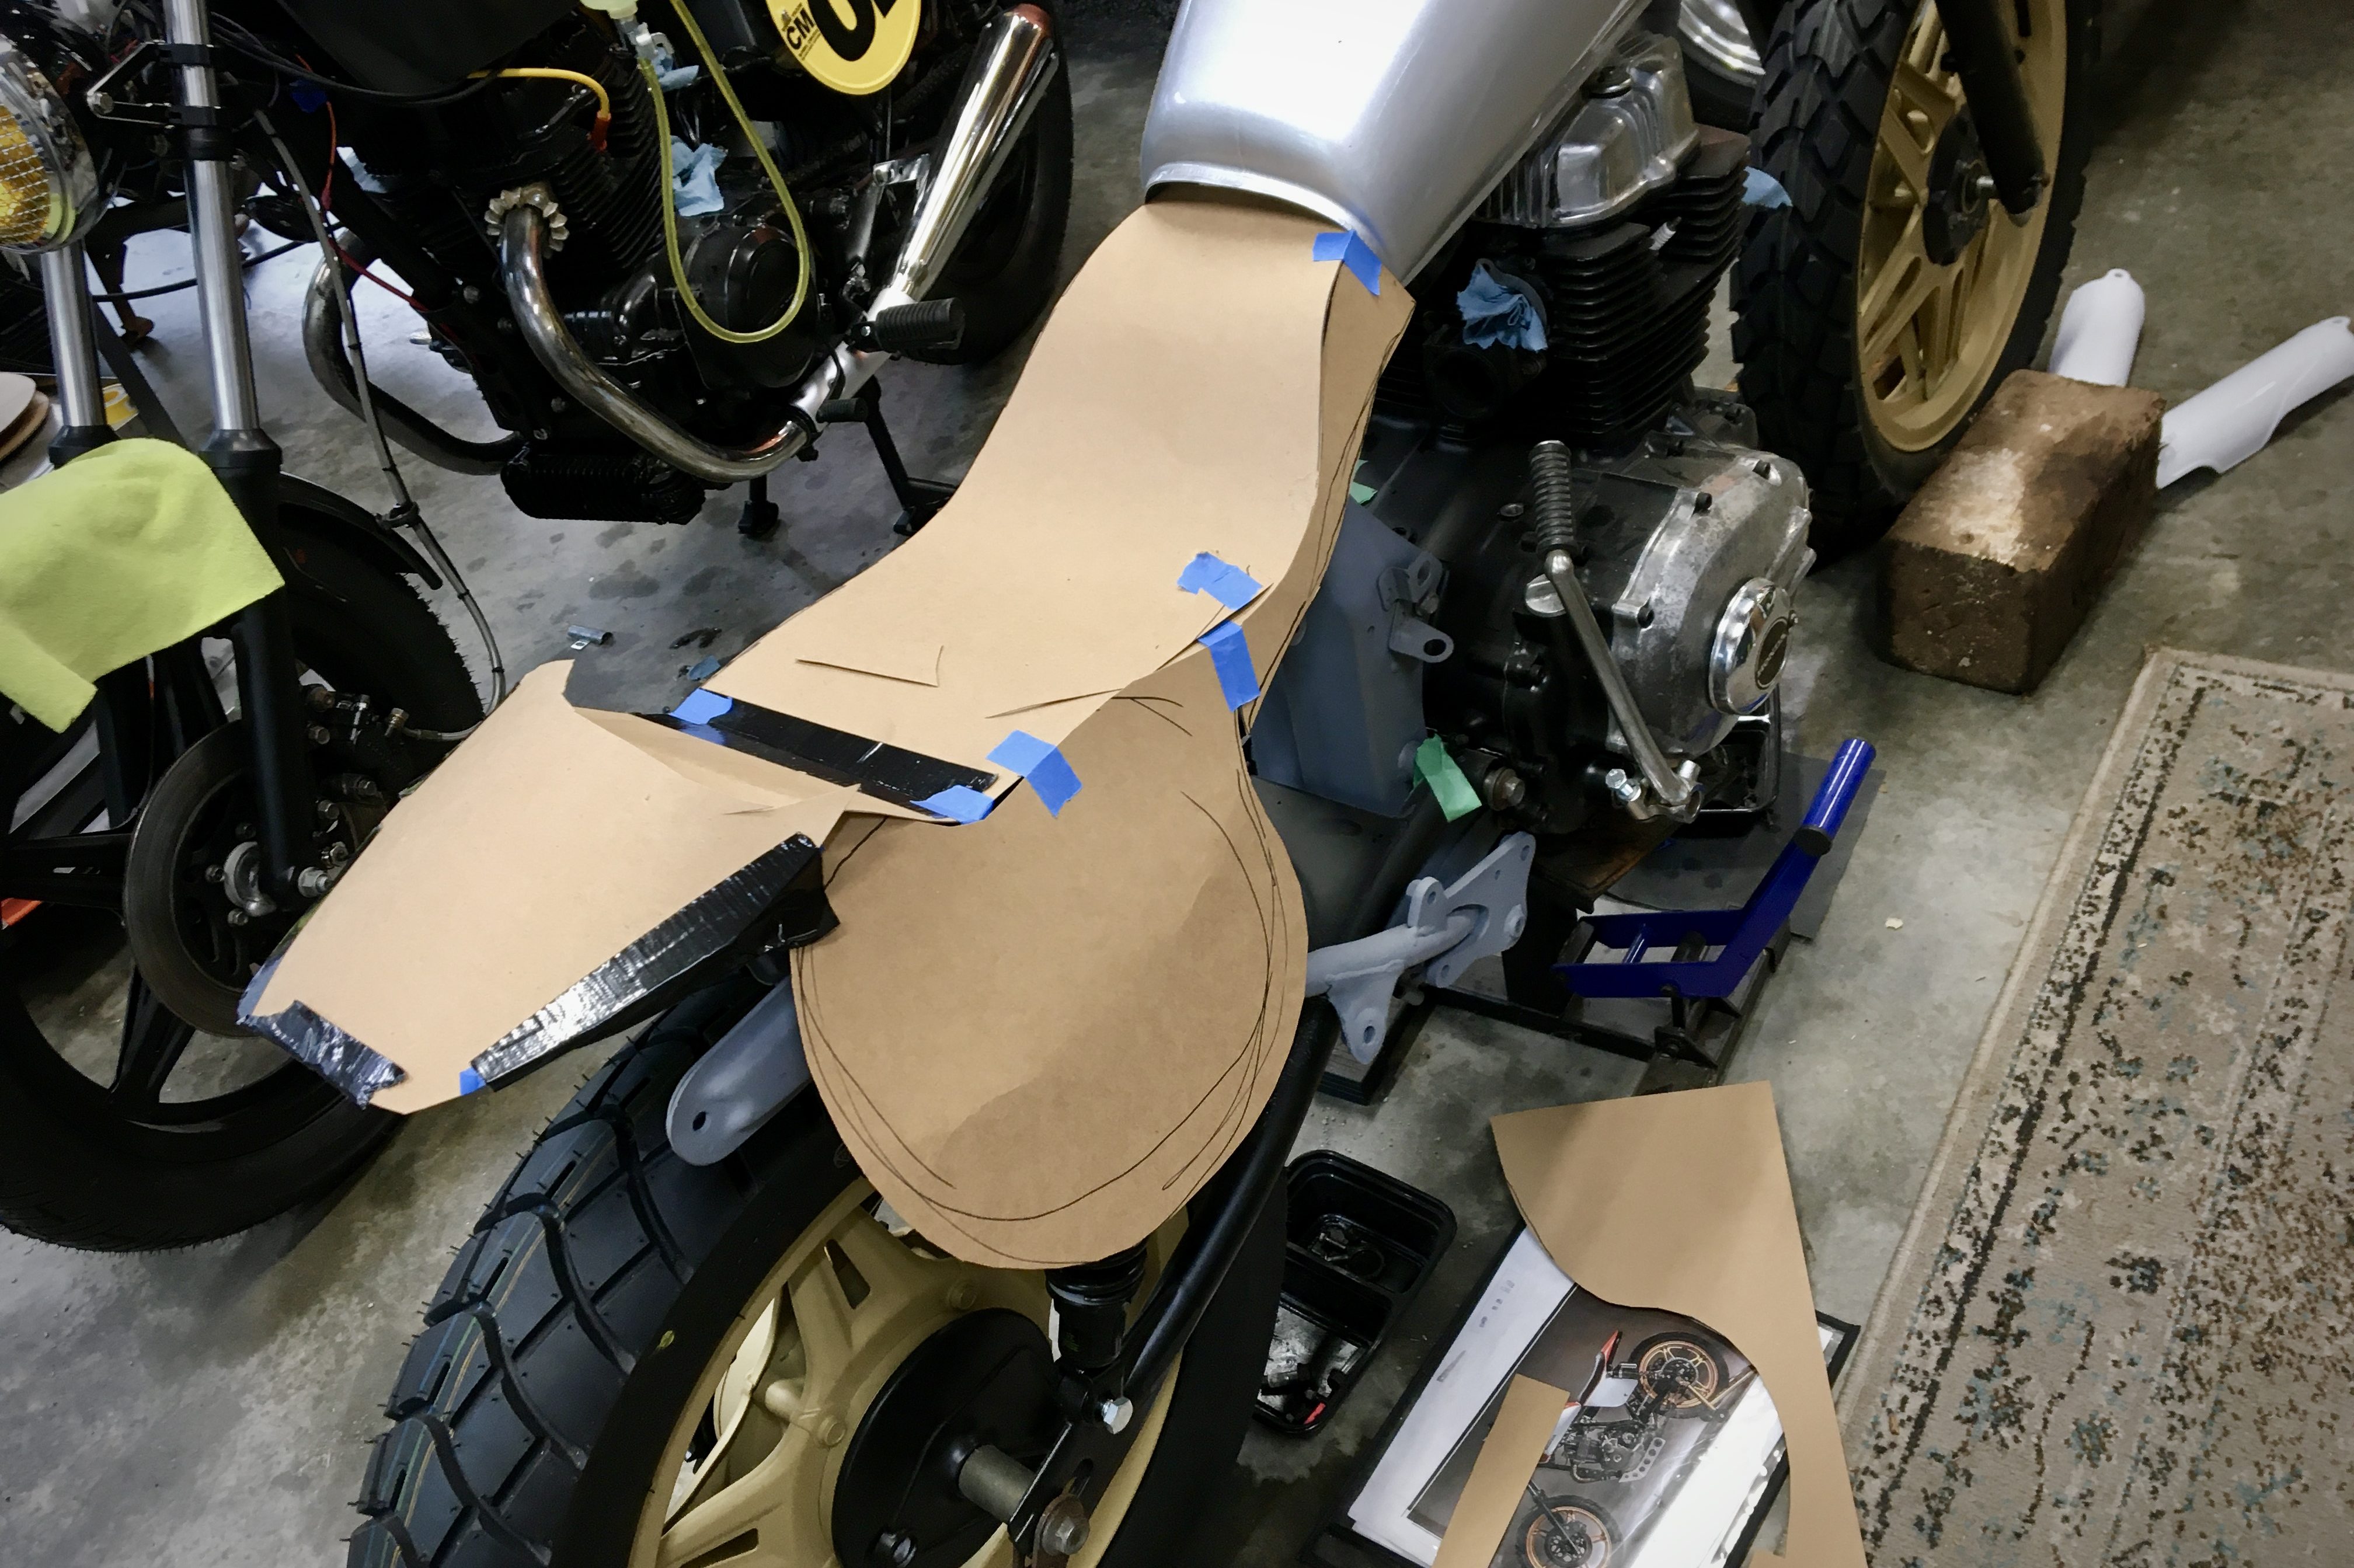
Design cues
As I work, I like to use railroad board to cut and shape. It folds in the metal brake, can be taped and rolled, and gives you a real feel for what you’ll get. In this case we went through six or seven designs before landing on the one that felt right.

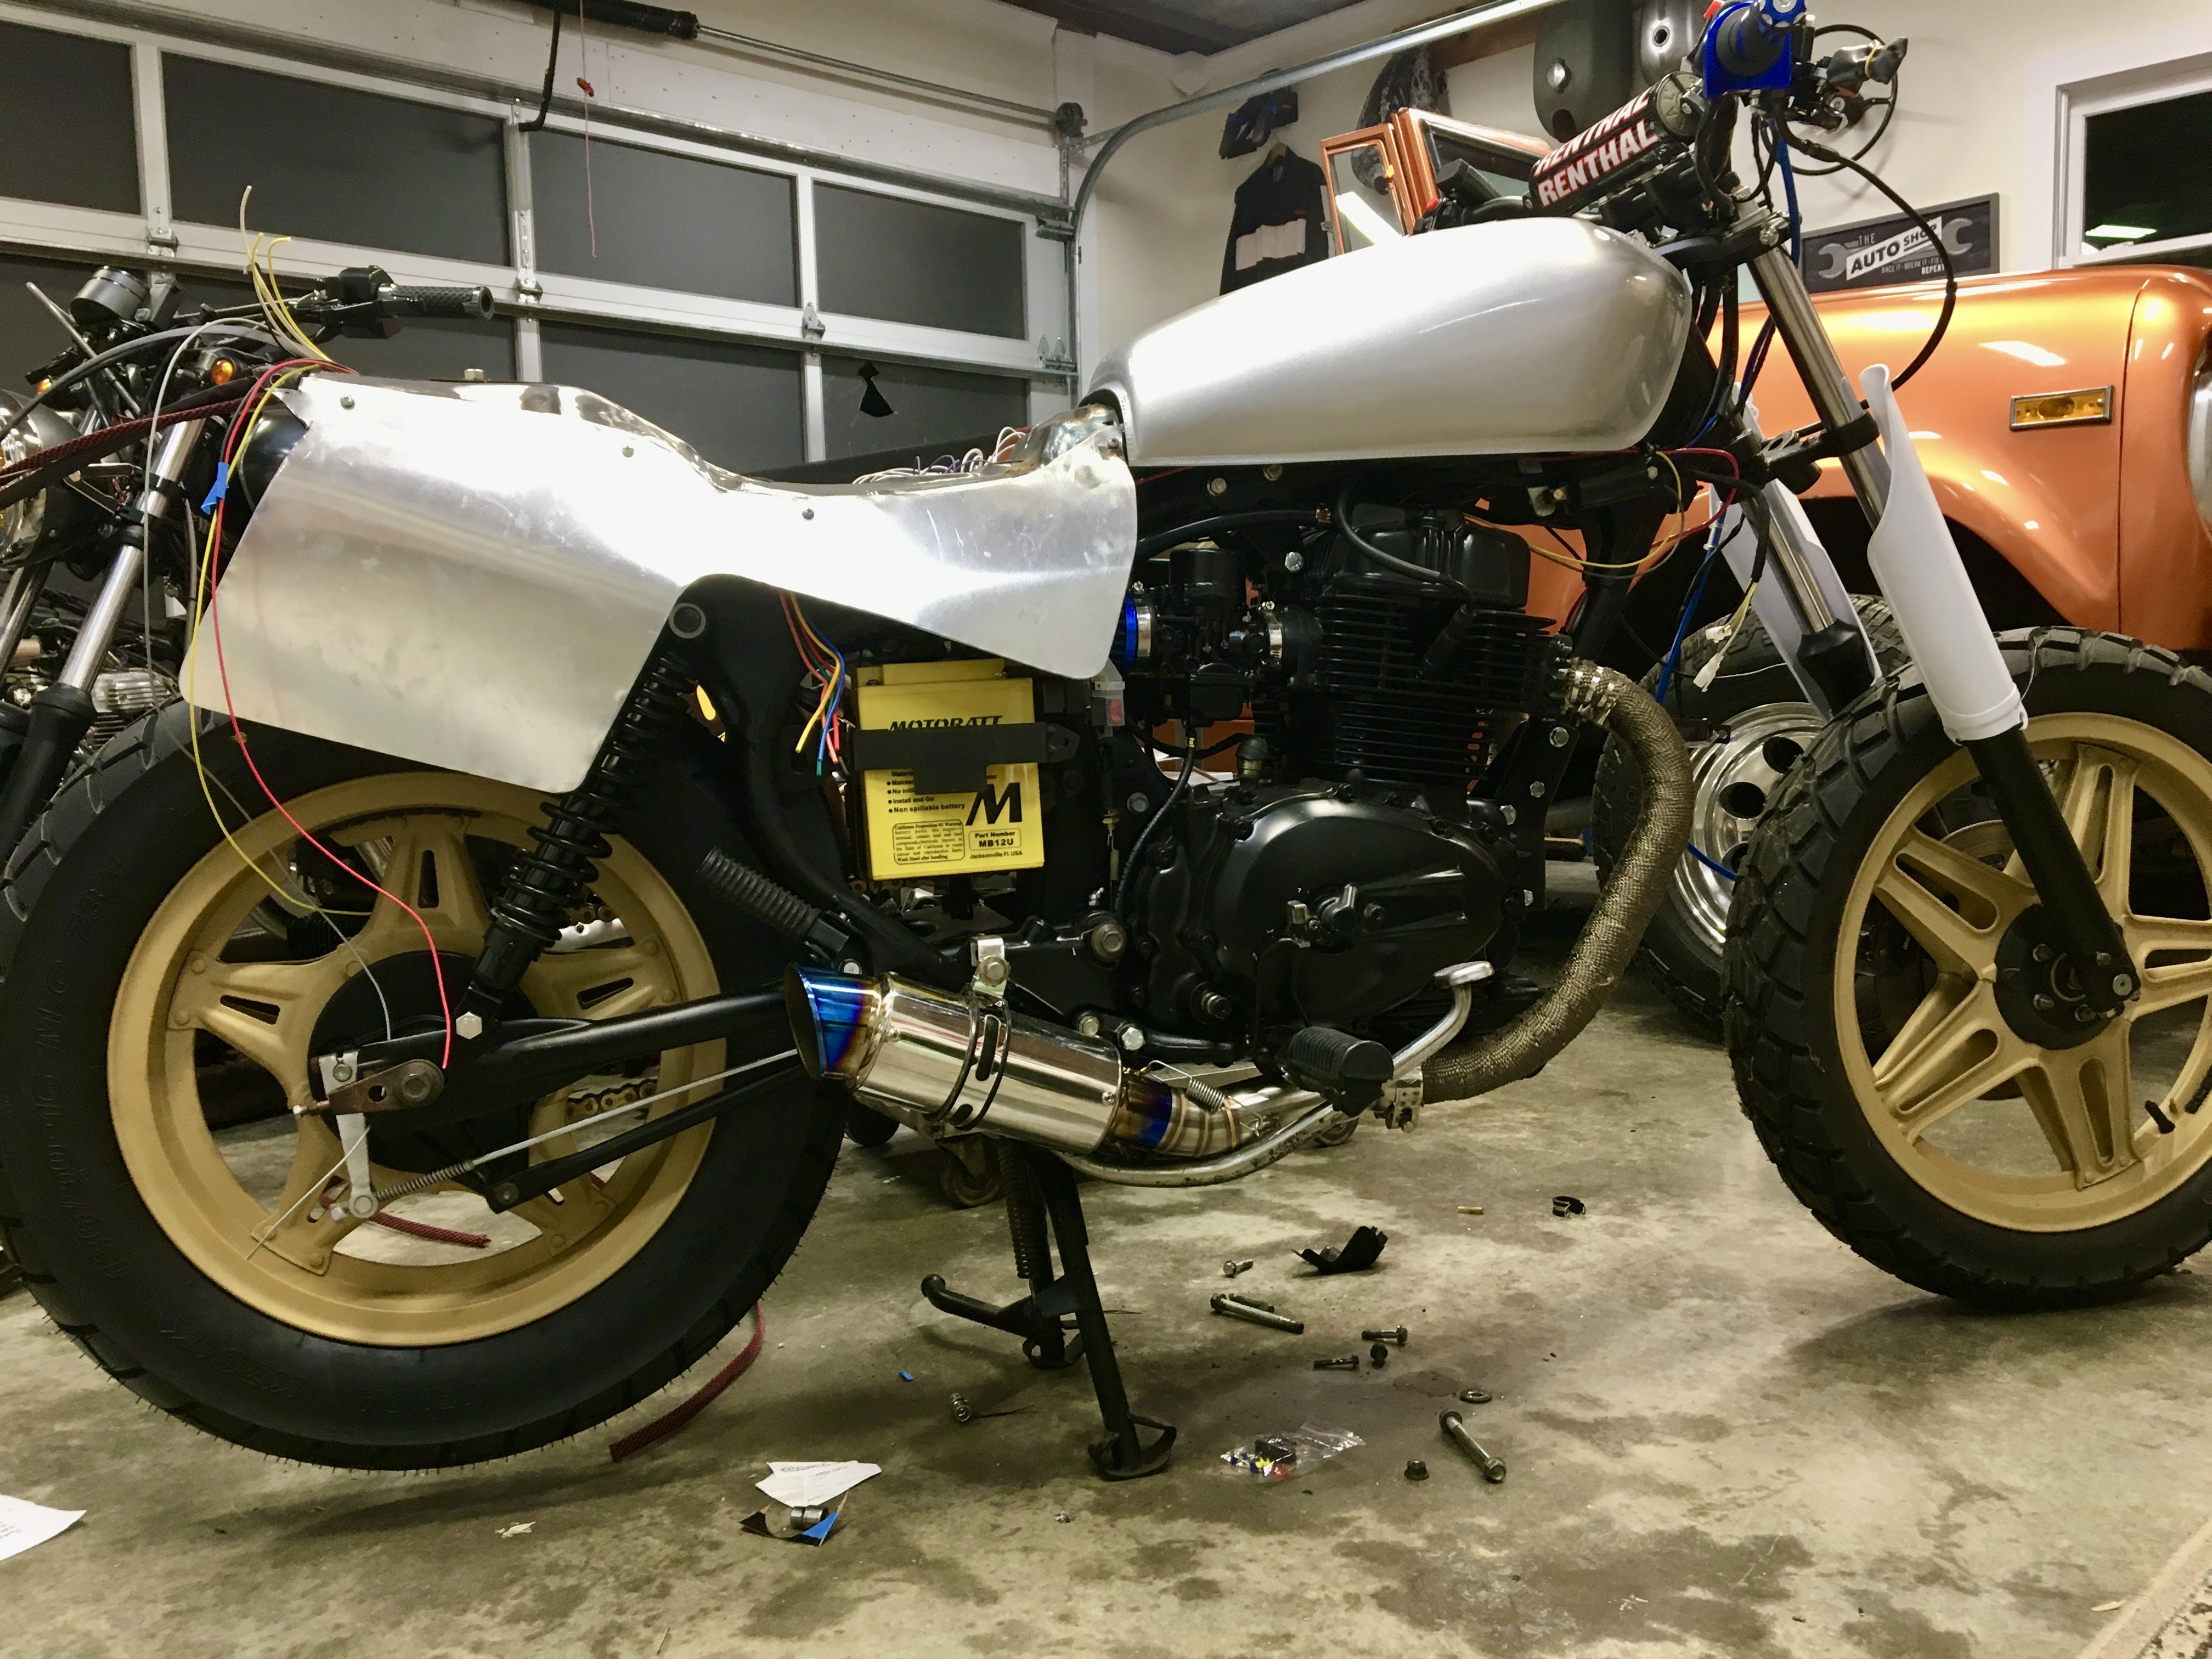
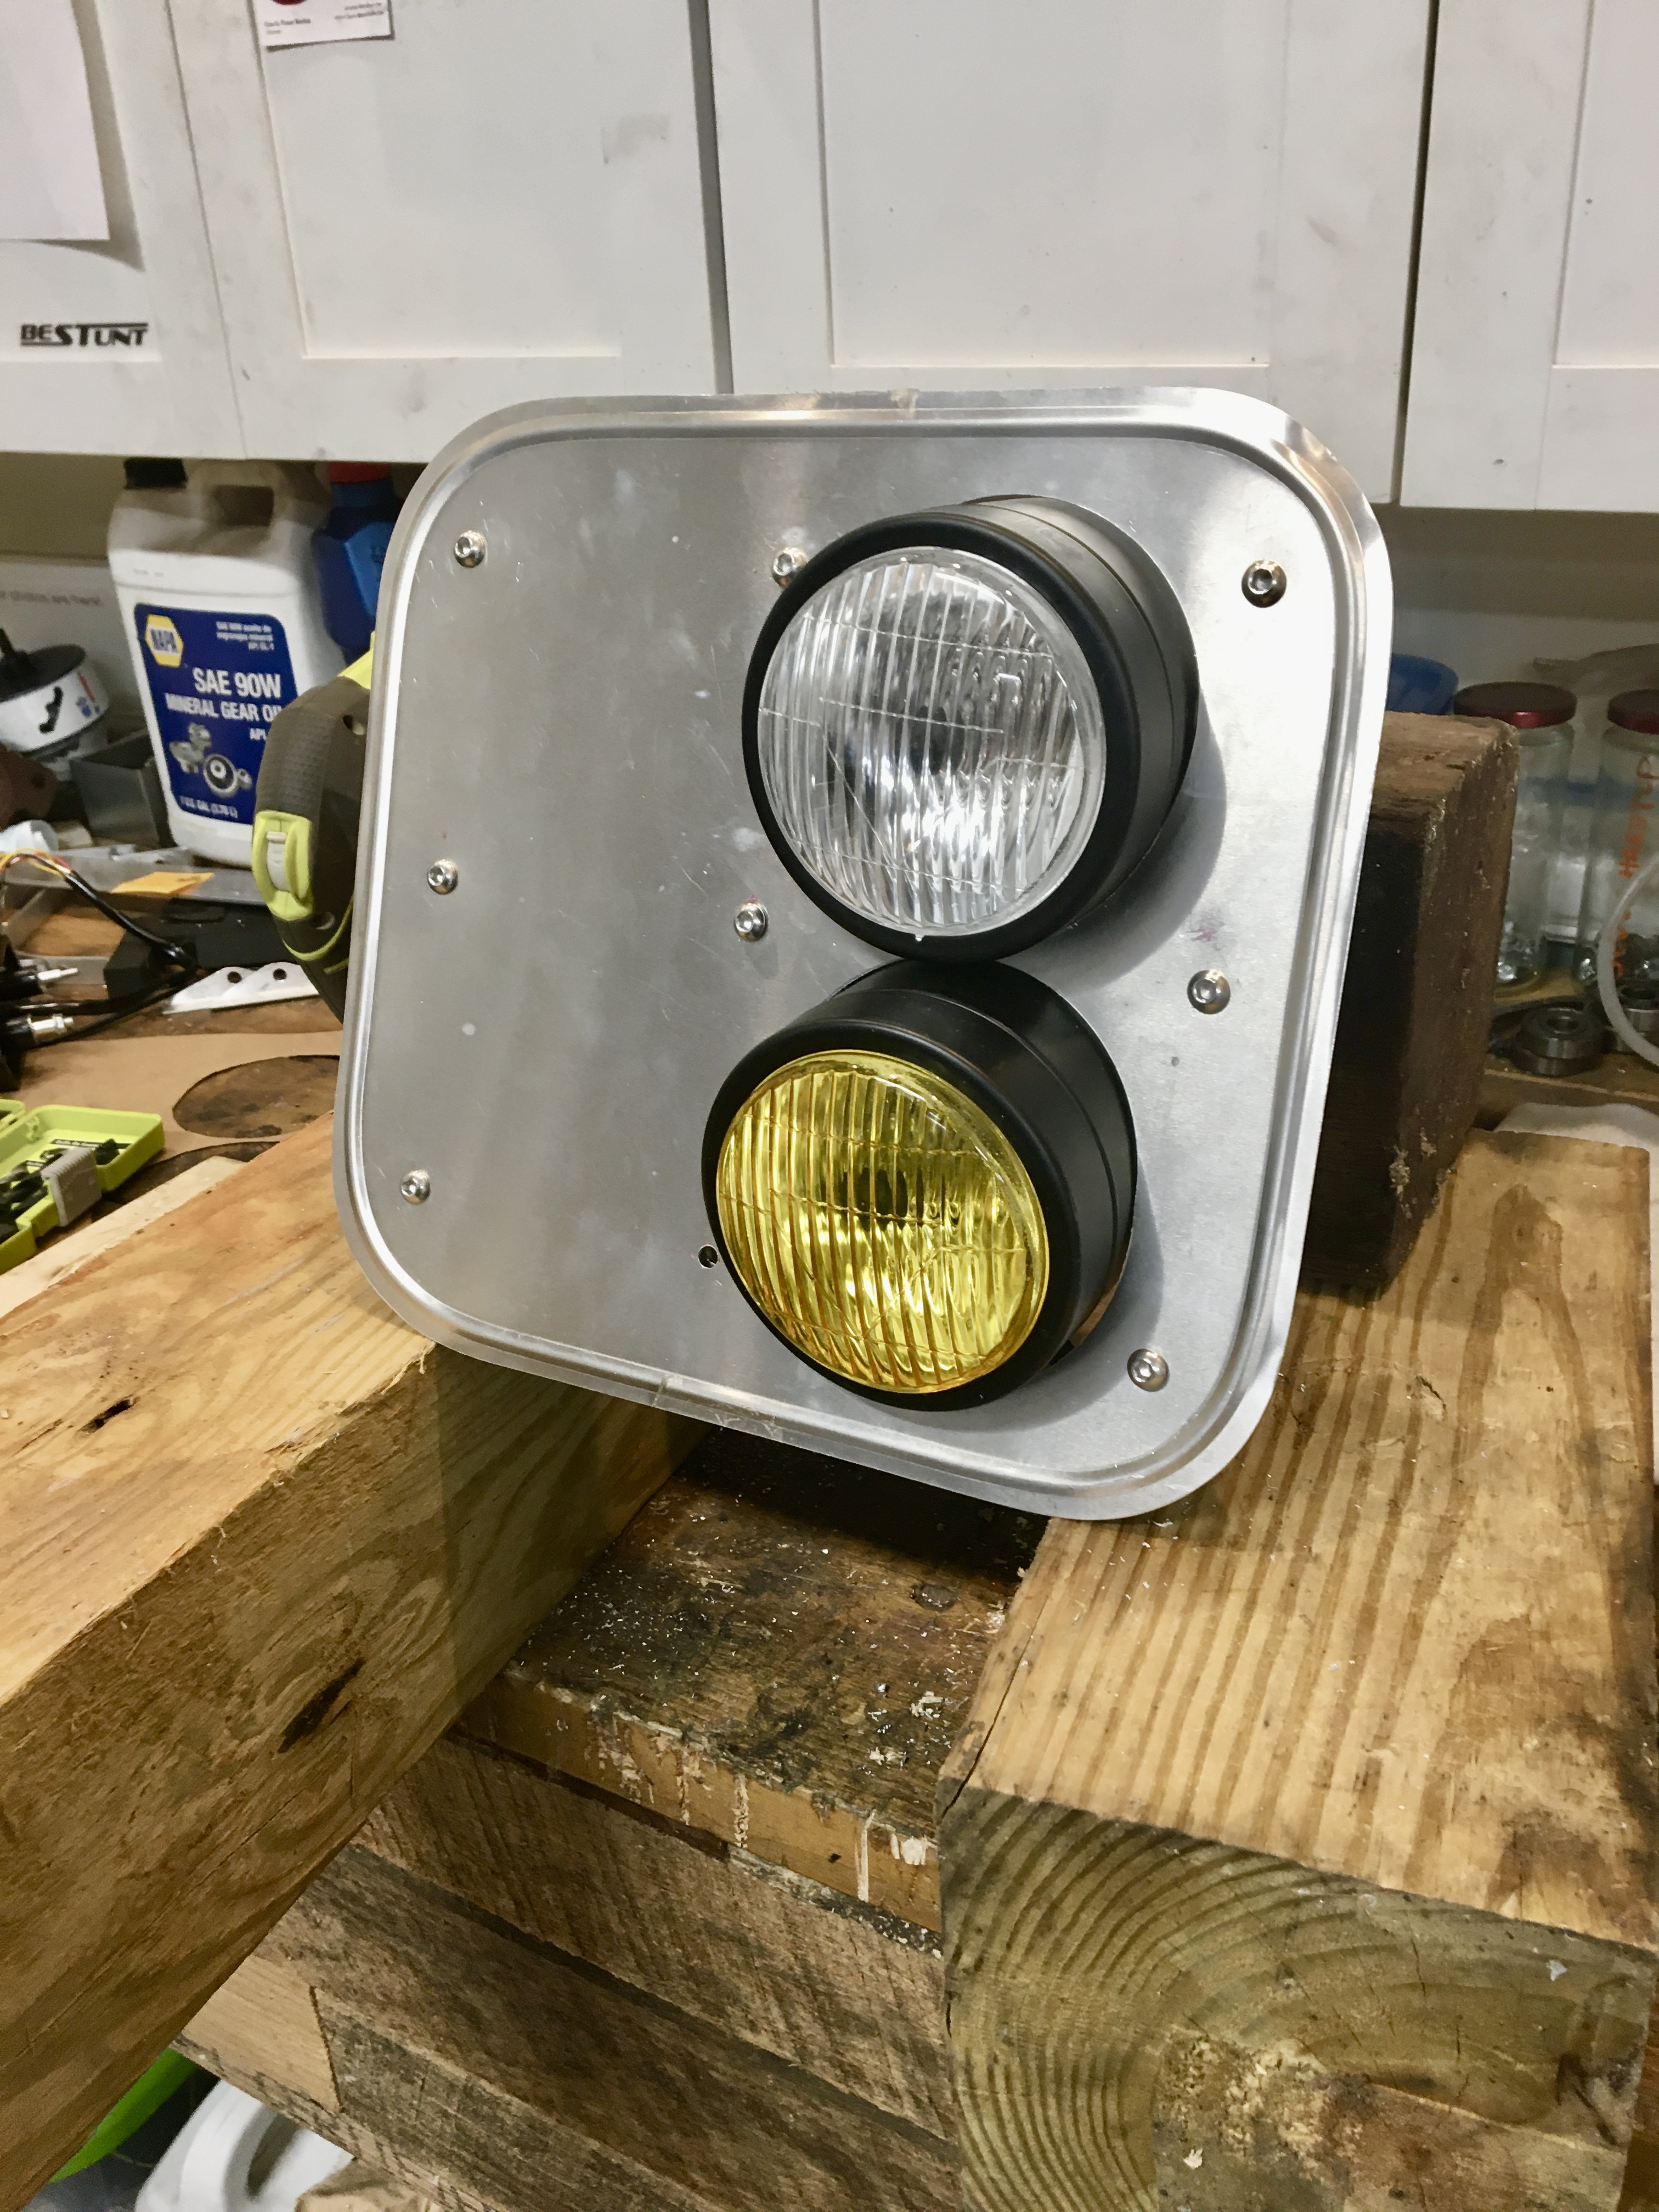
Cut and roll
Once we have the form figured out, it’s time to make make it. I like to work with aluminum. The combination of strength and stability, along with light weight make it a perfect metal for motorcycle covers.

Even while your metal work is underway, you should still begin addressing the items that will impact final fit. In this case, deciding we want the seat to run all the way back and up the tank was important in figuring out how the side covers would need to be fit up.
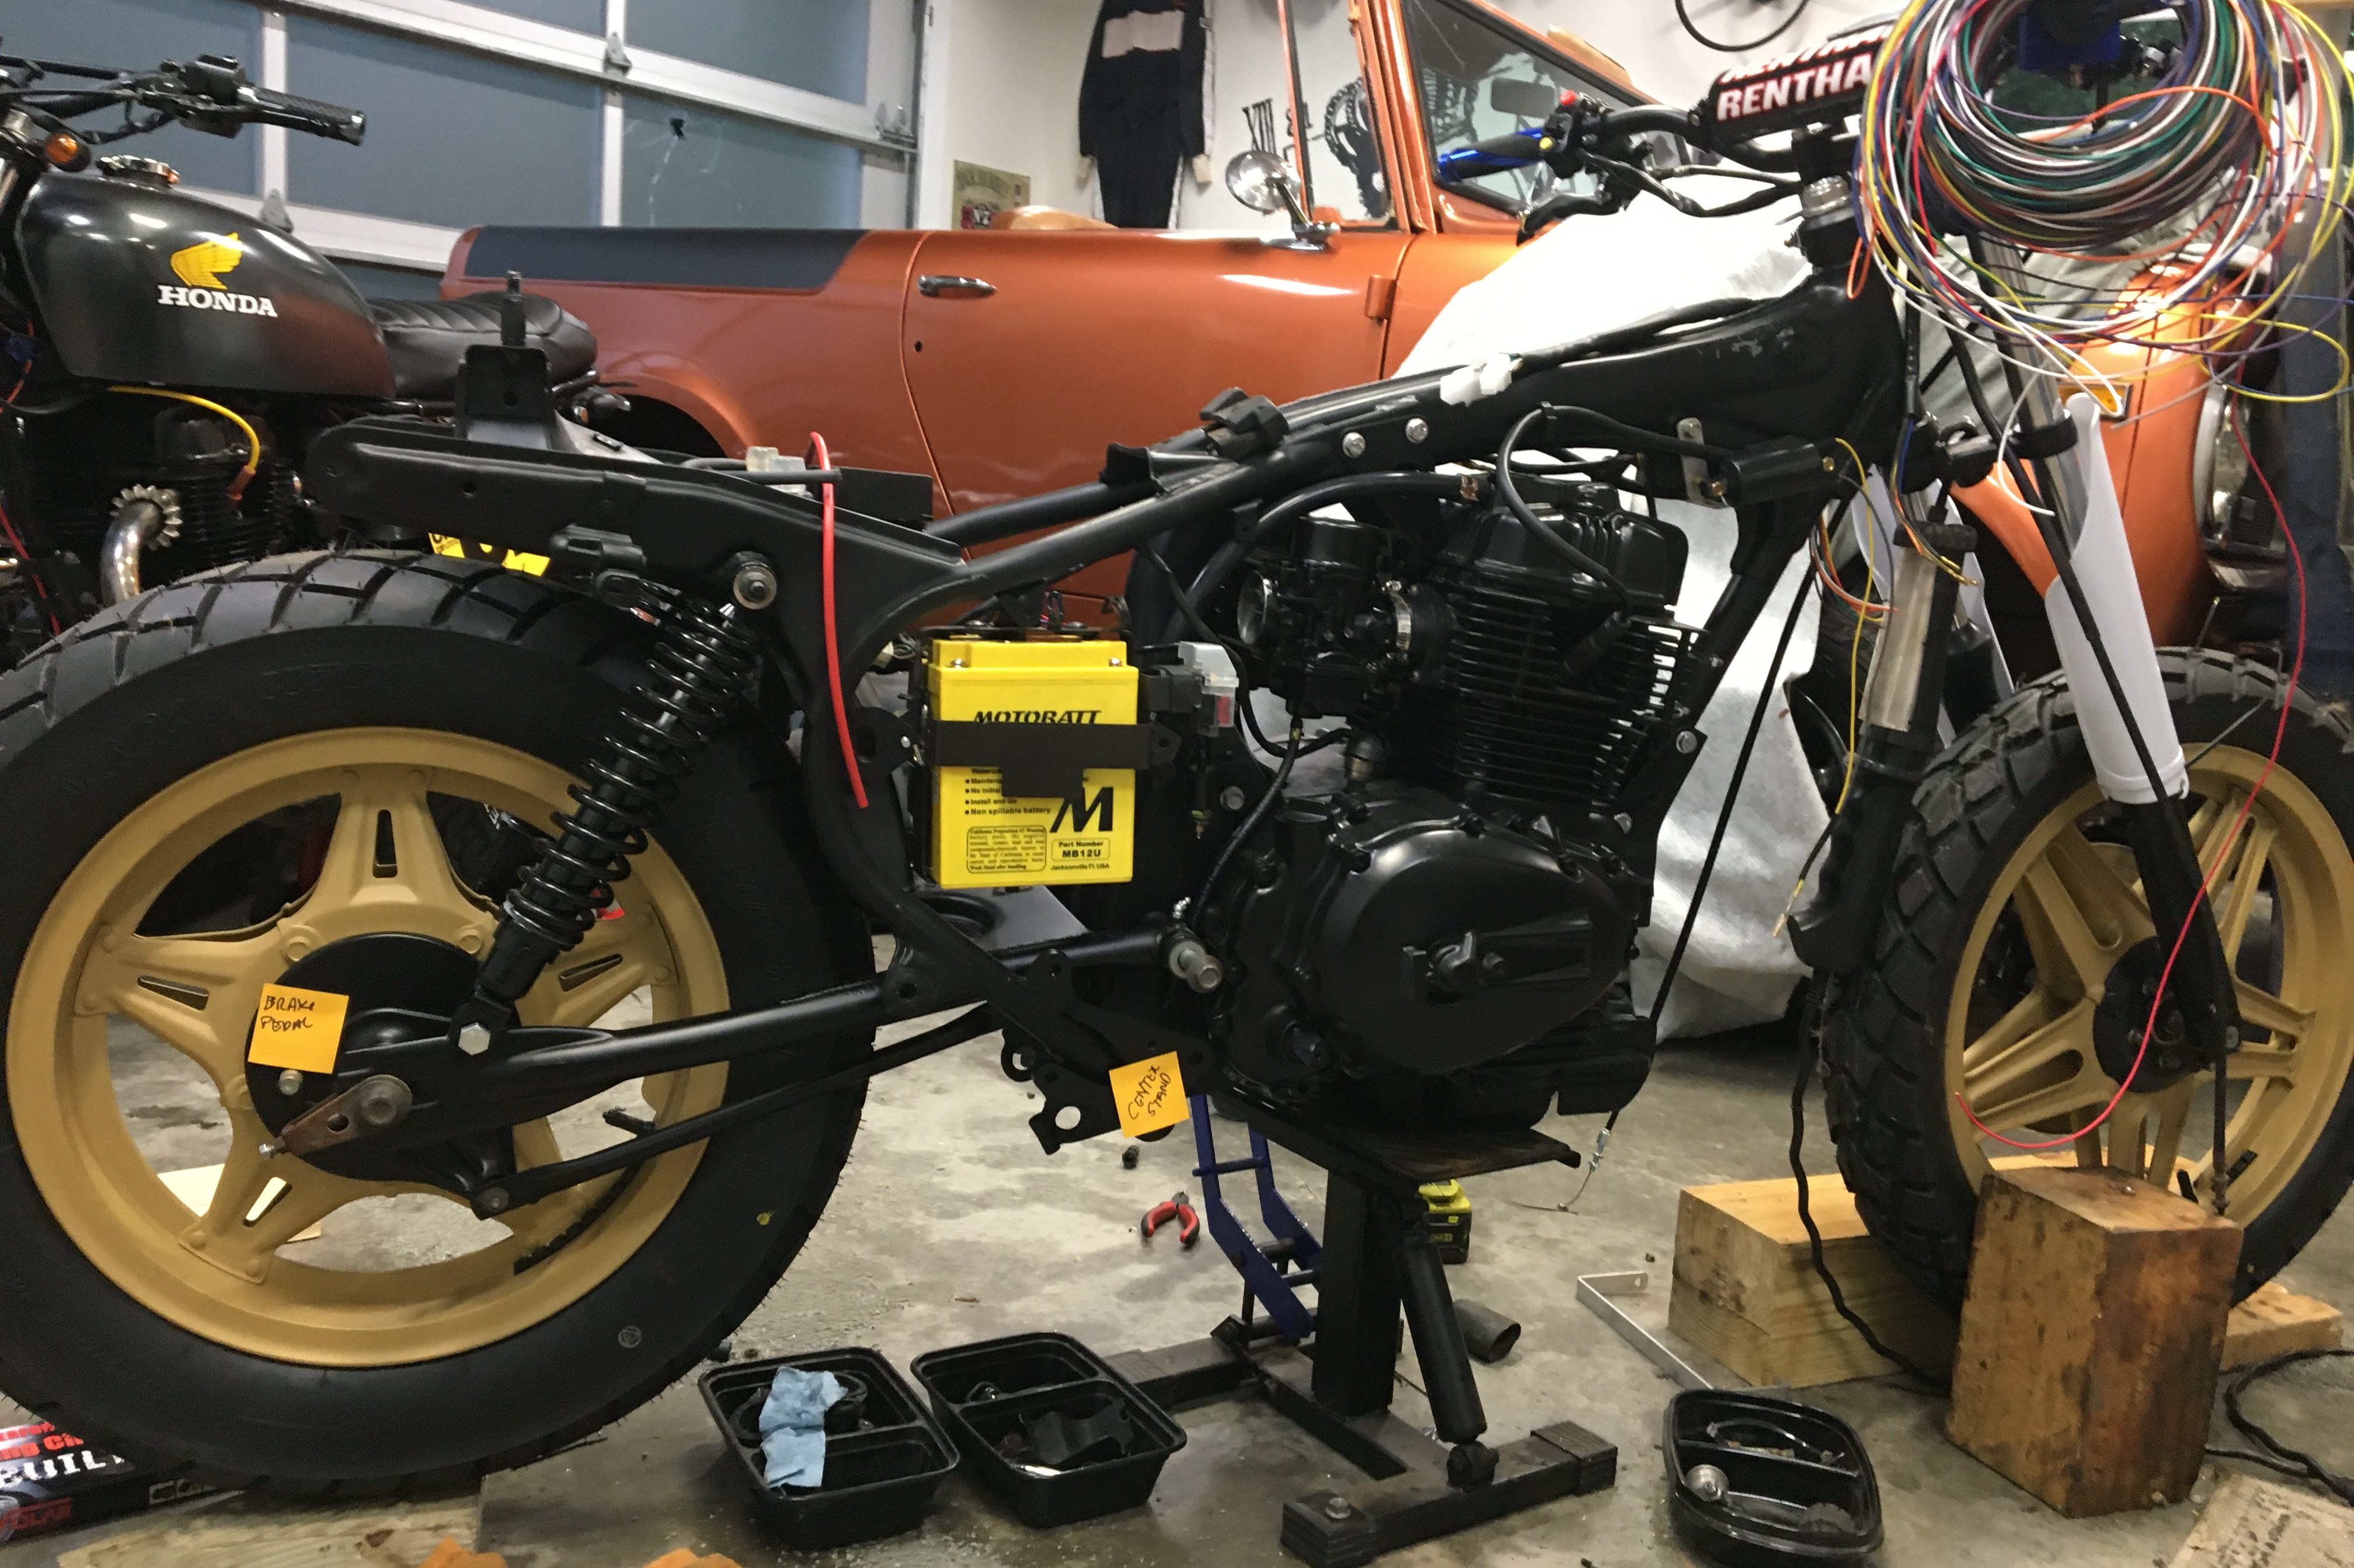
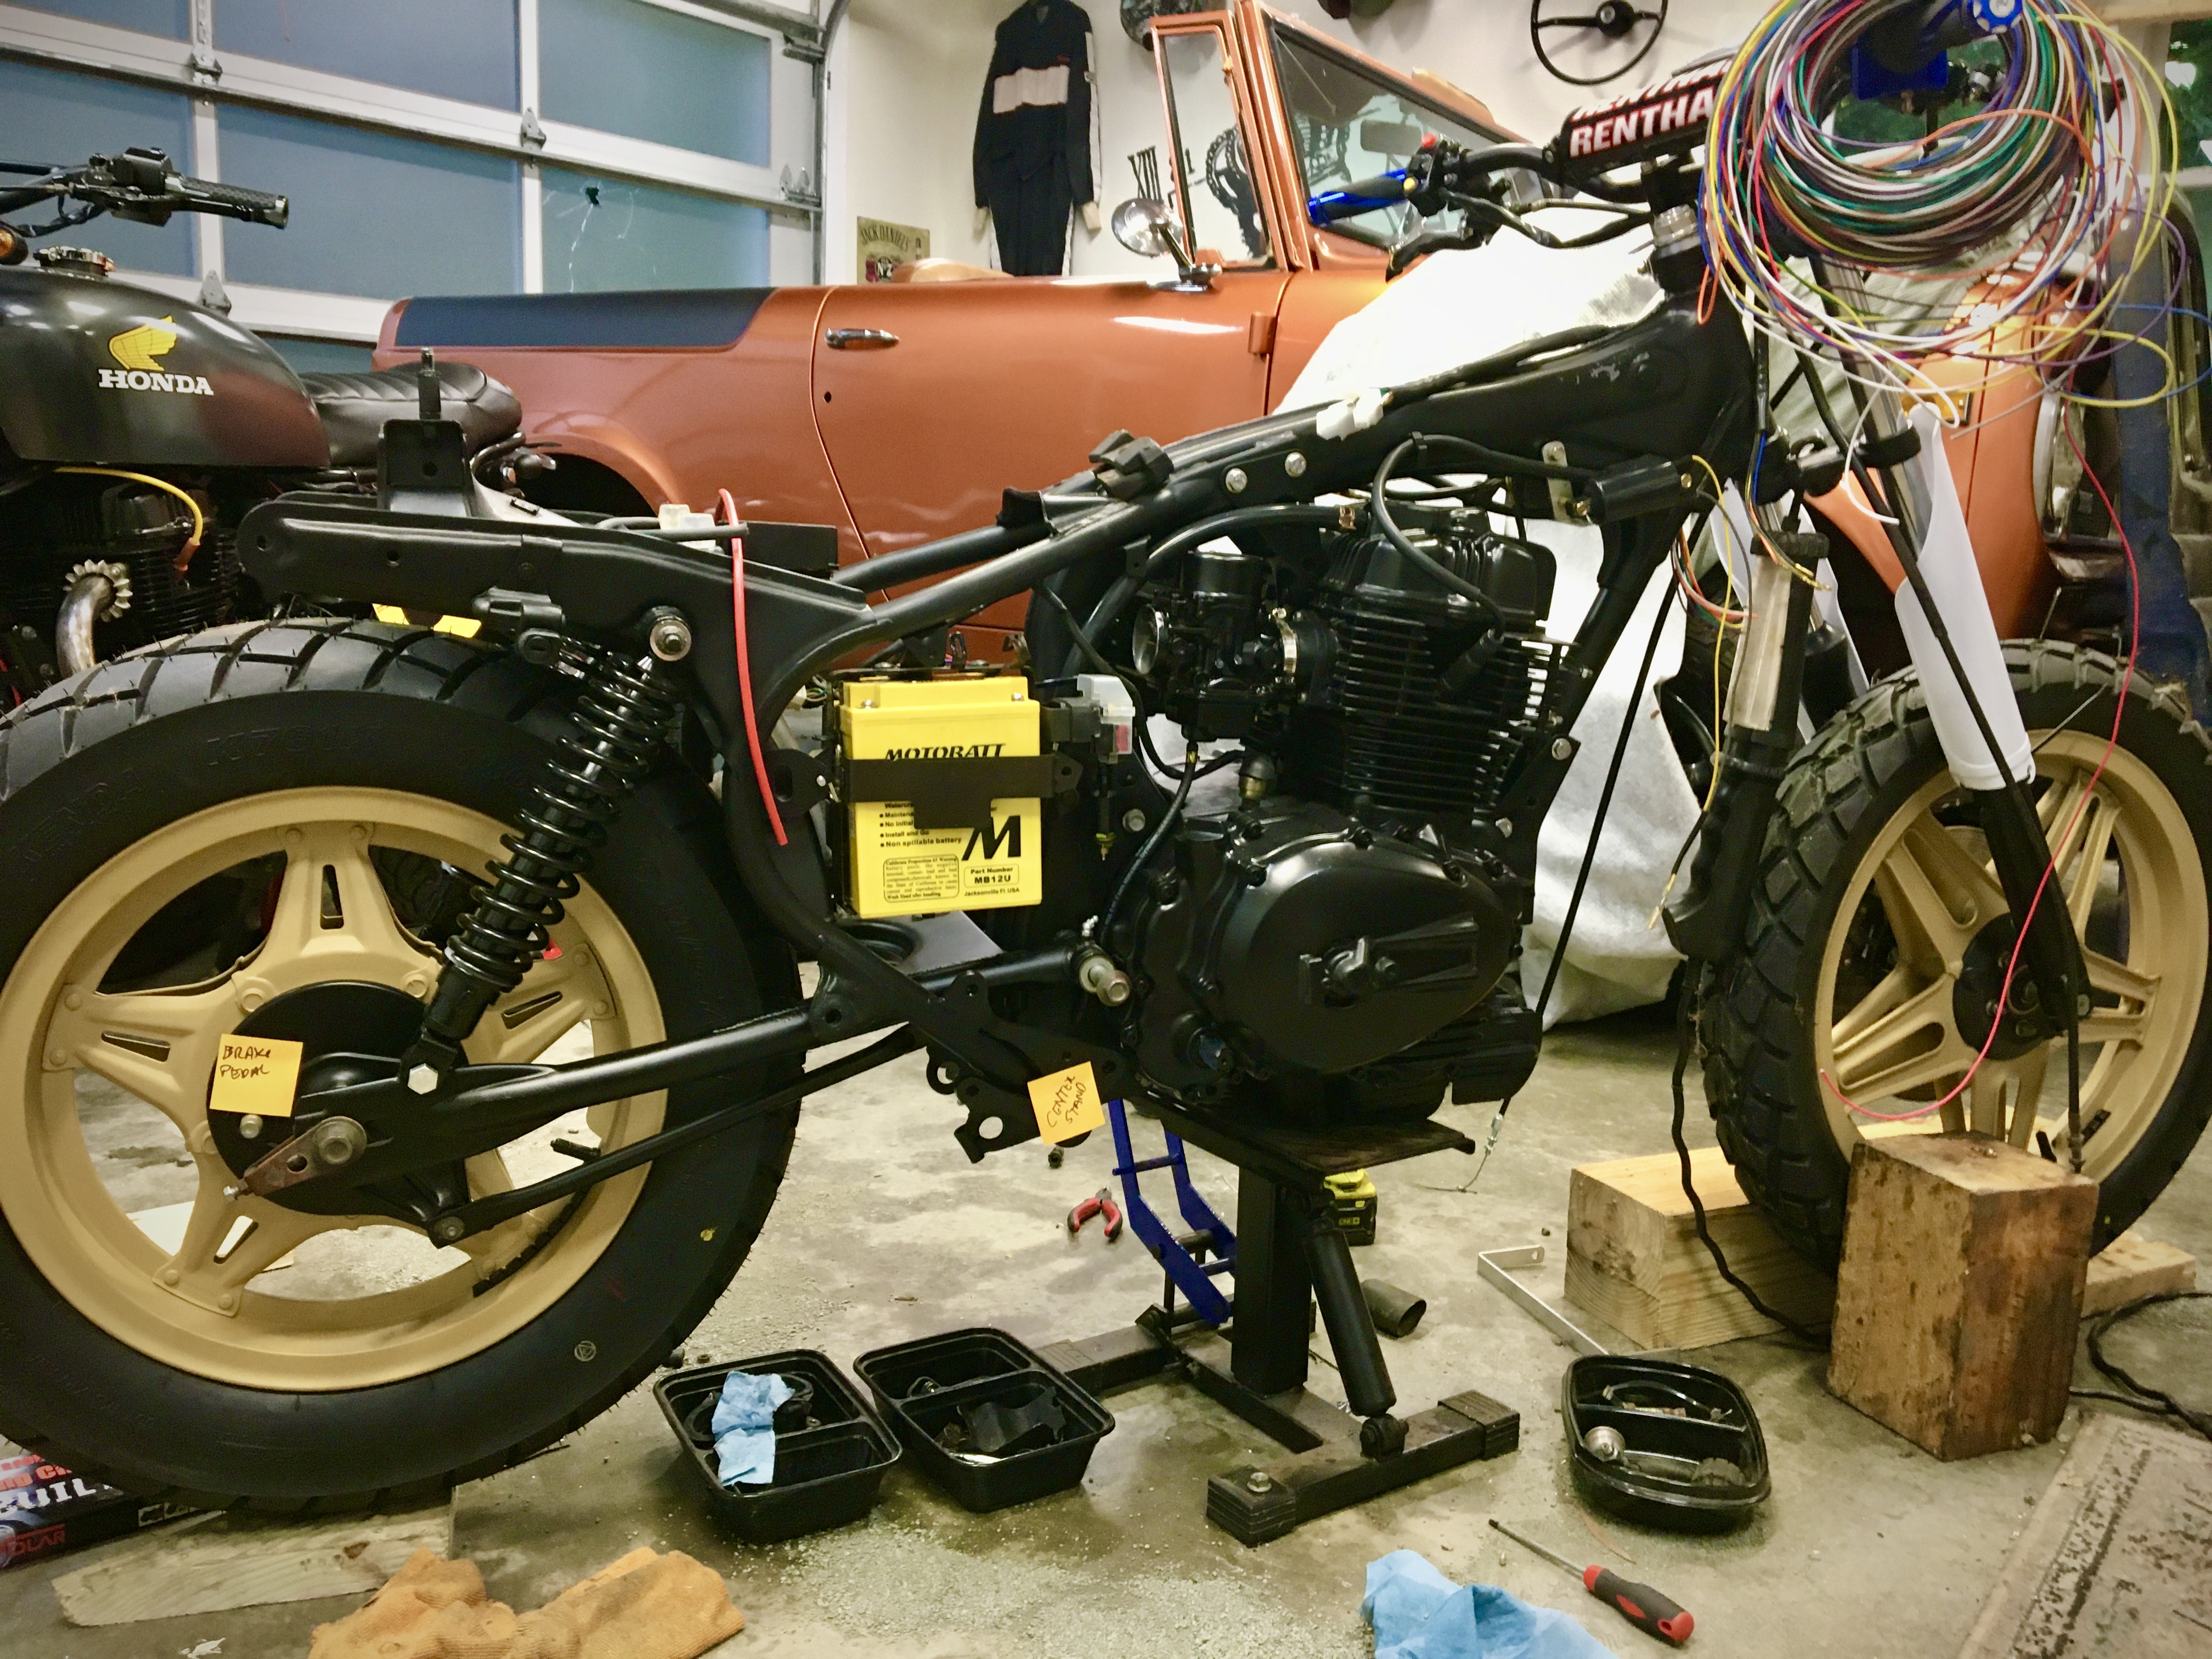
Wiring fit up
I’m actually a big fan of electric and this bike is no different. In fact, this bike, like its sister bike, will be getting a solid state computer put in that eliminates the need for flashers, fuses and ignition. Once complete, you’ll be able to operate everything from your phone.
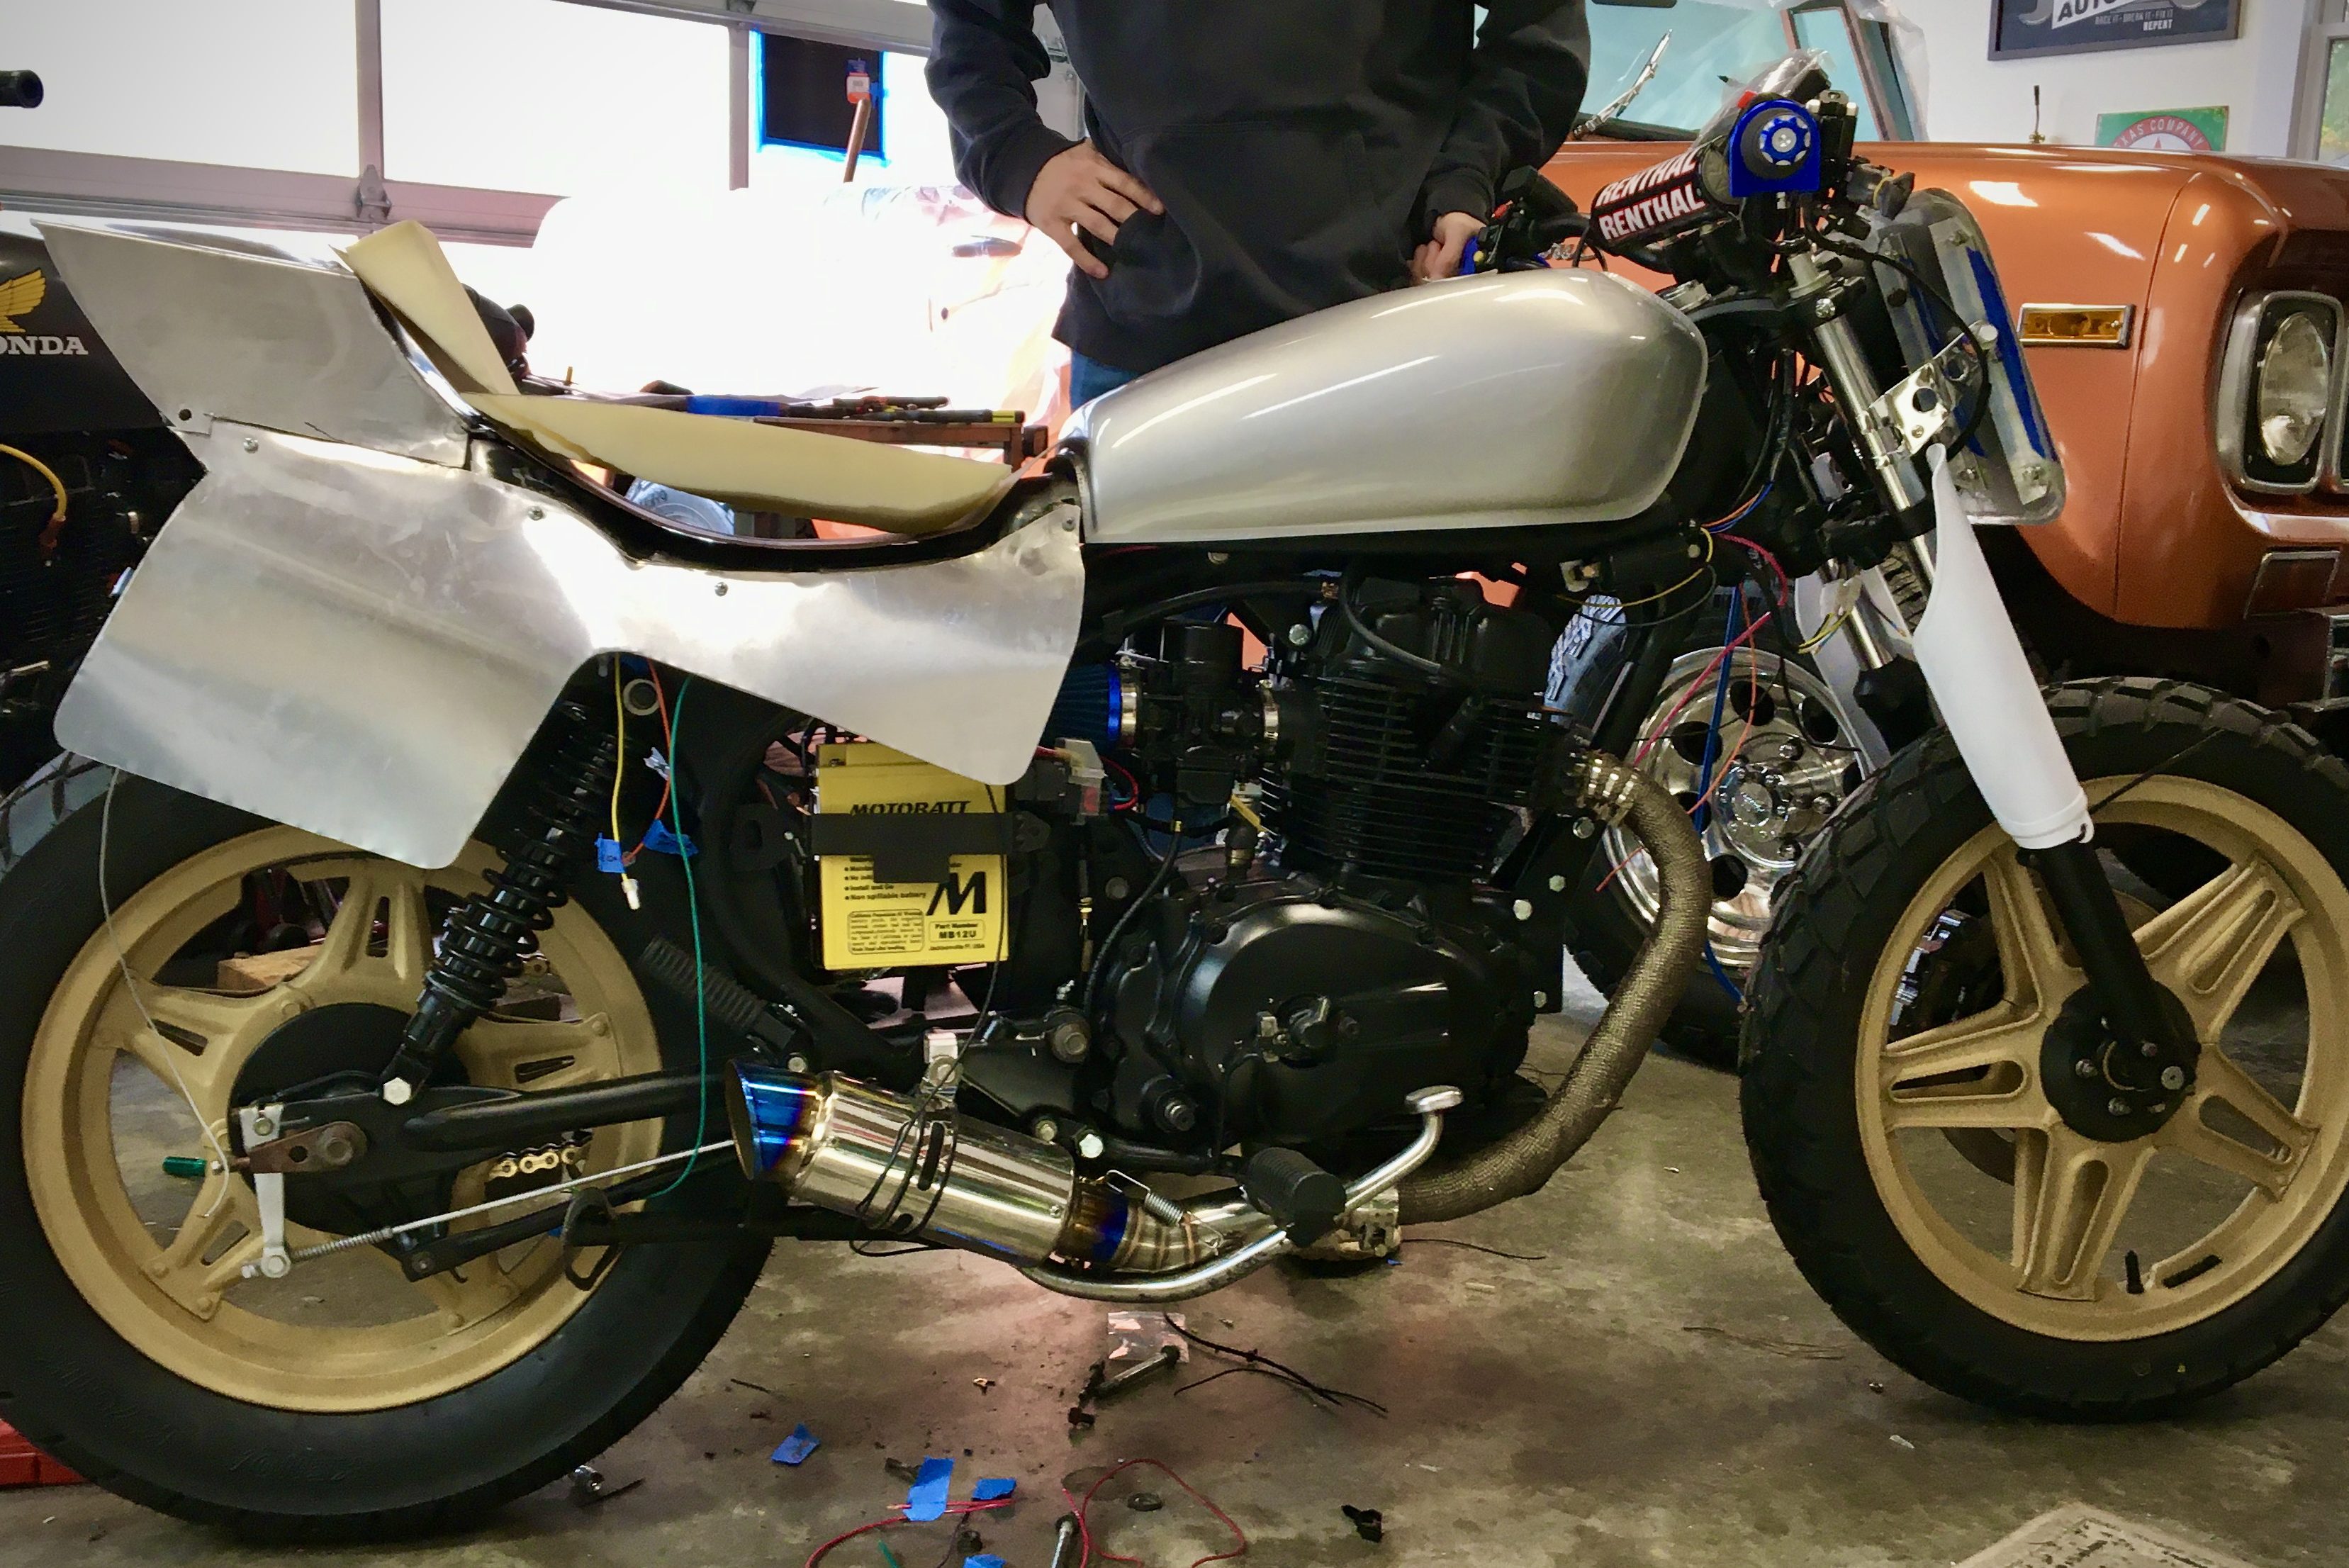
Does it fit
After wiring is completed, we still want to drop the covers on to make sure there isn’t risk of any wires binding, determine final location of other elements, fit up exhaust, and more.
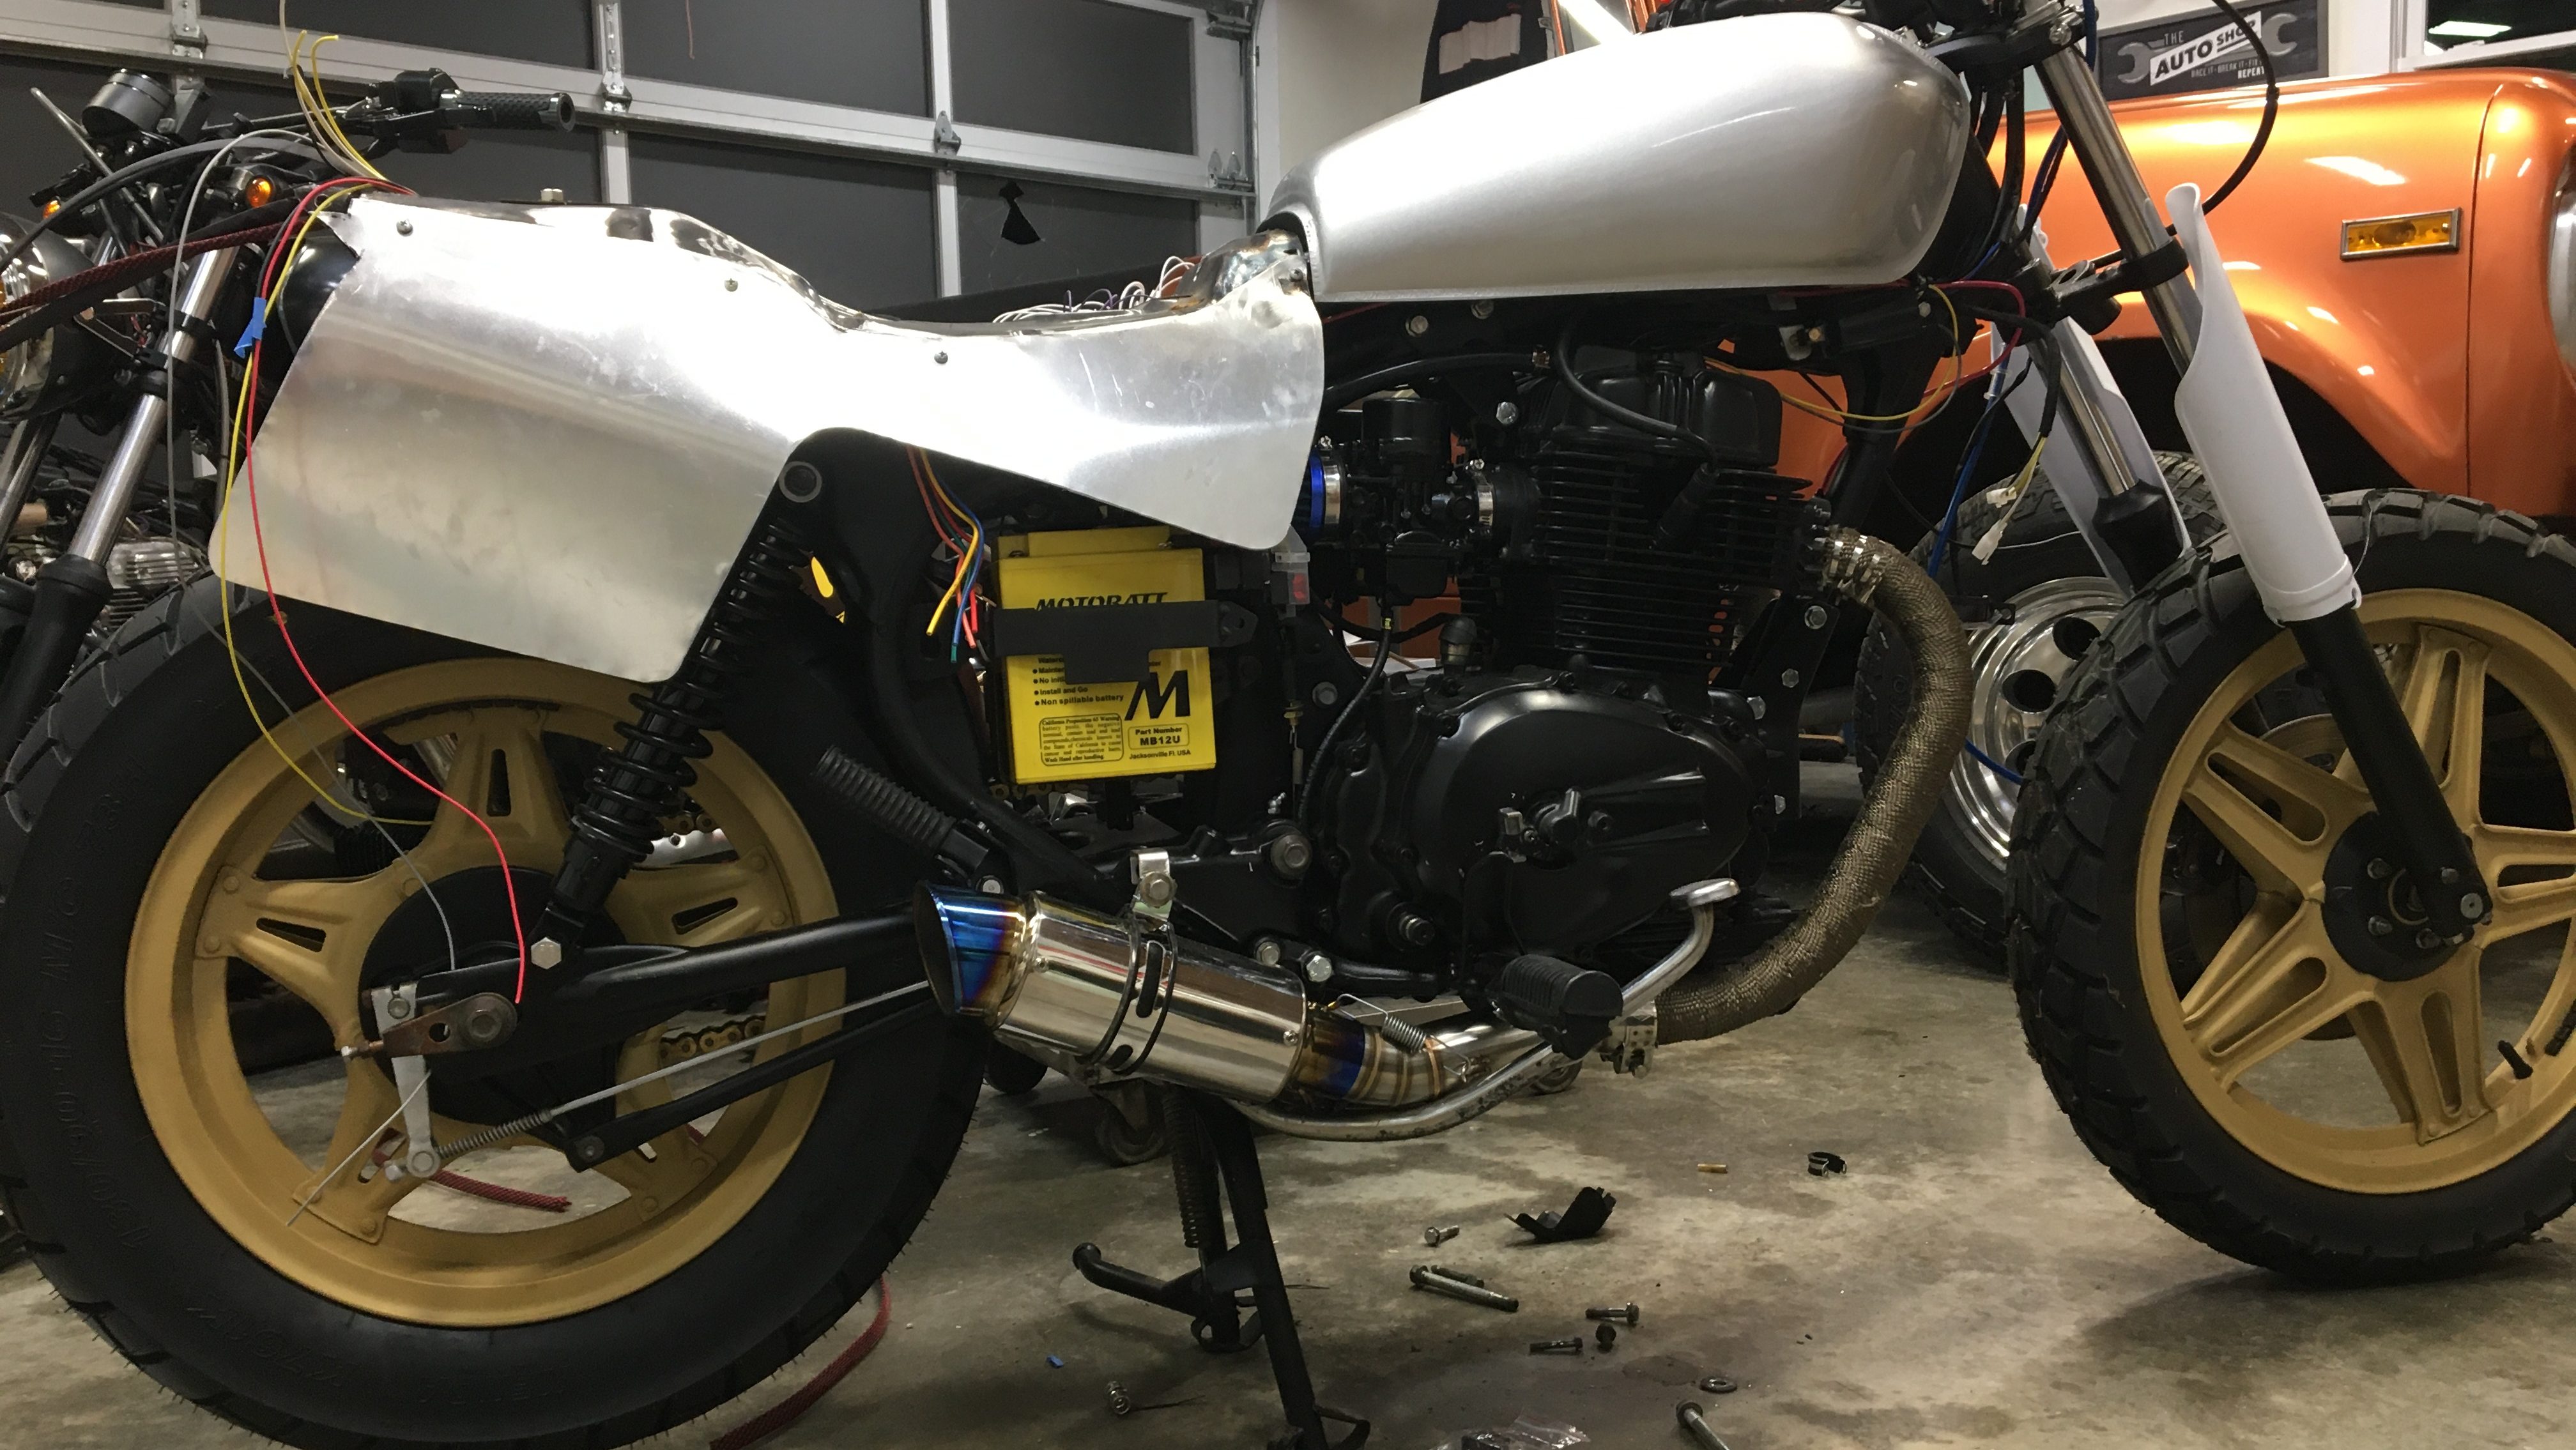
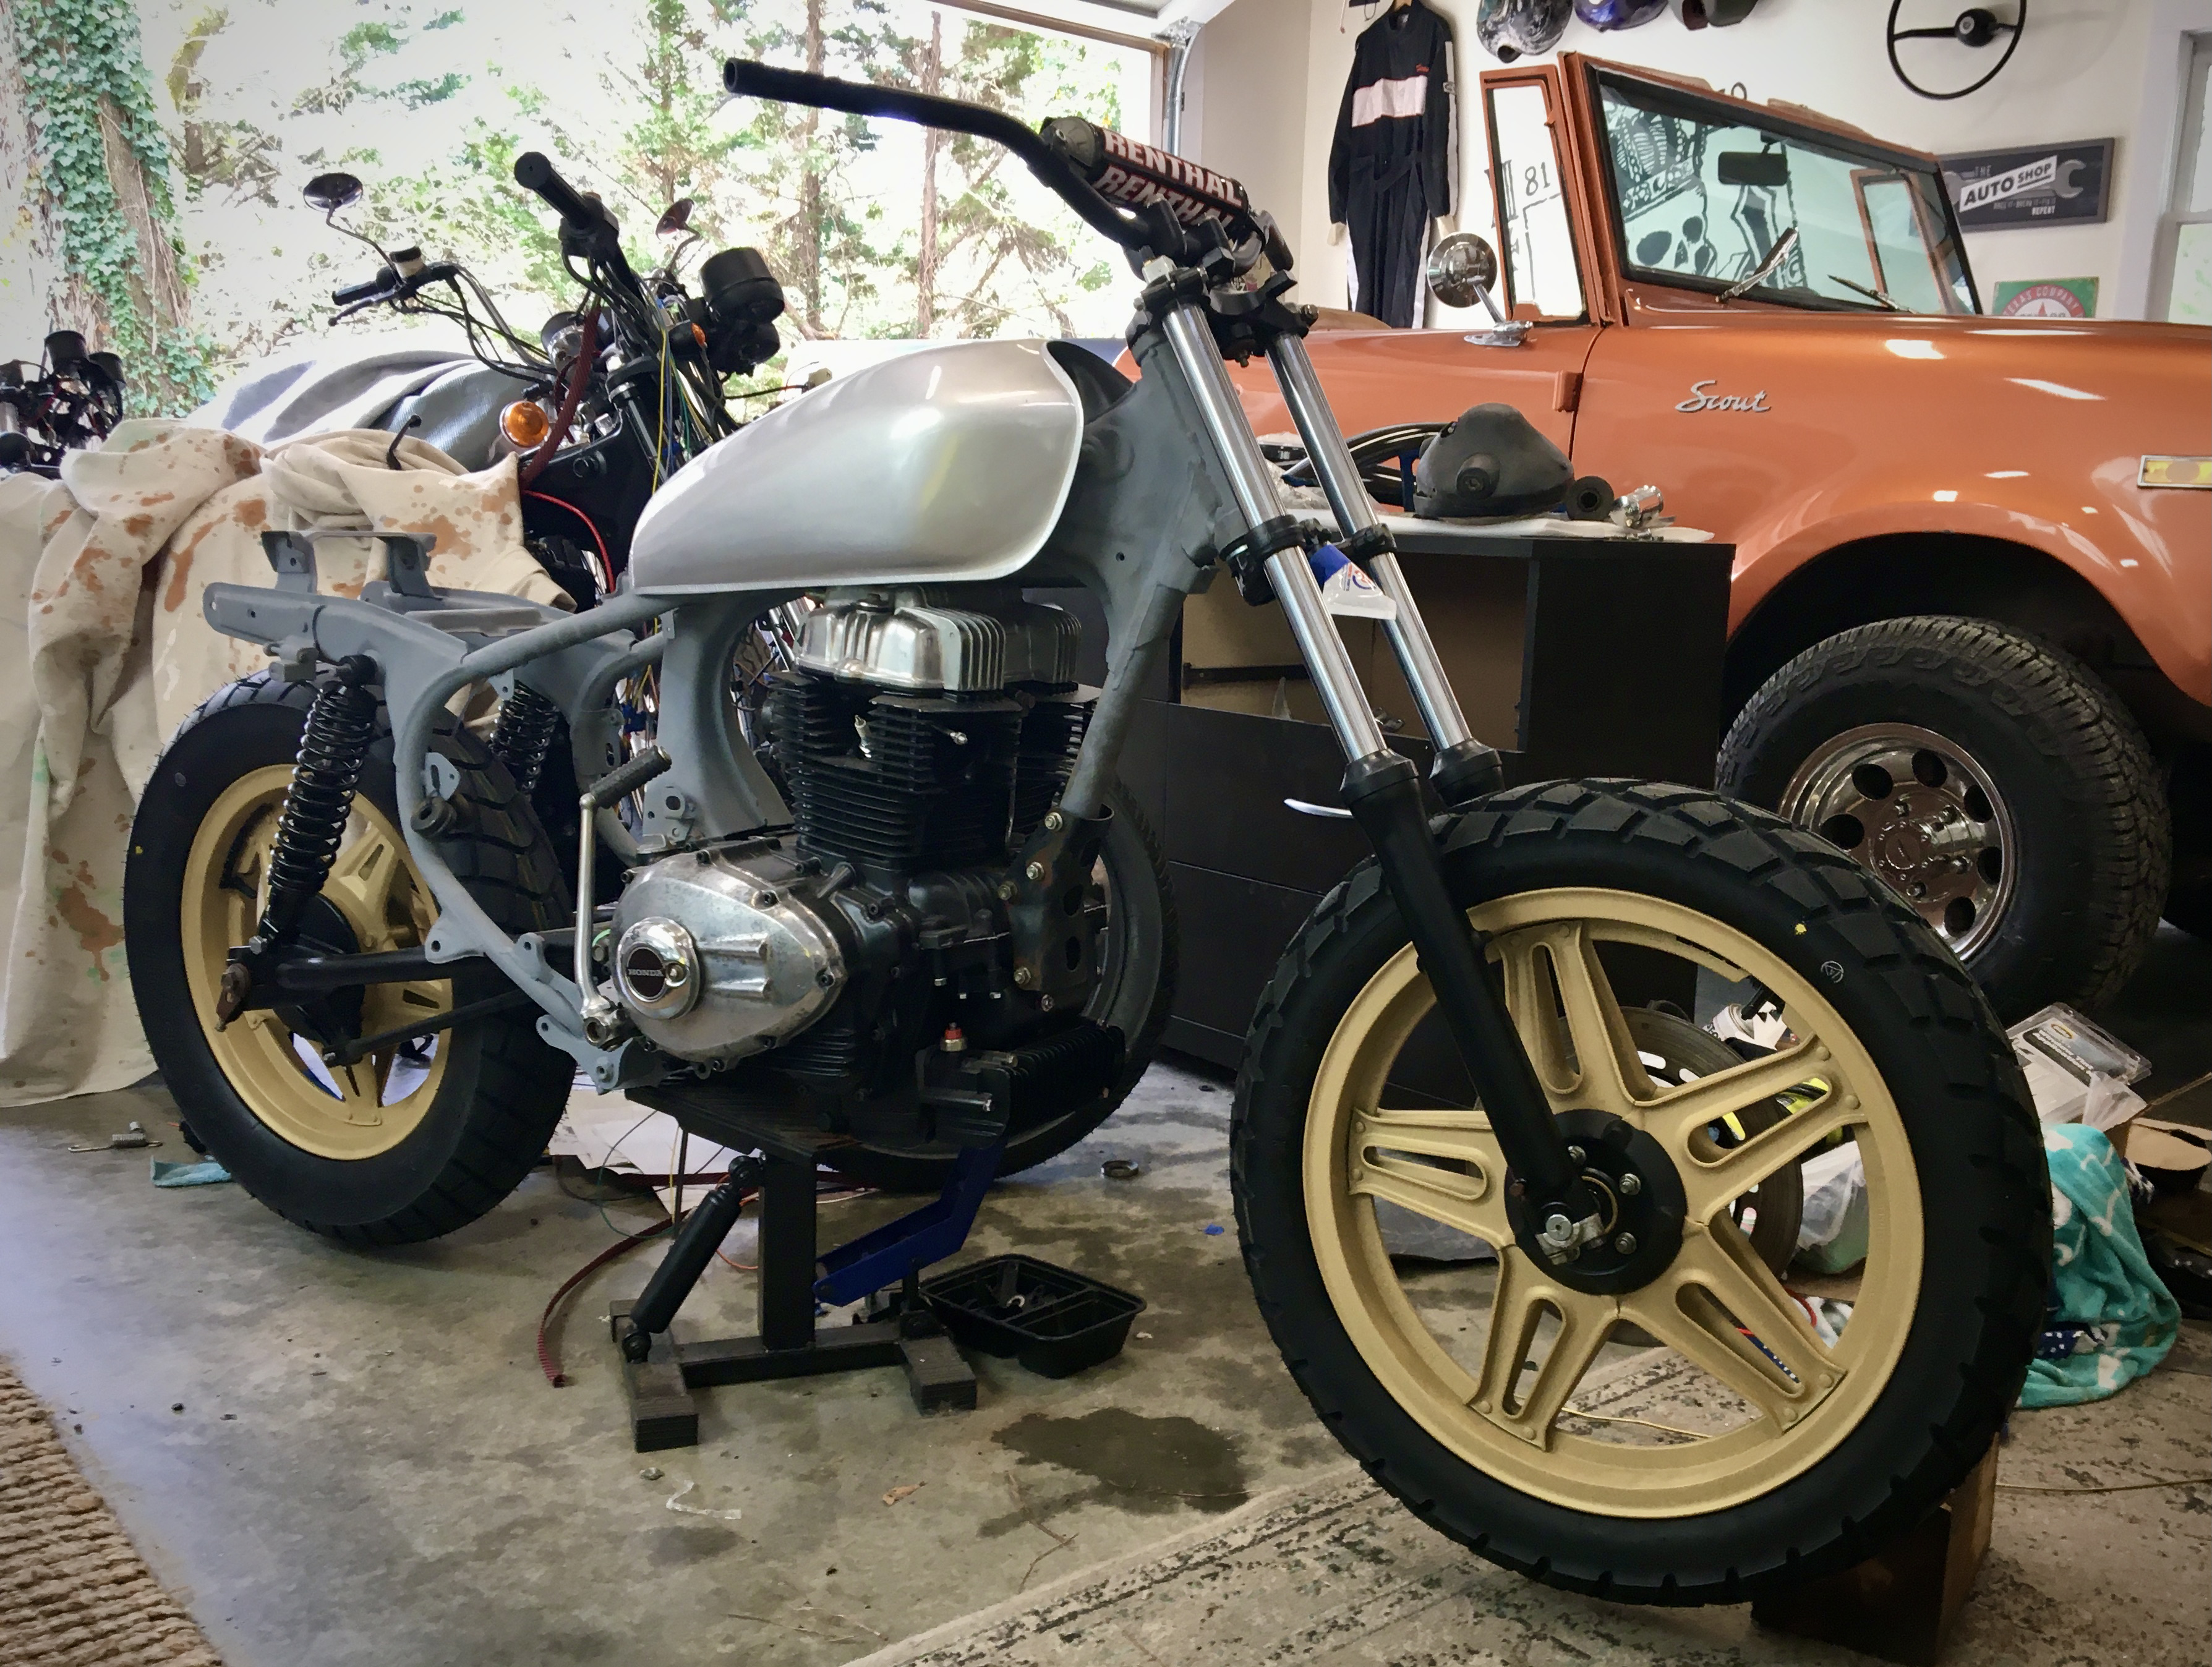
Final comp
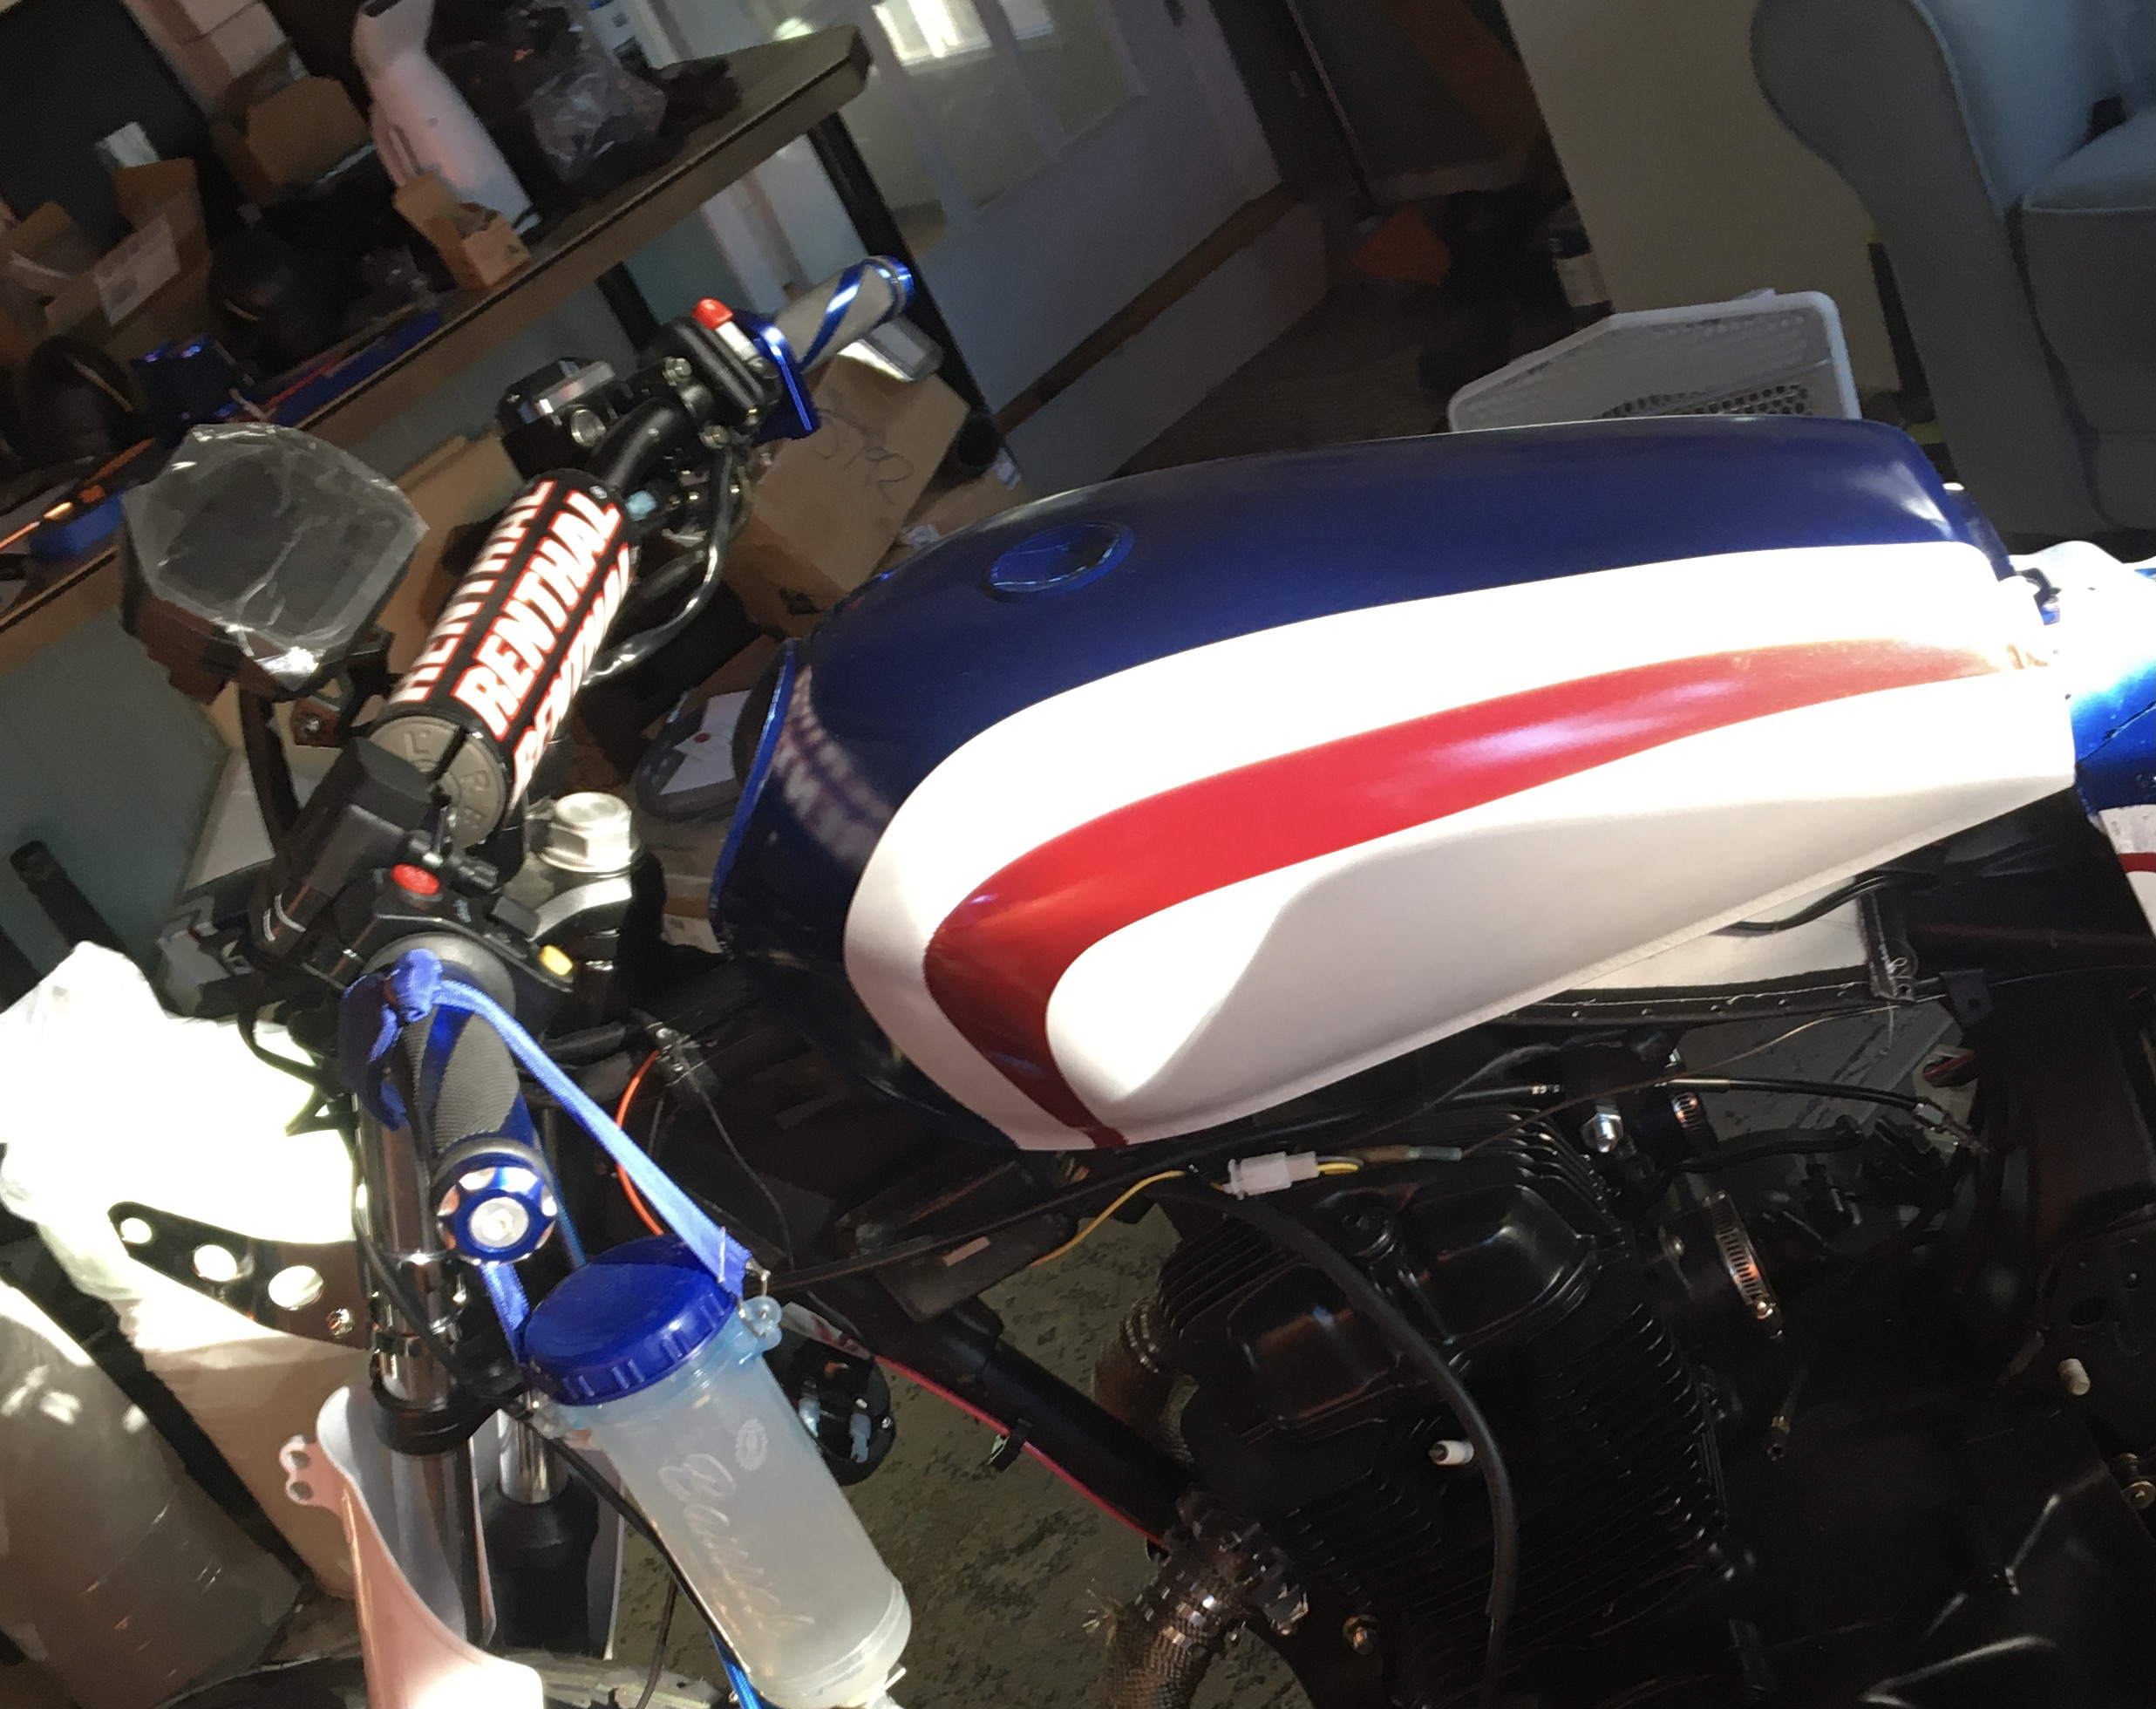
With a seat idea complete, I can now add other elements like handlebar options (in this case, we used new Renthal racing bars) and change configurations where I need the look to go. Once I’m digging what I see, it gets blown apart for paint details and final assembly.

Step by step
After blow-apart, everything is cleaned and readied for paint, polishing or whatever else is needed. And slowly, the finished bike takes shape.

Piece by piece
Even though it all fit when you test fitted it, inevitably, something doesn’t when it all comes back from paint. Luckily, no issues this far.
I love it when a bike comes together. Adding the parts, one by one and seeing it with final paint makes for a pretty fun week. But then there is still finalizing electrical and test fire.
Check out the Bullitt Boy build.
